Hiking 101: A Guide for Beginners
So you want to be a hiker? Welcome to the club, membership is free! All you truly need to join is a respect for nature, wildlife, and your fellow hikers! And an appreciation for a beautiful view definitely doesn’t hurt.
If you’ve not spent much time enjoying the outdoors, it can be a lot — deciding which paths to start with, what gear you actually need on beginner-friendly hikes, and trying to decipher the jargon in trail descriptions. Fear not, below I’ve included what to pack (some of my favourites are linked), what factors to consider when planning, and a quick “what to do if I see a bear” general run-down. Hiking is the kind of hobby where you’ll question your life choices with every step, but wouldn’t have it any other way… especially once you get to the viewpoint.
So, let’s get started covering the basics so you can hit the trails with confidence!
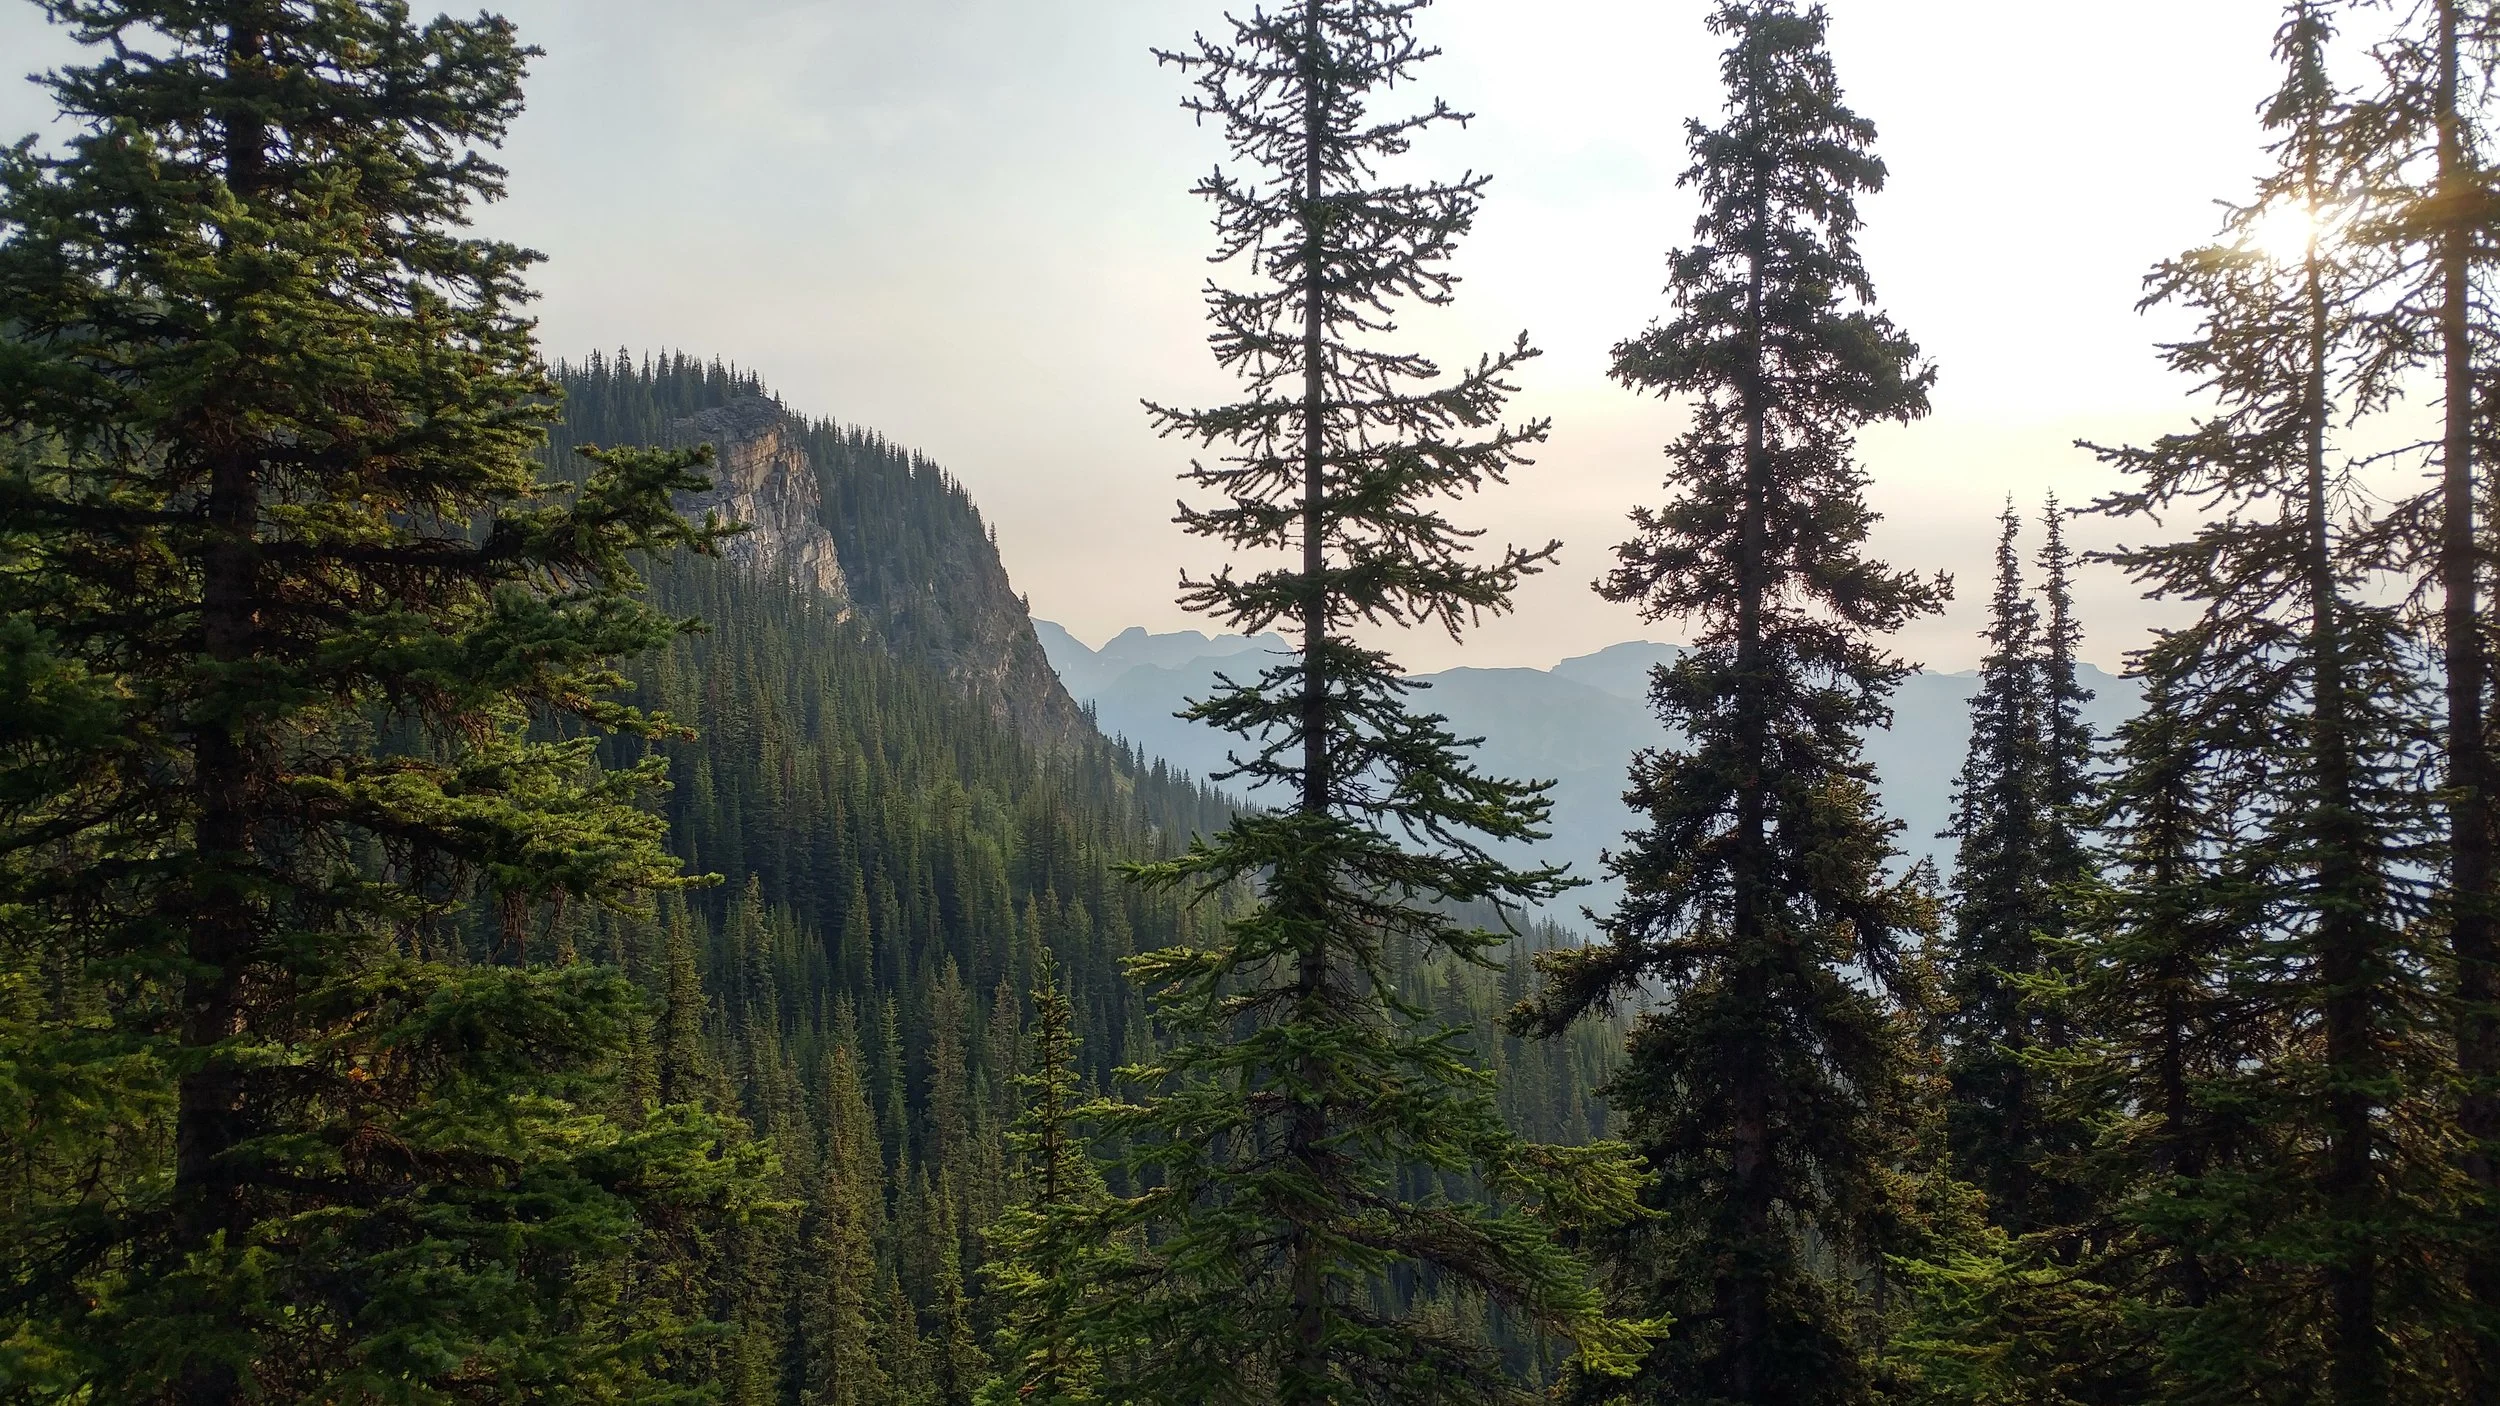
View from Lake Agnes in Banff, Canada
How to Get Started
If you’re just starting to dabble in the world of hiking and have no idea where to start, fear not. The biggest mistake is starting with something too advanced — you wouldn’t start learning to swim by high-diving into the deep end, so don’t do that here.
Learn the Lingo: Trail Types
out-and-back: exactly what it sounds like, you will hike out to the destination and back along the same route to the trailhead.loop: no backtracking, just new trail the entire way, returning you to your start point.
point-to-point: start in one location, end in another. These require a little more planning to navigate your return to the departure point. Sometimes they're reffered to as thru-hikes, but those are typically multi-day adventures.
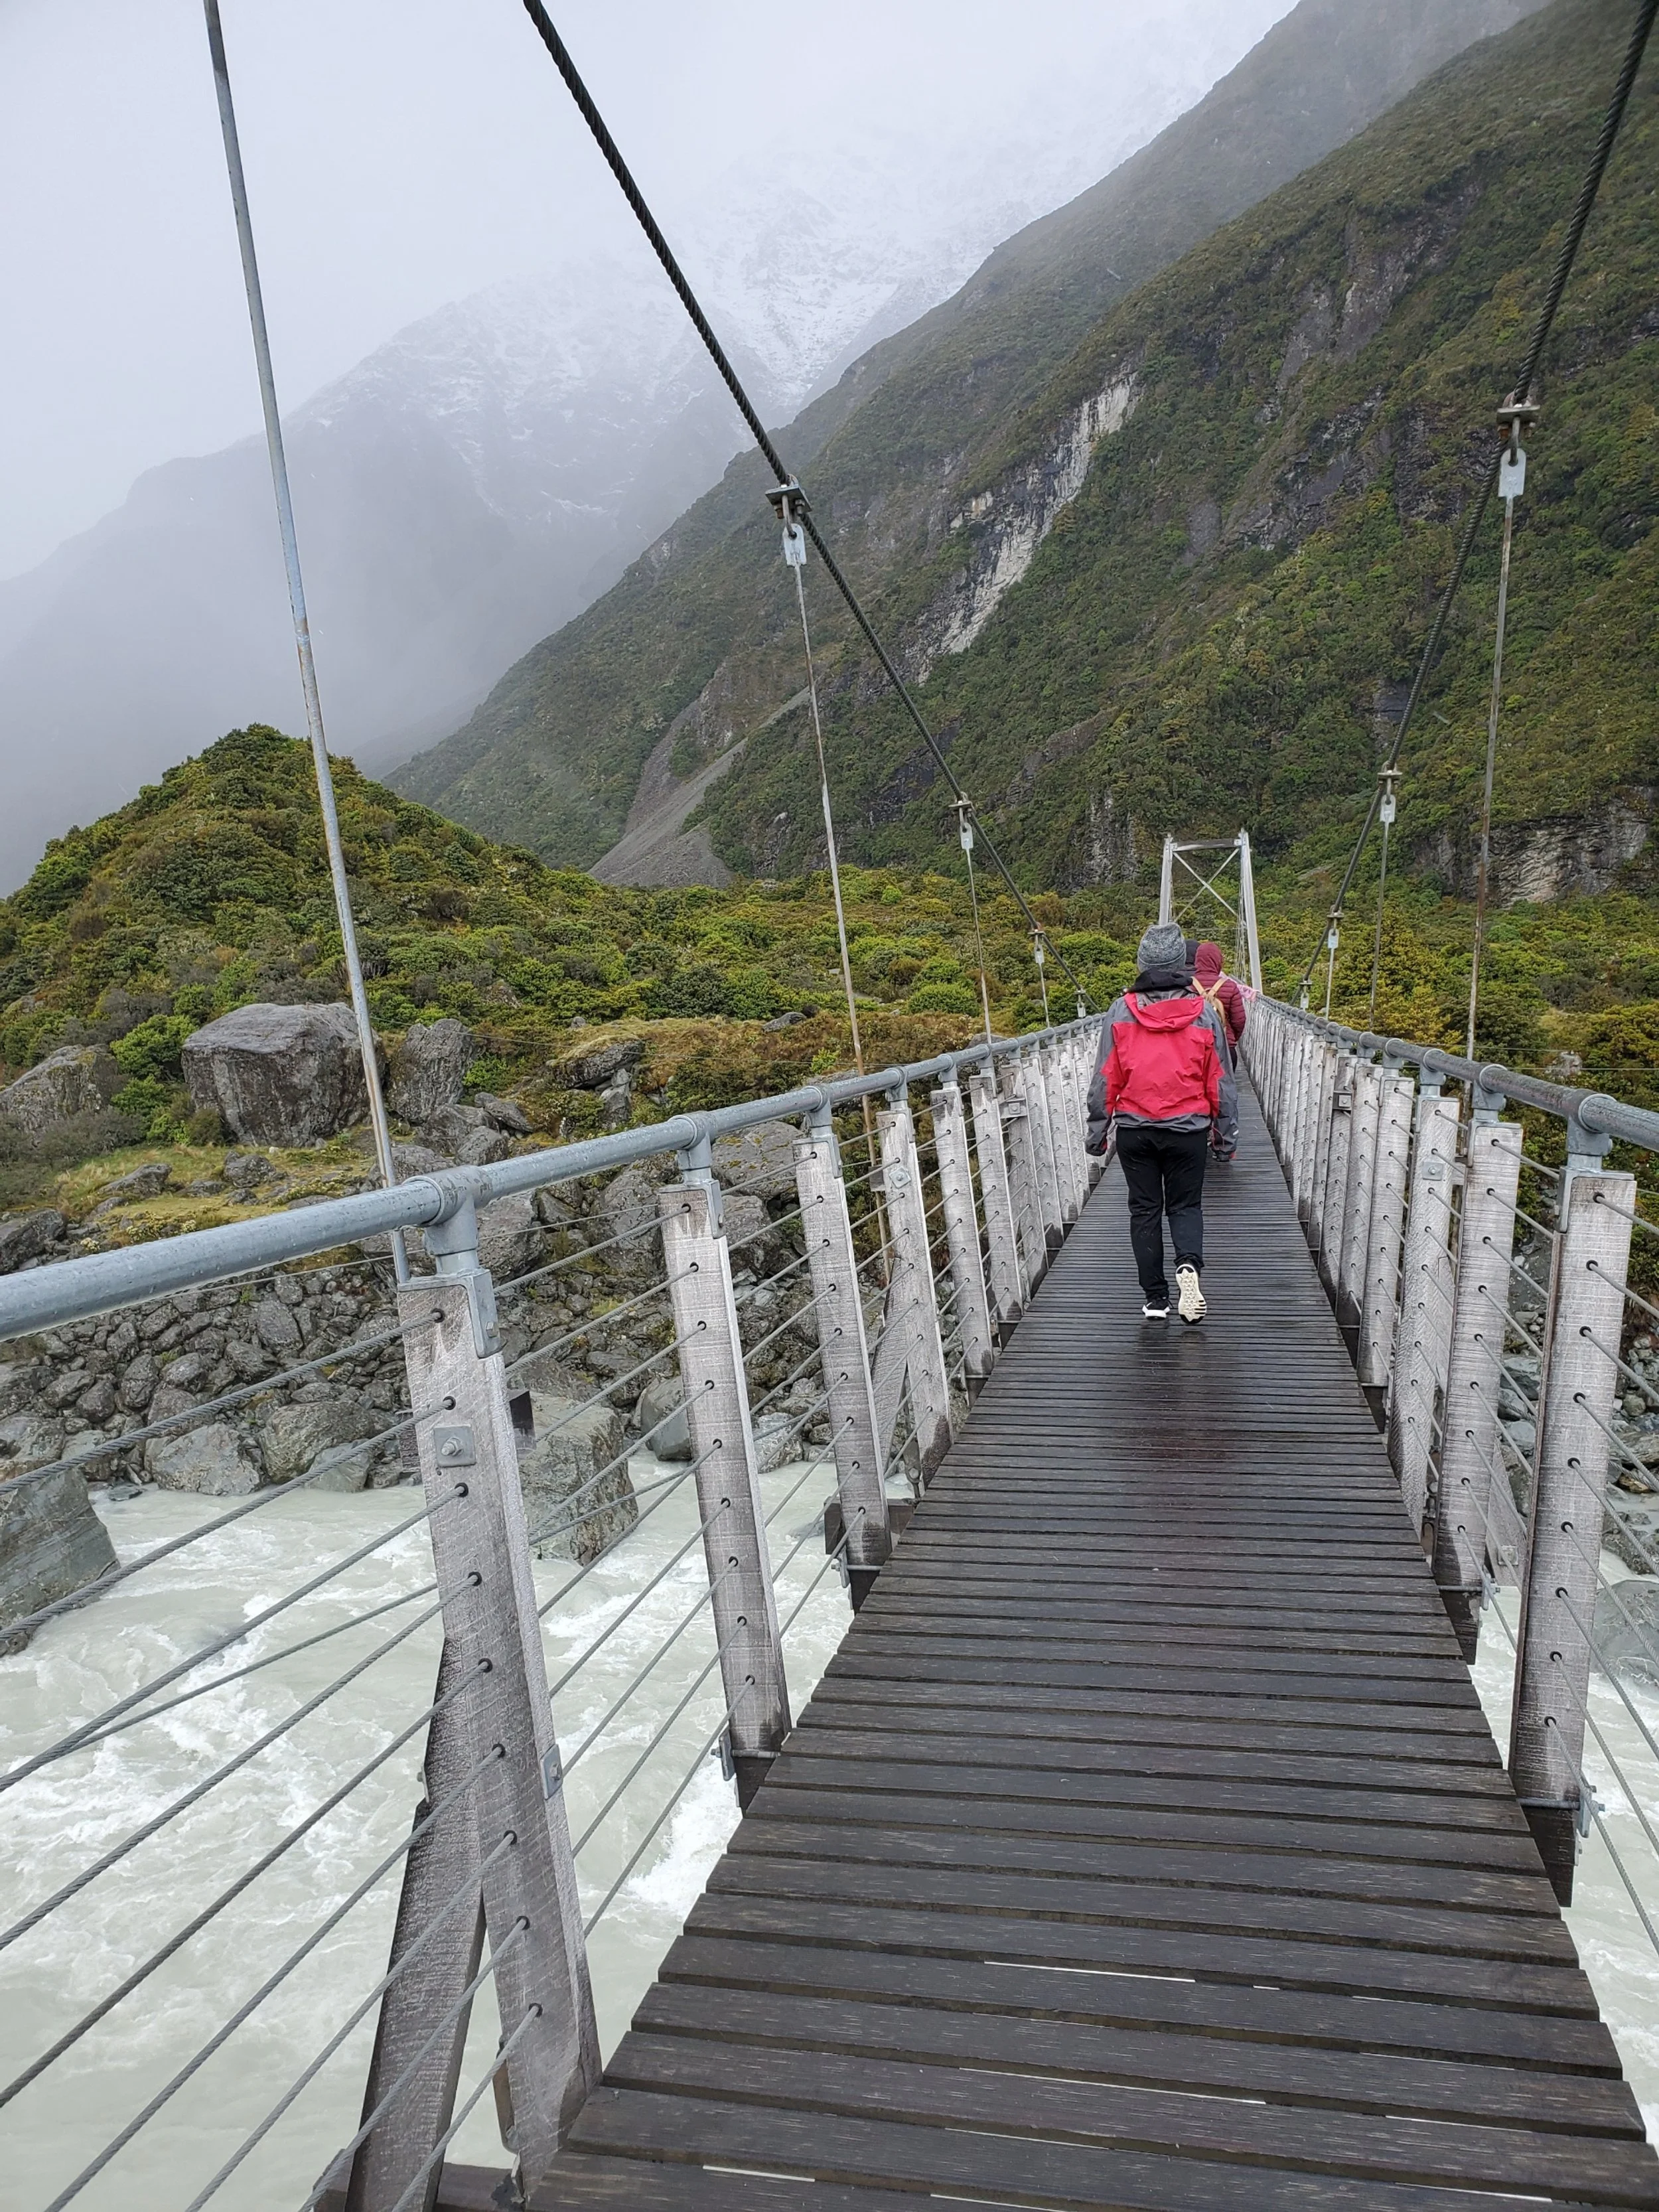
Hooker Valley Trail in Mount Cook National Park, New Zealand
When you’re picking a hike, consider these three main factors before heading out.
Distance: how many kilometres (or miles) from start to end
Elevation: how many metres (or feet) of elevation gain you will climb on the trail
Time: expected/average time it takes to complete the hike
Considering these stats will give you a better idea than a difficulty rating ever will. Though ratings are a handy “at a glance” tool, they are so incredibly subjective and vary site by site. If someone just finished summiting Everest, they’d probably consider some hikes moderate that you might consider advanced.
Here’s how I break it down as a general rule of thumb by considering how many metres climbed per kilometre:
Easy: 0–50 m per km
Moderate: 50–100 m per km
Difficult: 100–150 m per km
Challenging: 150–225 m per km
Expert: 225+ m per km
I then add or lower difficulty based on reviews, noting terrain, particularly steep sections, average time to complete, and more.
For your first few hikes, remember: stick to something reasonable that you can complete comfortably without over-extending yourself.
Learn the Lingo: Keywords
scree: loose small-to-medium rock fragments covering a slope that shift easily underfoot. If scree is mentioned in trail descriptions, prepare to hike up sections of it!blaze: the IYKYK word for trail markers. They’re typically painted on trees, but can also be found on large rocks or posts. Keep your eye out for these to make sure you’re staying on the trail.
cairn: a human-made pile of rocks used in place of blazes once you’re above the tree line.
fixed aids: this includes a variety of installed assists to help you navigate difficult terrain. Some common ones include ladders, staples (metal rungs mounted in the rock face), cables, and ropes. If you see them mentioned, prepare yourself for the extra challenge. For safety reasons, most of these trails aren’t suitable for most young children or dogs. switchbacks: A series of zigzagging paths that lead up steep terrain. The idea is that the series of shorter, lower-incline sections is easier to navigate than one straight shot up at a steeper angle. The logic checks out, but they suck all the same! alpenglow: the beautiful red/pink reflection of a sunset or sunrise off of the mountainside. front country: developed areas, which are easily accessed, near roads, facilities and signage. These are typically higher traffic areas. back country: These areas tend to be lower traffic and the very definition of “wilderness.” More remote, less developed and you will need to be a little more self-sufficient to navigate the backcountry. day hiking: Hikes that can be completed in a day (or less). Many beginner friendly hikes are day hikes and there is no shortage of incredible ones to choose from. false summit: when you’re on the trail and you see what looks like the summit, only to find out it was in fact NOT the summit and the trail keeps climbing. ridgewalk: a trail that follows the — often narrow — ridge between summits. It makes “bagging” multiple summits in a day more obtainable.
What to Wear
When deciding what to wear on a hike, be sure to follow the three-layer system.
Base layer: varies depending on the season, but this is your basic top and bottom.
Mid-layer: your insulation, think: fleece or thick long-sleeve.
Outer-shell: wind or rain layer to block the elements.
Even on a clear and sunny day, it’s always best to be prepared — especially if you’re in a mountainous region or are hiking through elevation changes. The weather can change quickly, and this system will keep you comfortable when it does.
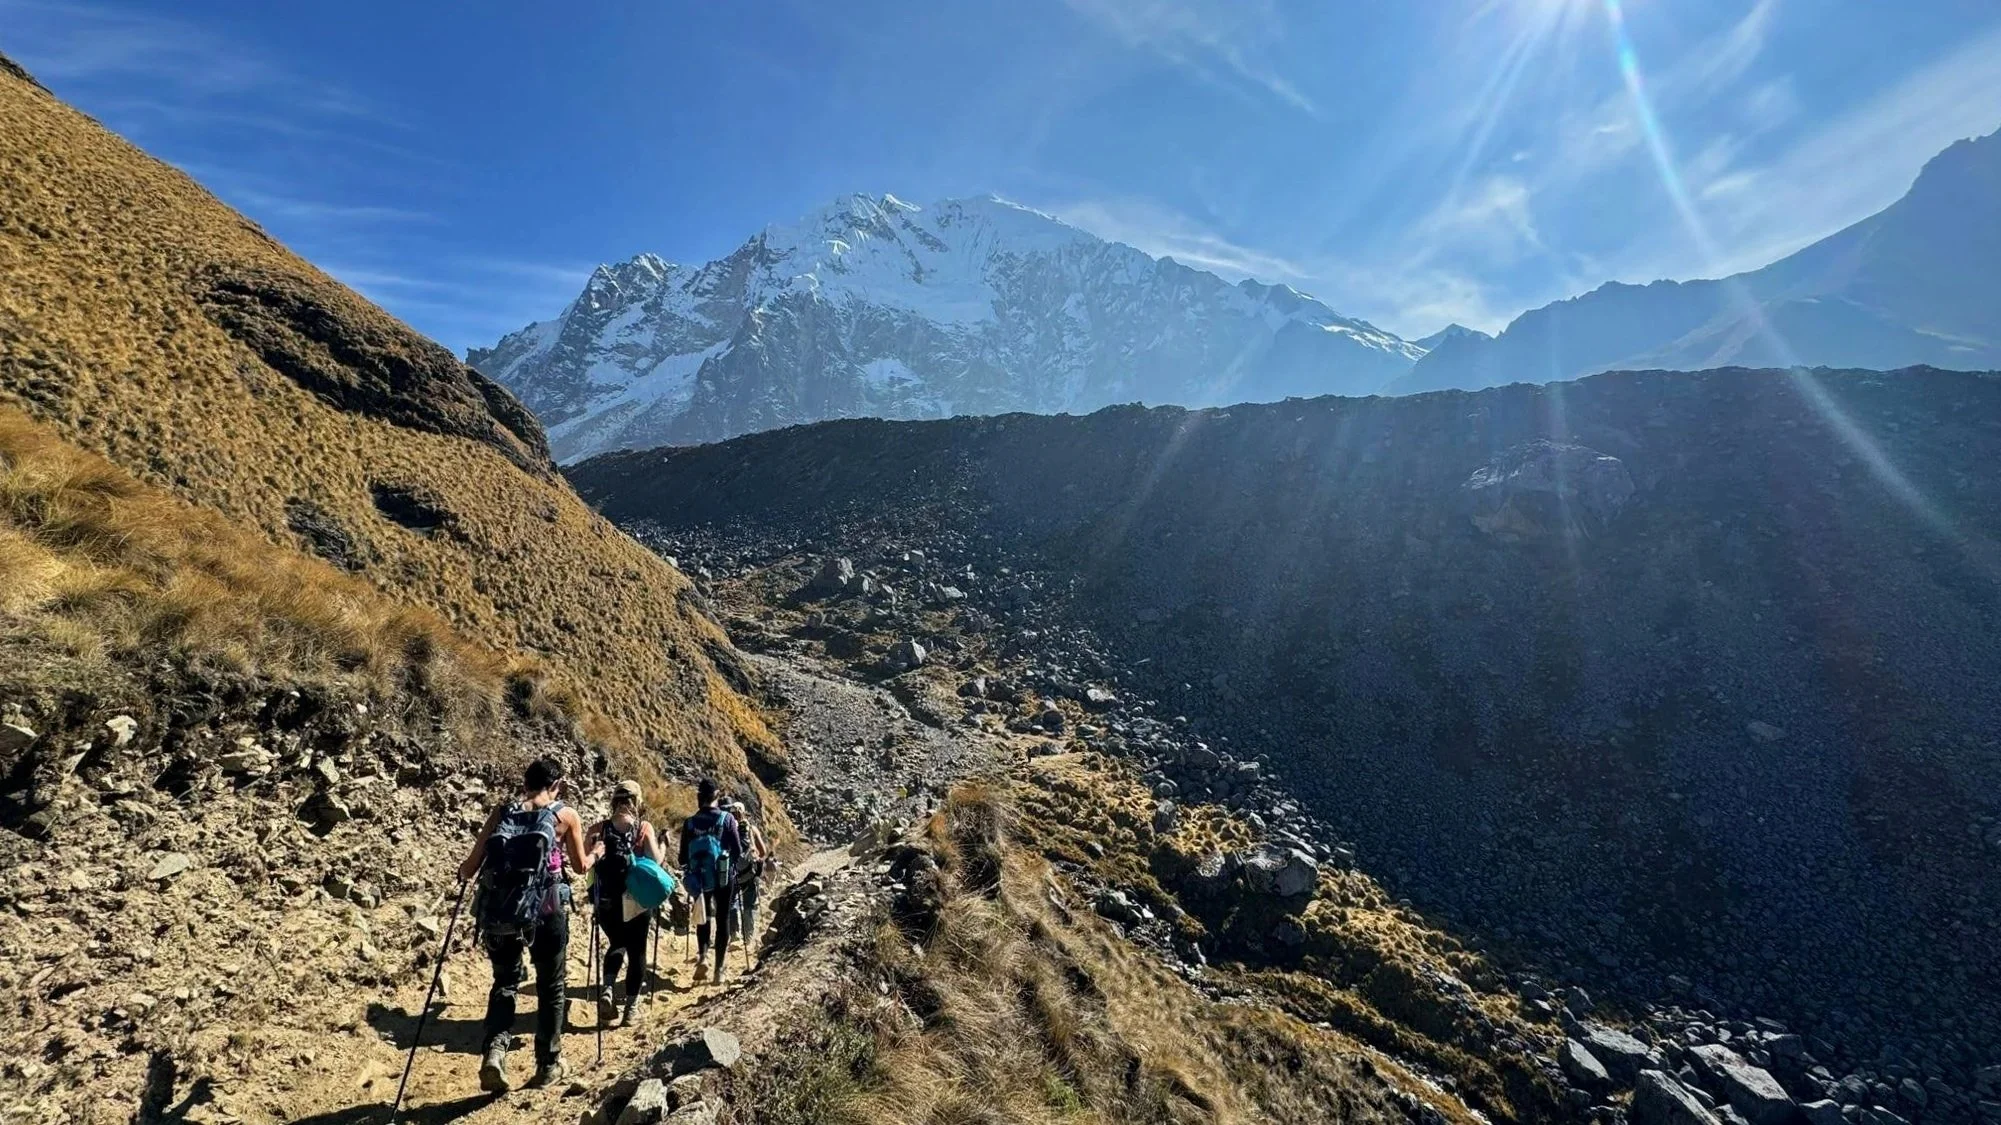
Salkantay Trek in Peru
While deciding what to wear, opt for moisture-wicking fabrics (such as polyester, nylon, or wool) over those that retain sweat (like cotton).
But the apparel decision that will make-or-break your experience? Footwear! I’m talking shoes and socks here. To avoid blisters, heed my warning.
Although I do recommend investing in good hiking boots eventually, if you’re starting with well-maintained, short, low-grade hikes, you’ll likely be fine with a good, sturdy pair of running shoes. If you have weak ankles, tread carefully and consider high-cut options when you’re ready to invest. Get ready to upgrade when you’re ready challenge yourself with trails that are less-maintained, have higher elevation, or are especially long — more time hiking, means more friction, means more blisters.
Lastly, let’s talk socks. The difference between a regular old pair of socks and a good pair of merino wool hiking socks? I can’t begin to describe it. I love the ones I have from Darn Tough; they have a lifetime warranty and survived a tug-of-war attempt by my foster dog (despite a couple bite marks around the ankle). Tys has a pair from Smartwool, and he has no complaints either!
What to Pack
Not sure what to bring? We’re aiming for prepared, but not overpacked — unnecessary weight while hiking up a mountain is not what you want.
A good place to start is with the 10 hiking essentials; most of them you will hopefully never use, but they’re essentials for a reason. And when you’re exploring the outdoors, it’s always best to be prepared for the “what if” moments.
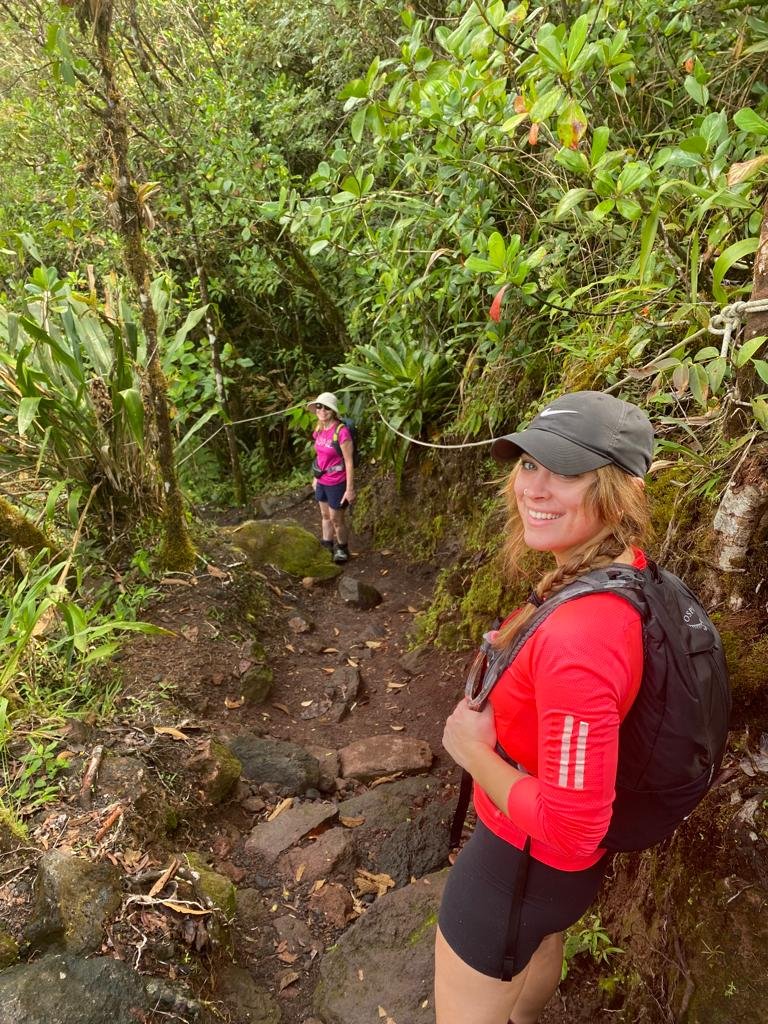
1968 Lava Trails in Costa Rica
Navigation: Whether this is investing in an InReach Garmin, or familiarizing yourself with how to use a compass and map, have some sort of mapping tool handy. Your phone is great when it works, but don’t rely on it. Between spotty service and battery life, it should never be your only plan.
Illumination: A headlamp or flashlight, fully charged/with fresh batteries, even if the plan is to be back well before nightfall. Delays happen, and you don’t want to be wandering around in total darkness.
Sun protection: Sunglasses, a hat and sunscreen. A lot of trails are very exposed, and we love protecting our skin!
First aid: Buy a premade kit with all the basics (gauze, bandages, splint, painkillers, etc) and add in hiking-specific extras like bug repellent, blister bandages or moleskin pads, etc.
Knife: A compact blade to use in case of emergencies. Most people opt for a multitool option when starting out.
Fire: A box of matches or a lighter. I’d suggest keeping them in a waterproof bag to keep them dry.
Shelter: In case you end up lost, injured, or otherwise, carry something that will protect you from the elements. A space blanket is a great, compact, lightweight option that will keep you warm while waiting for help.
Food: More than minimum expectation. It is often recommended to carry an extra day’s worth of nutrition. Aim for no-cook, healthy options like trail mix and granola bars.
Hydration: More than minimum expectation. Personally, I love using a water bladder in my day pack. I usually bring a secondary lightweight, one-litre water bottle that I use to treat water when necessary. Carrying purification tablets or other filtering methods (pumps, Lifestraw, etc) are a lightweight alternative to carrying the extra weight. Bonus: carry electrolytes to help avoid dehydration.
Extra clothes: This is that three-layer rule again. Make sure you’re prepared for unexpected changes in the weather by following it.
BONUS: Pack a whistle. If you end up needing help, blowing a whistle is more effective than shouting and hoping someone hears you before you lose your voice.
A twisted ankle, or wrong turn, can lead to the unexpected, and by packing these ten items, you’ll be prepared for most situations. You can find all of these items at outdoor shops like MEC or L.L. Bean, amongst others.
Staying Safe
99% of the time, there are no surprises on the trail, but safe hiking is all about being prepared! Some of the most important safety steps happen before you even set foot on the trail.
Invite an experienced hiking friend if you have one. It’s a great way to get some tips and can give you a sense of ease when there’s someone with a little more knowledge to lean on.
Tell someone where you’re going and when you’ll be back. In worst-case scenarios, you want someone not on the trail to know where you were last expected to be.
Plan to give yourself lots of time. Accidents happen when you rush, so allow some wiggle room and go at your own pace.
Familiarize yourself with the route before you go. Check current conditions, read reviews, and look at the map so you have an idea of what turns you’ll be taking. AllTrails is a popular mapping tool that offers offline maps available to subscribers.
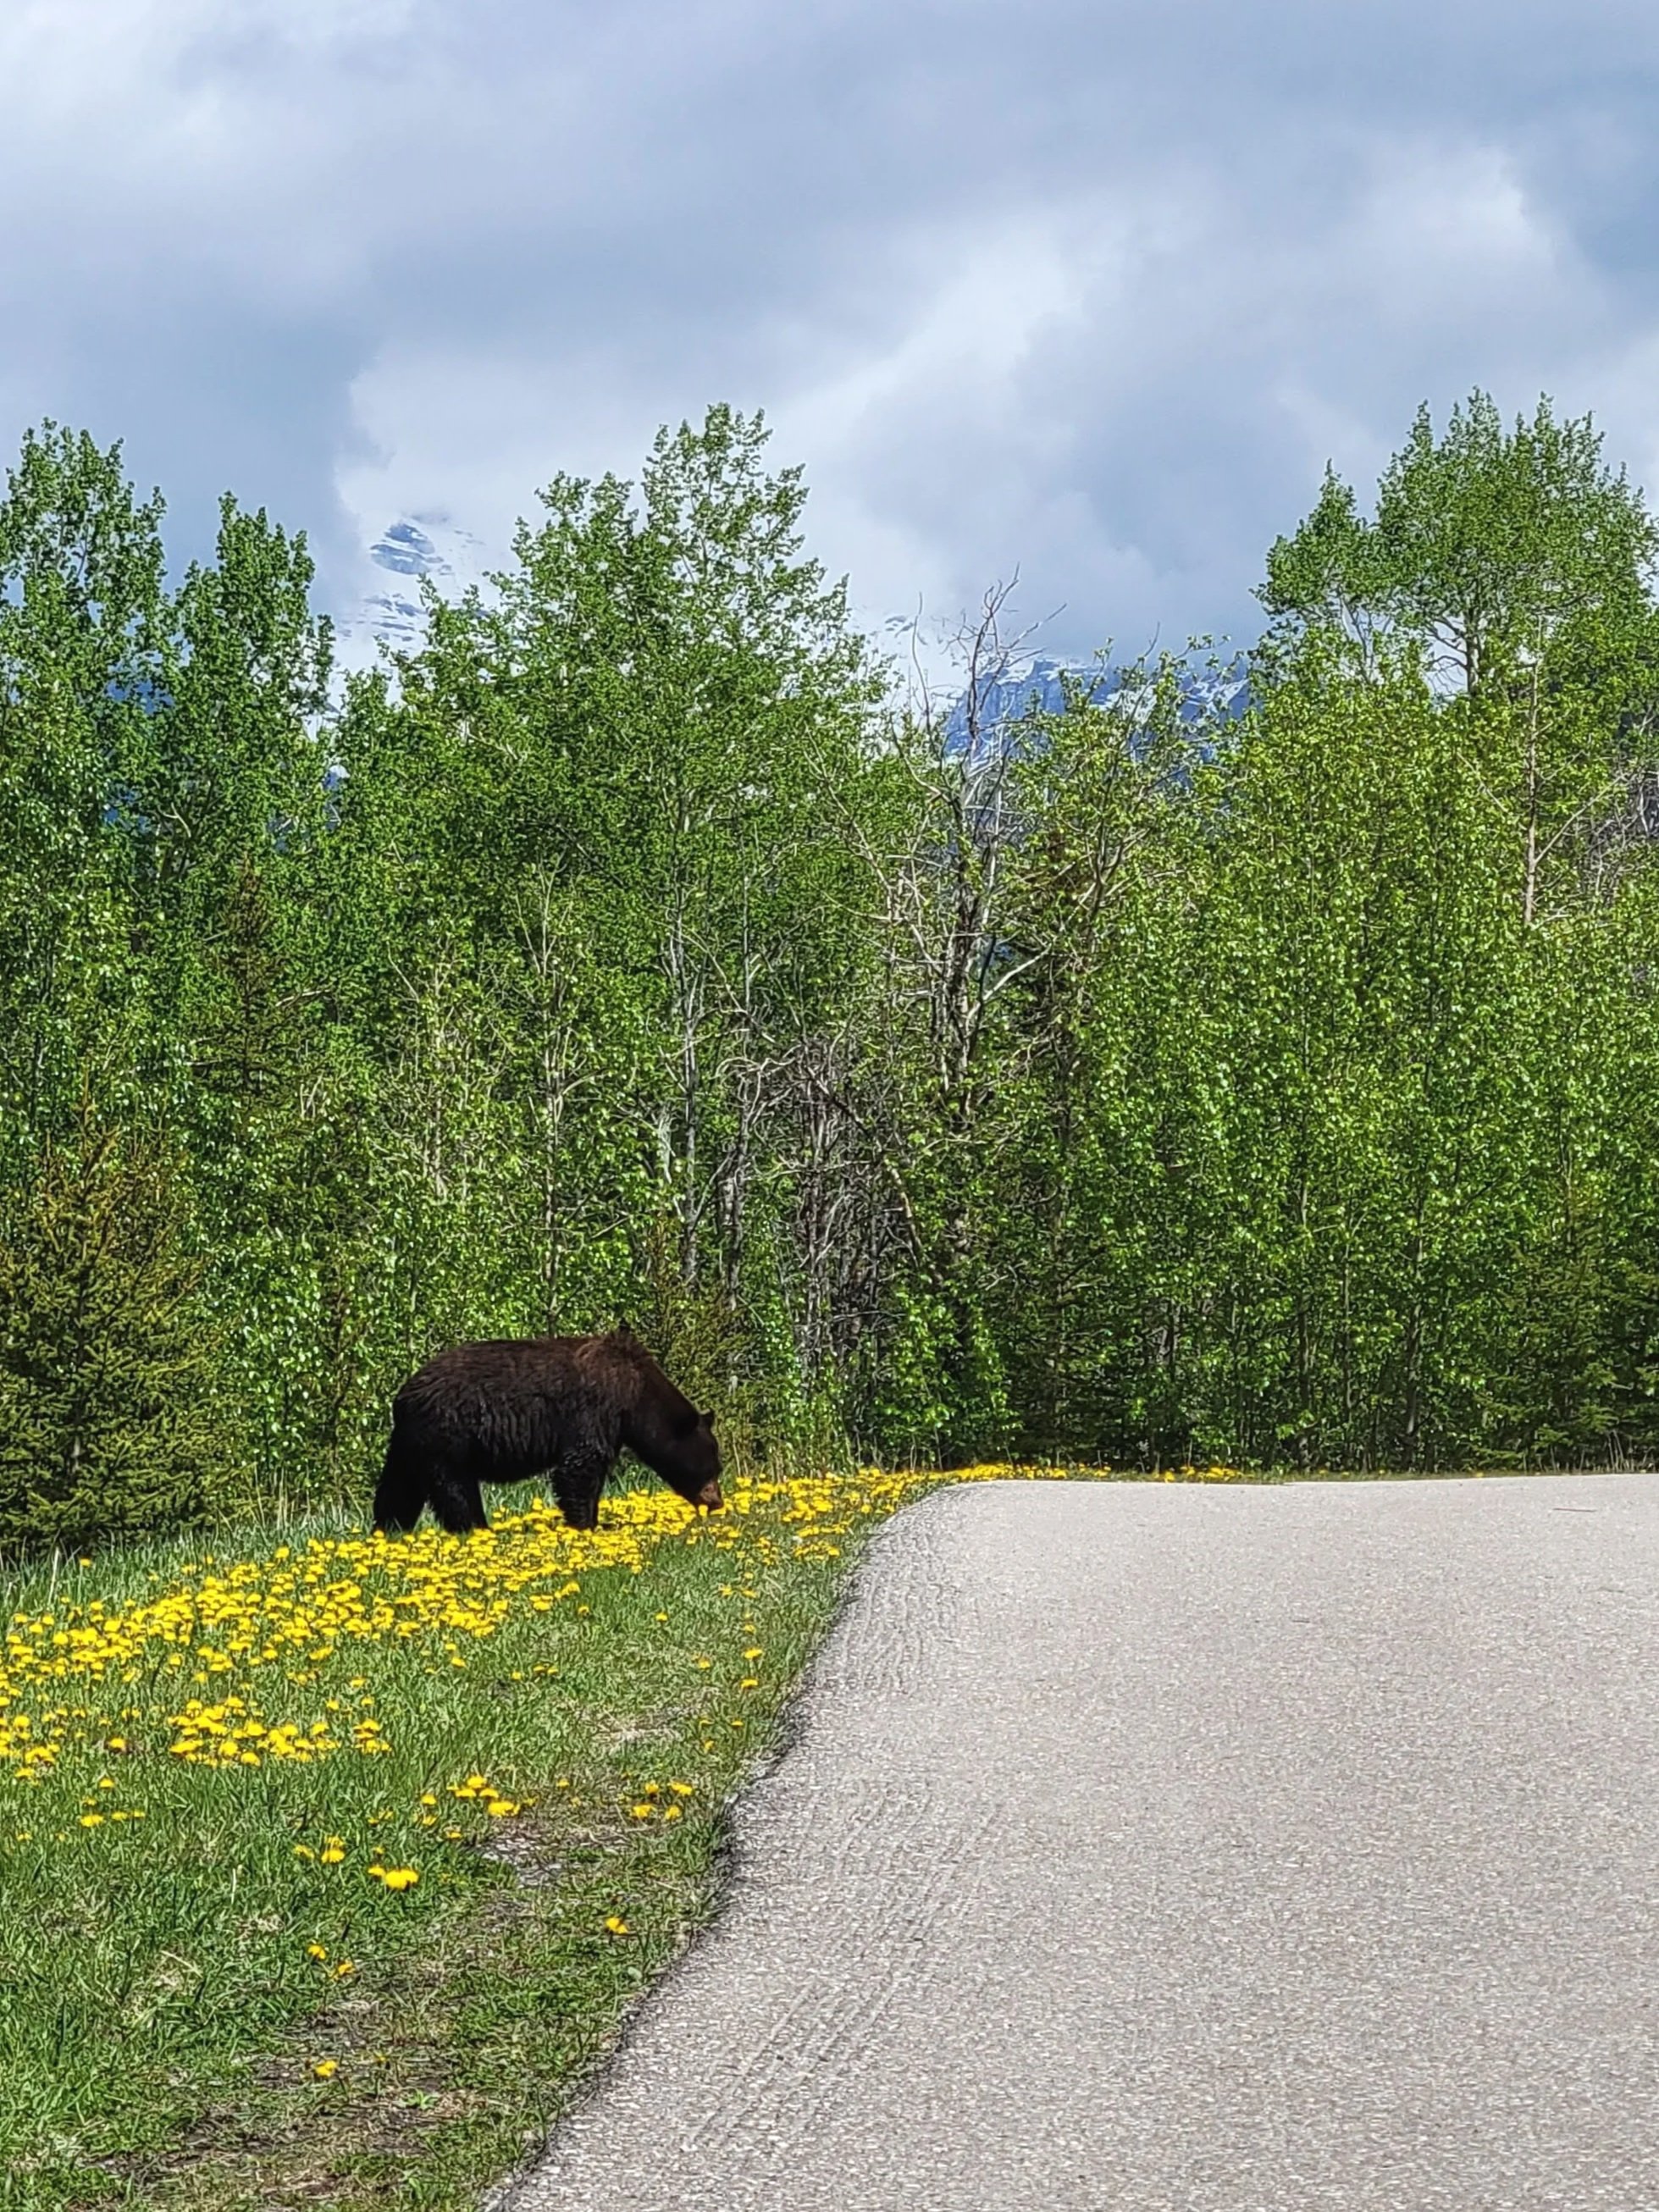
A bear eating dandelions in Banff
Wildlife is another thing to consider before you set out into the woods. The main things to remember is to keep your distance, stay calm, and be informed. Obviously, possible wildlife interactions vary depending on where you are in the world, so do a little research on the region you’re exploring.
A few tips based on my Canadian wildlife knowledge:
DO NOT RUN. Running only triggers the predator instinct.
Bear spray: Buy some if you’re in bear country and learn how to use it so you’re prepared.
Black bears: Get big and make noise. They’re predators but prefer to avoid human interactions when they can. Wave your arms, stomp your feet, talk loudly.
Brown bears/grizzlies: Appear non threatening, and do not run. Back away slowly and speak calmly. If it continues to advance on you, stand your ground and use your bear spray. If it does make contact, fall over and play dead until it loses interest.
Cougars: Cats are stalkers, meaning they try to remain unseen and follow their prey. So again, running is a no. Turn to face the cougar, do not take your eyes off of it. Make yourself appear as big as possible. If it attacks, fight back. People have fought off cougars with their hands, coats, hats, and more.
A great preventative measure is to keep casual conversation and make human sounds. These animals don’t want to run into you any more than you want to run into them, and will typically move along if they hear you coming. They have powerful hearing, so you don’t need to be obnoxious; just make your presence known.
After three visits to the Canadian Rockies, my family and I have only ever seen bears near the trailhead or from the car. Not to say that unexpected encounters can’t happen on the trails, but they aren’t incredibly common either.
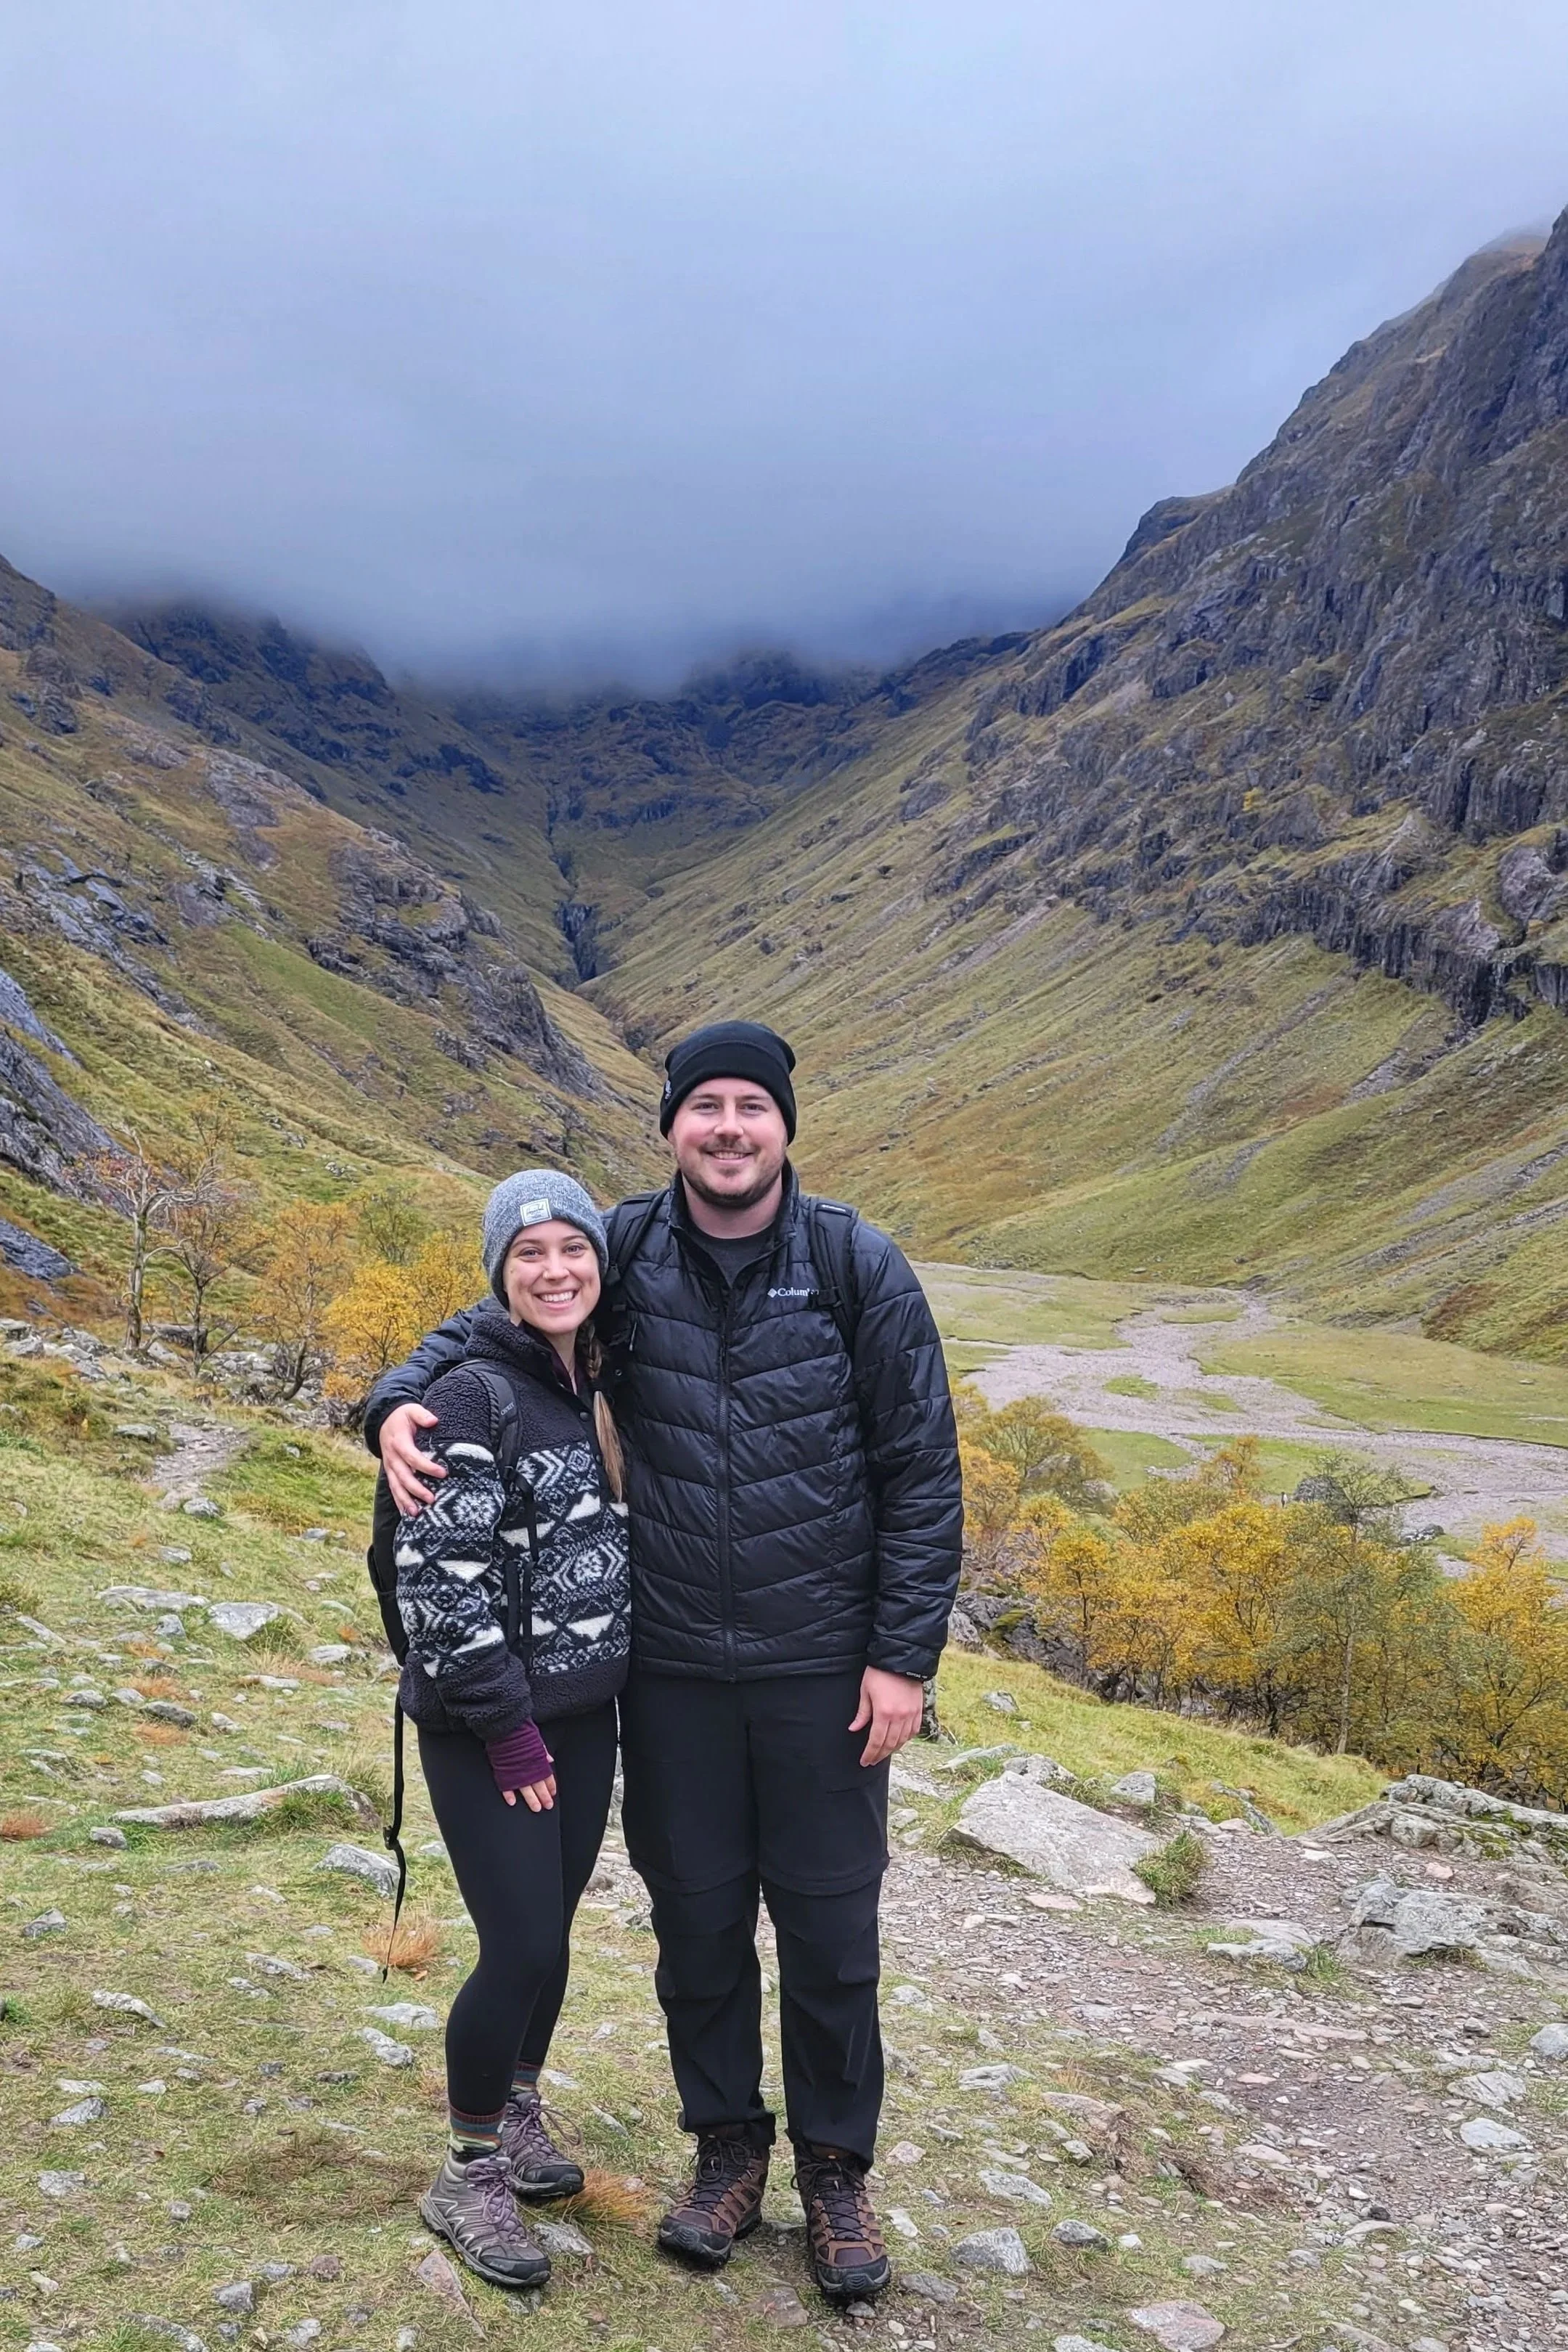
Lost Valley Hike in Glencoe, Scotland
Hiking Etiquette
Let’s take a minute to talk about the generally agreed upon dos and don’ts of exploring the outdoors. If you’re planning to start hiking, I hope you’re of the mindset that it is our responsibility to protect people and place. It’s important to respect the landscape, wildlife, and other hikers so everyone can continue to enjoy these escapes.
Leave no trace (LNT). This one might be the most important. It is not a suggestion, it is a rule. We want to maintain the beauty of nature, and that means leaving no indication that you were there. Don’t wander off the path, don’t leave litter behind, and don’t take “souvenirs” from the landscape.
Keep your noise pollution to a minimum. Avoid disrupting the peace and quiet of the outdoors for other hikers. No one else wants to hear your music or hear every detail of your conversation.
Respect the right of way. The generally agreed-upon rule is that uphill has the right of way. Not only is their field of vision normally smaller, but climbing also requires more effort than descending. Step to the side and let them keep their momentum!
What to do if you’ve got to “go.” Gross, I know, but it’s a reality. Some regions will have drop toilets, which you should try to use if you can. If there aren’t any, walk off-trail until you are out of view. Stay at least 60 metres (200 ft) away from water sources to avoid runoff. If it’s “number two,” use a trowel or a stick and dig a hole, then bury it. Left unburied, not only is it gross and disrespectful to others, but it can also attract wildlife and spread illnesses. Be sure to carry out your toilet paper to keep in line with the LNT rule.