Kananaskis Country: The Best Day Hikes | Canadian Rockies
visited: AUgust 2021, June 2022🟢 Easy: 0–50 m per km
🟡 Moderate: 50–100 m per km
🟠 Difficult: 100–150 m per km
🔴 Challenging: 150–225 m per km
⚫ Expert: 225+ m per km
Note: I use elevation gain per kilometre as a baseline, but I’ll bump a rating up if the track gets tricky — think roots, loose scree, uneven rocks, or exposed sections. Steepness is only part of the story.
Kananaskis Country is an outdoor lover’s dream. While it’s undeniably beautiful from the road, the best views require stepping onto the trails.
Made up of provincial parks, wildland provincial parks, and smaller recreational areas, Kananaskis is noticeably more rugged than its more commercialized neighbour, Banff. And that unpolished charm is exactly what makes it so appealing. Don’t arrive expecting well-marked trails or paved pull-offs to convenient viewpoints. Kananaskis is quieter, less-developed, and naturally stunning.
Many Kananaskis trails are less-maintained and trail markings aren’t always obvious, so be sure to come prepared with navigation tools (compass and offline maps. AllTrails Premium is terrific for navigating areas with unreliable service.
To explore the parks and recreational areas in Kananaskis, you will need a valid Kananaskis Conservation Pass.
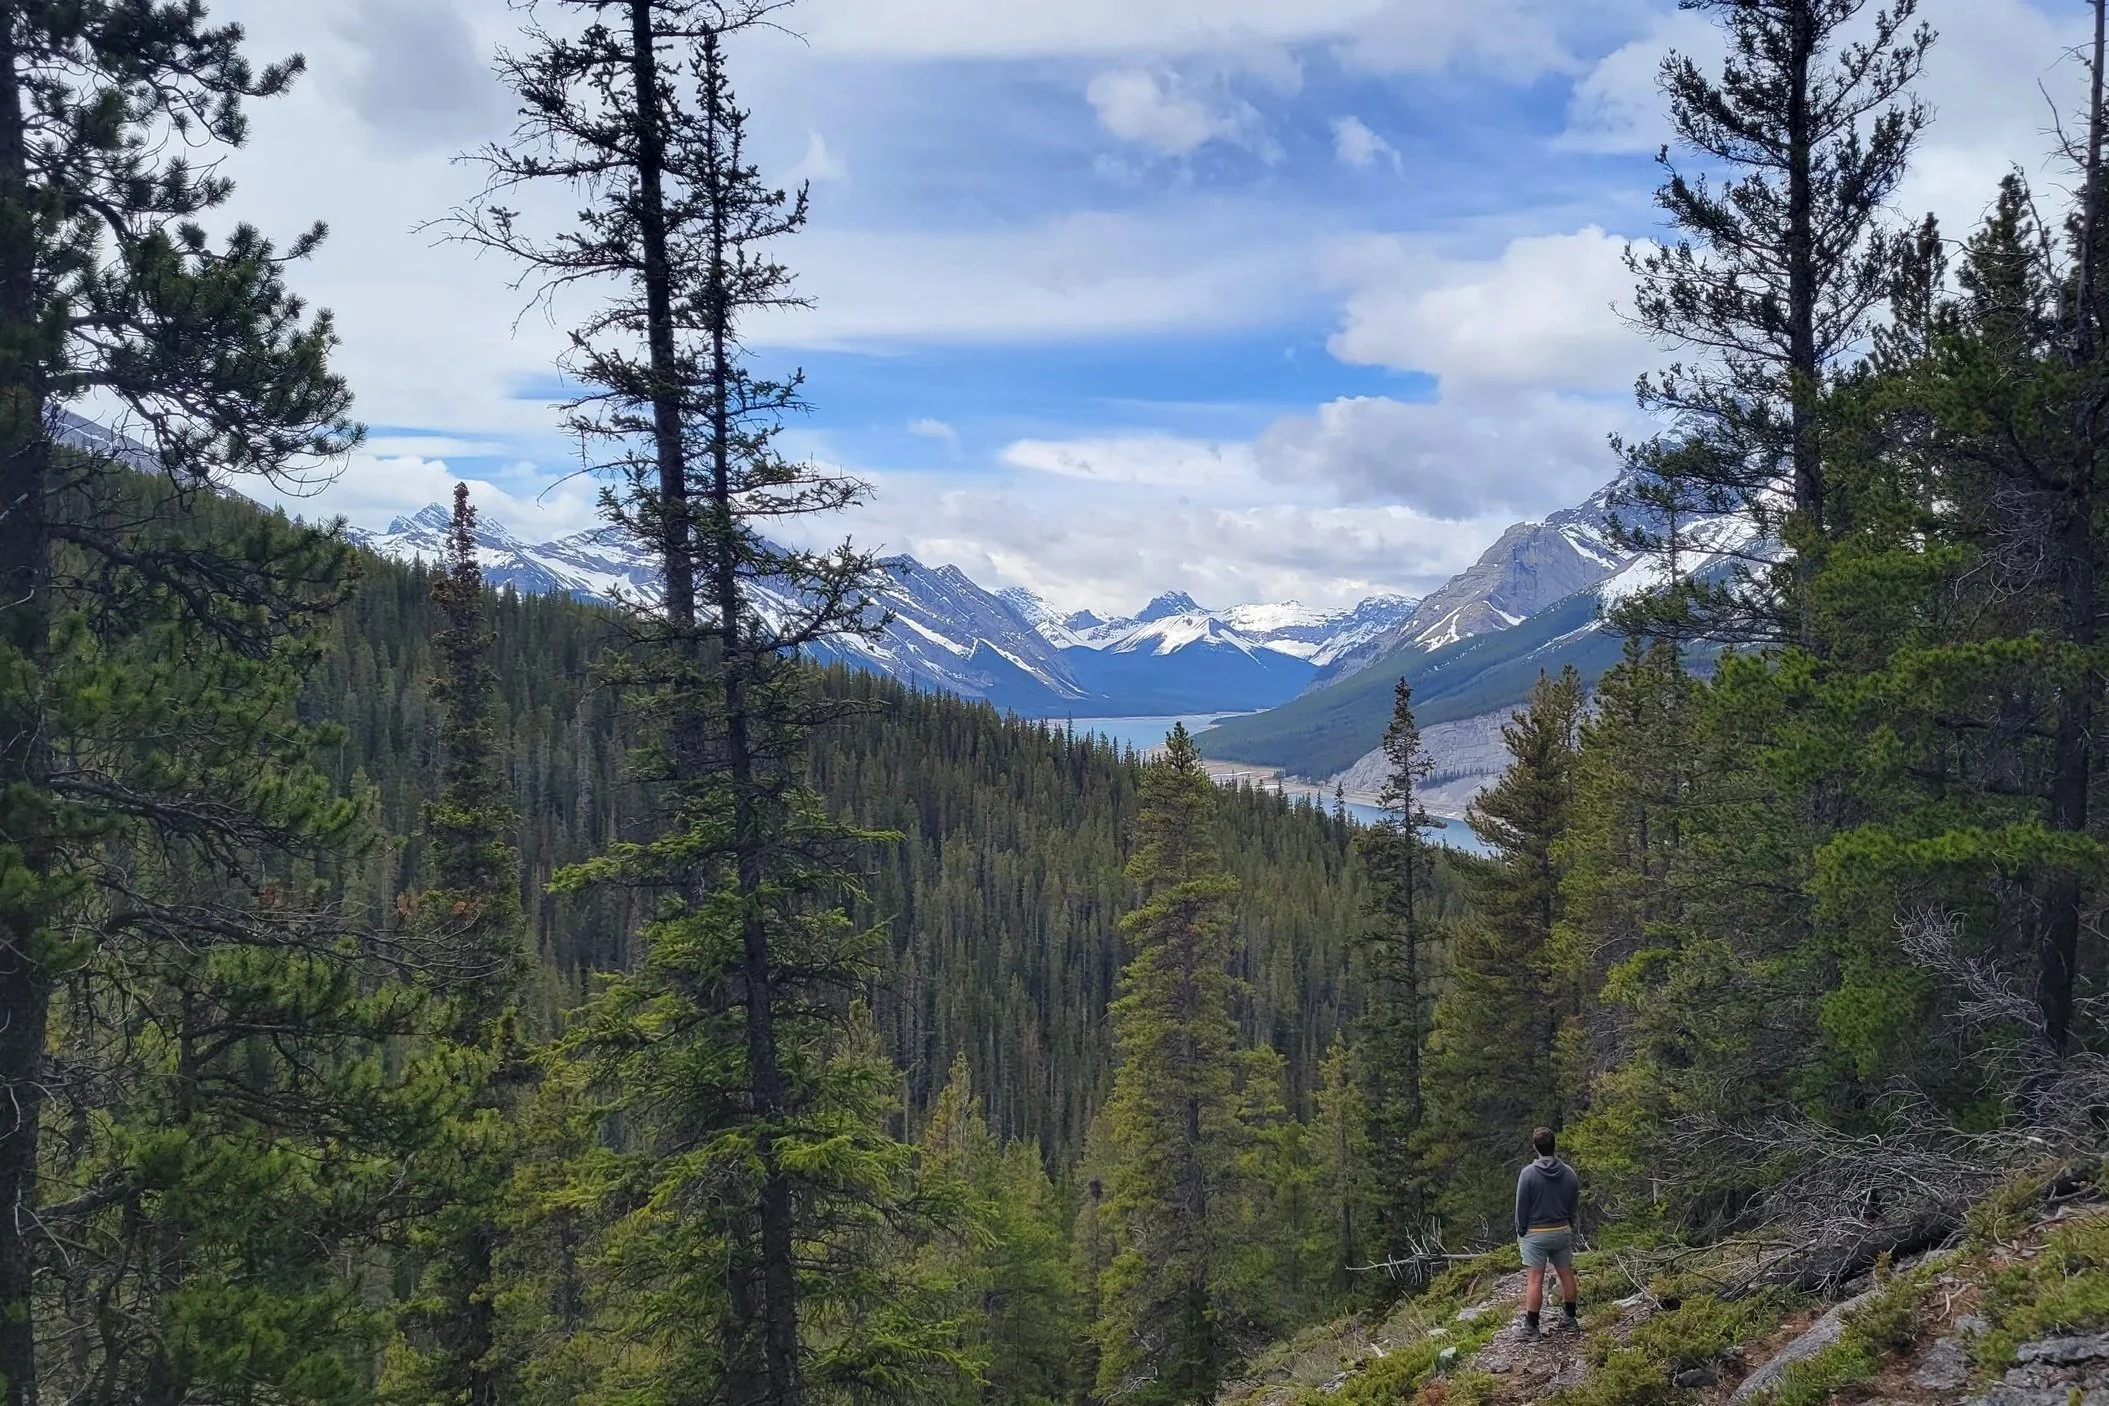
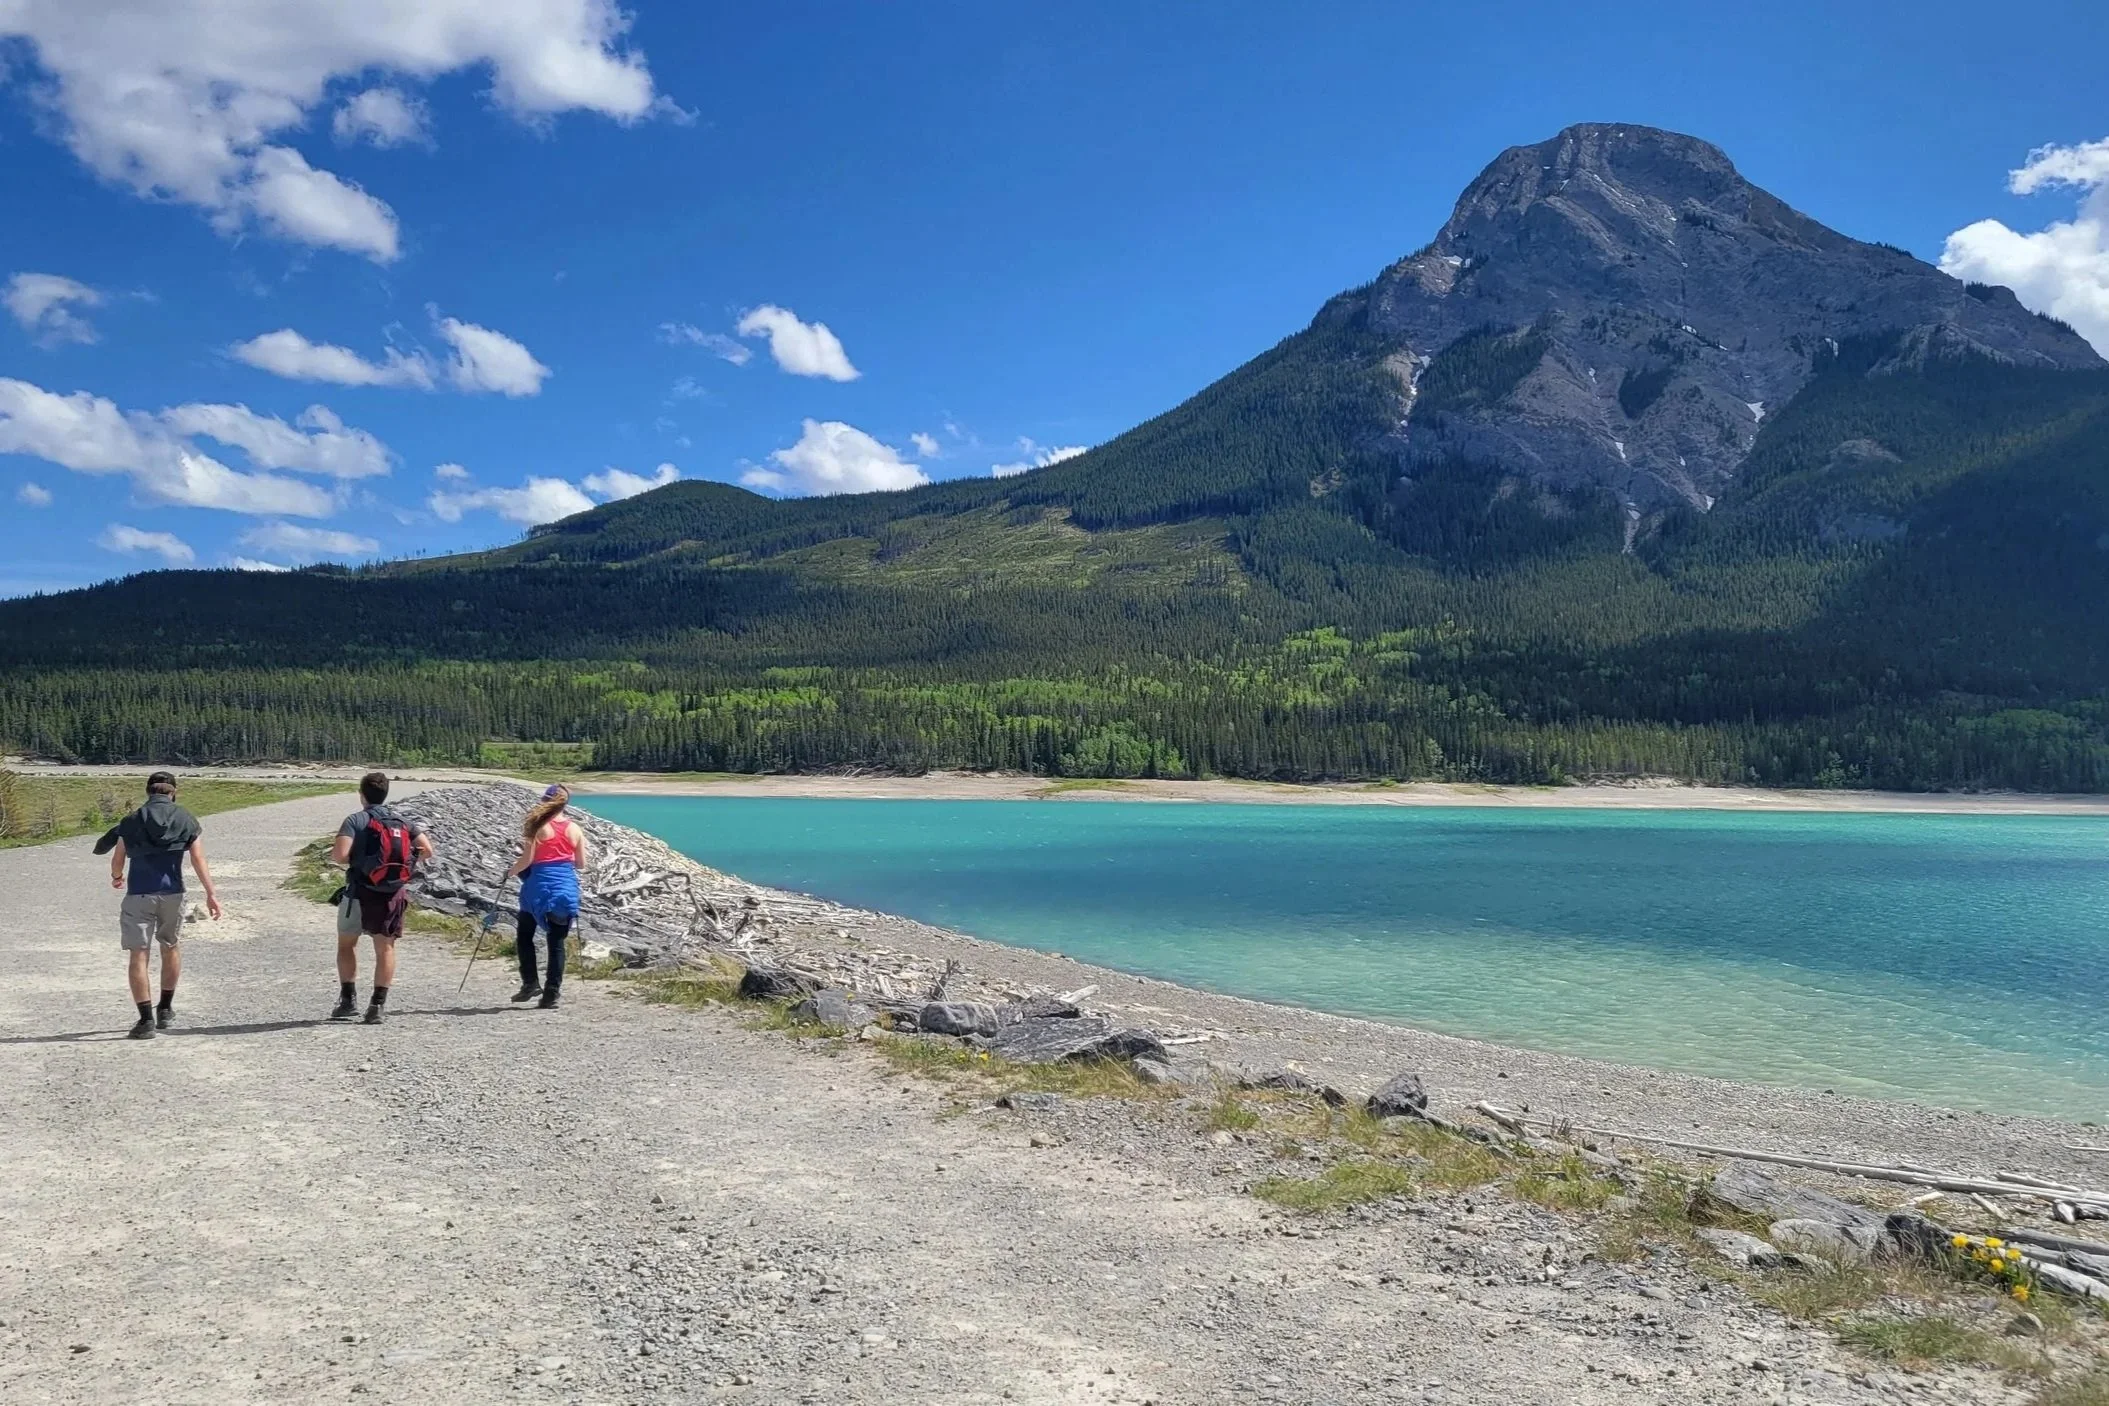
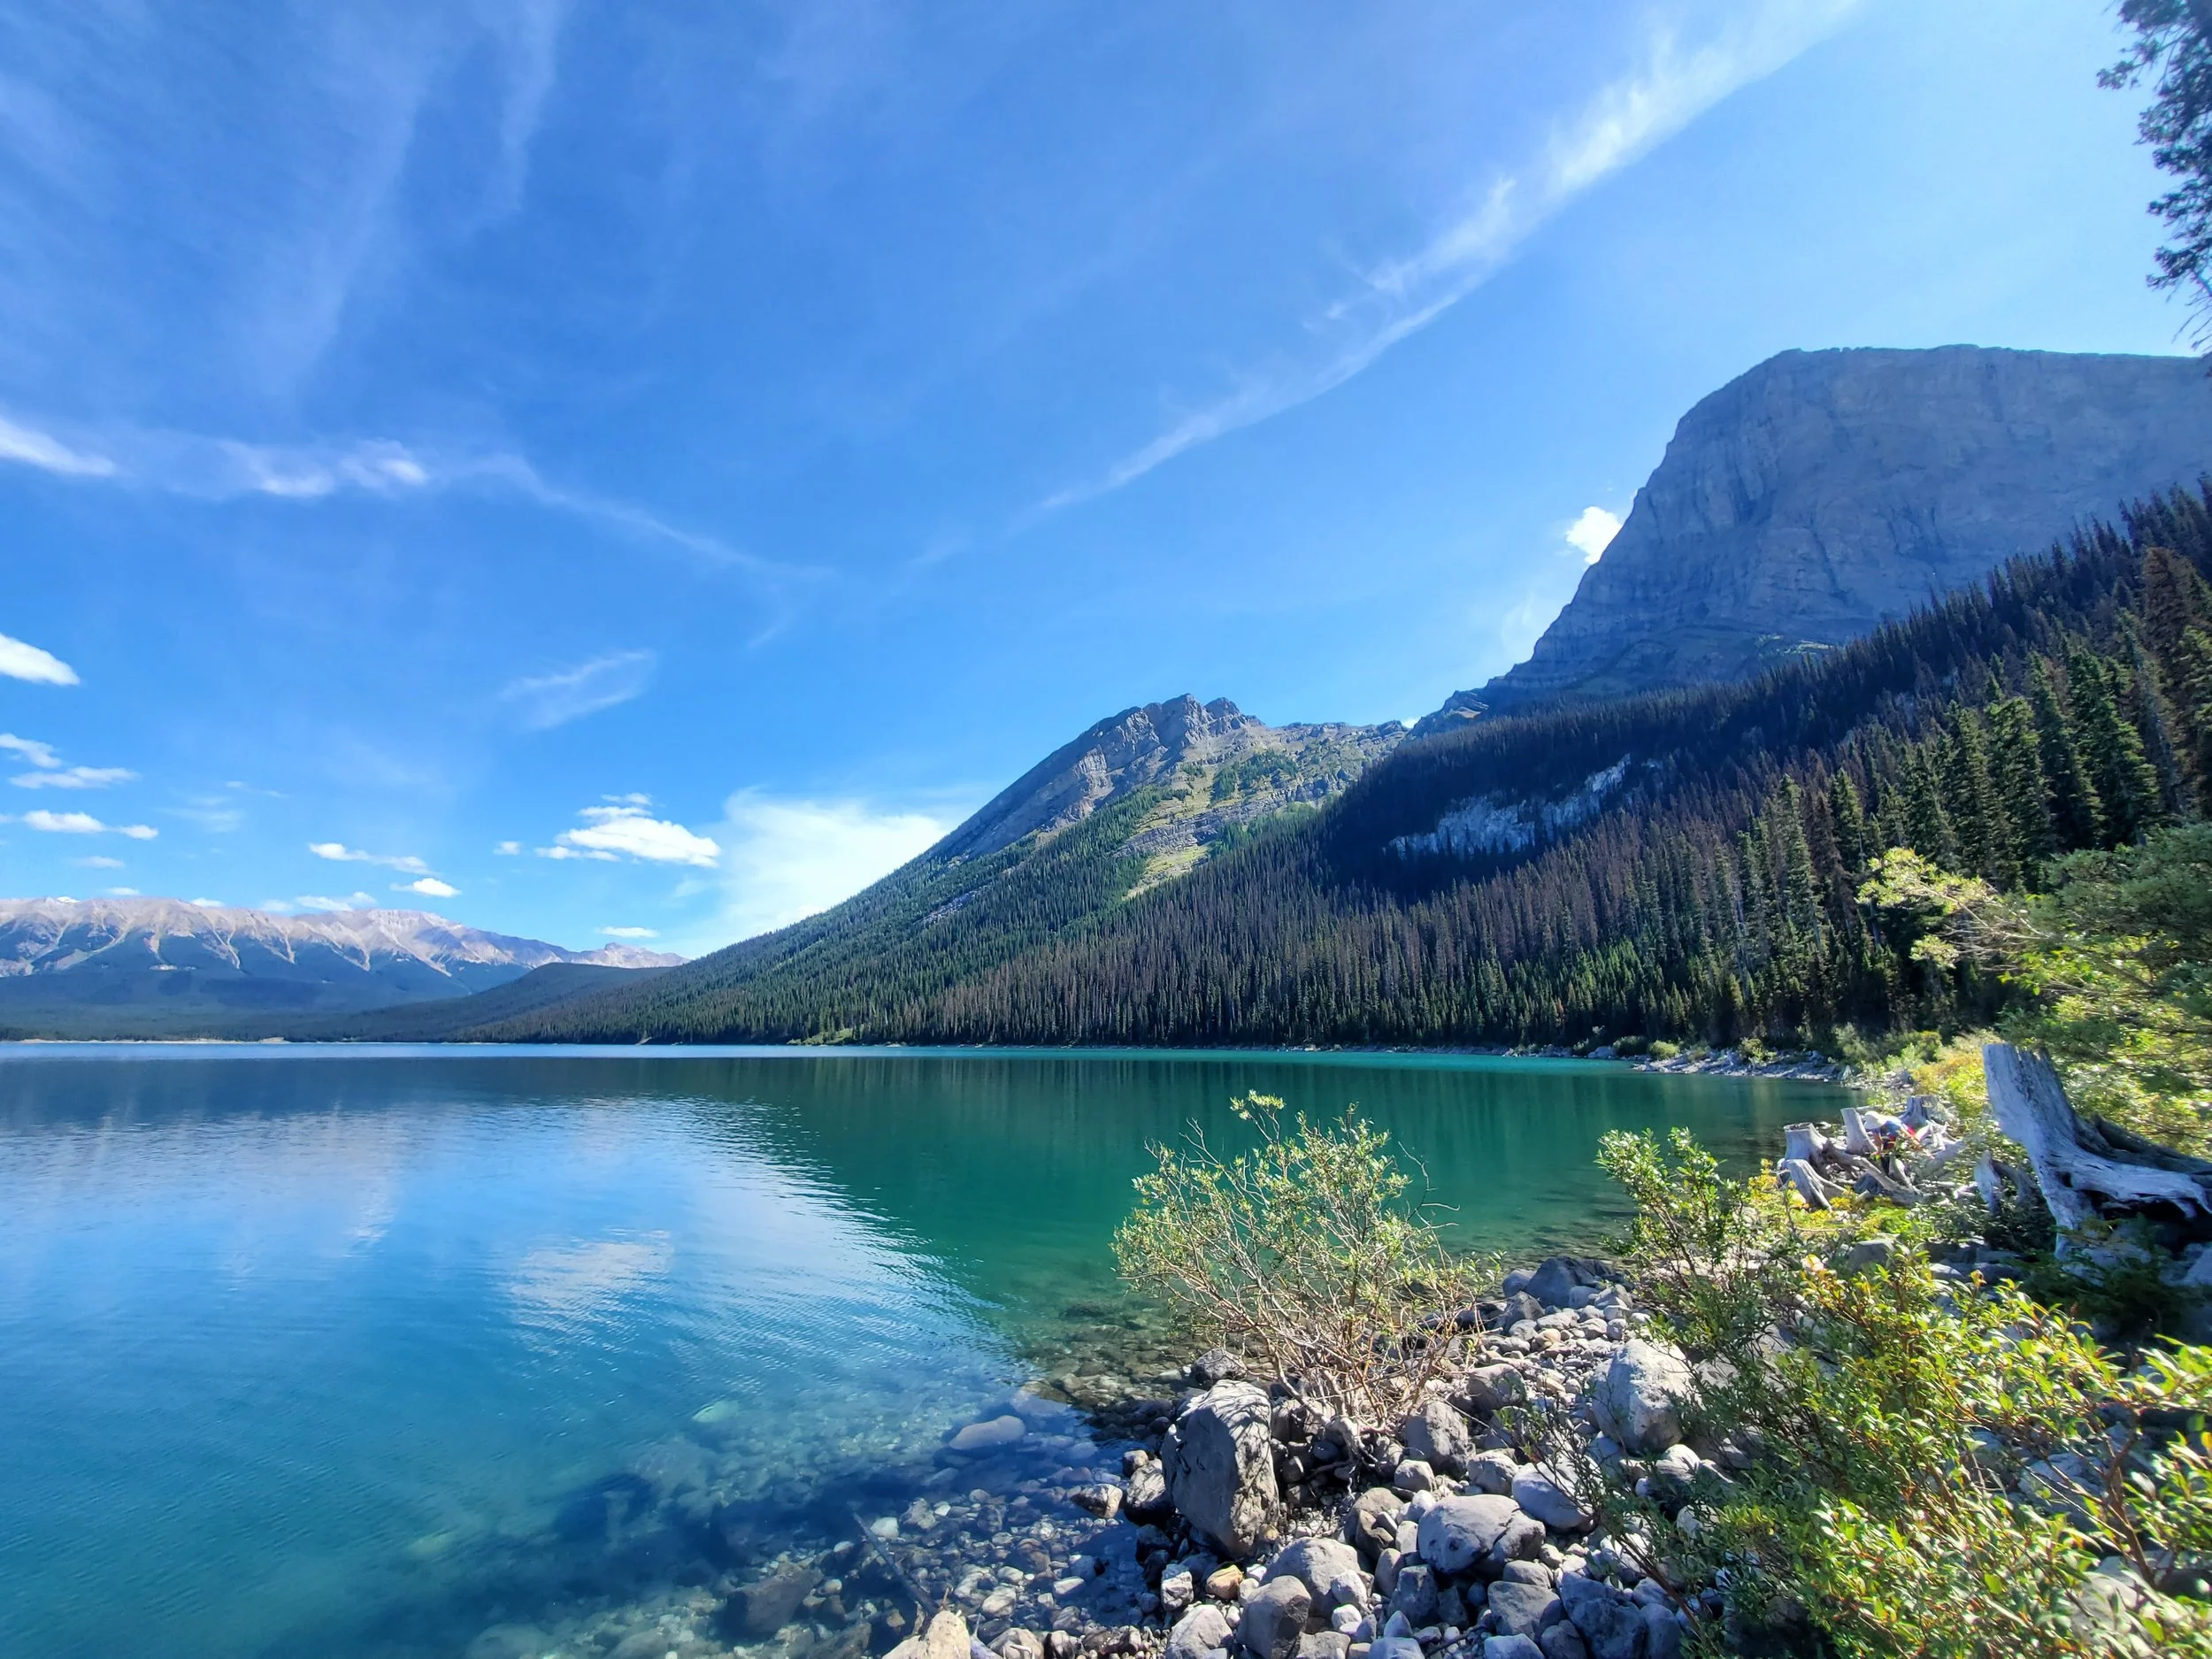
View of Barrier Lake
→ New to hiking? Start here: Hiking 101. Learn how to choose trails, the basics of wildlife encounters, and what to pack (without overdoing it).
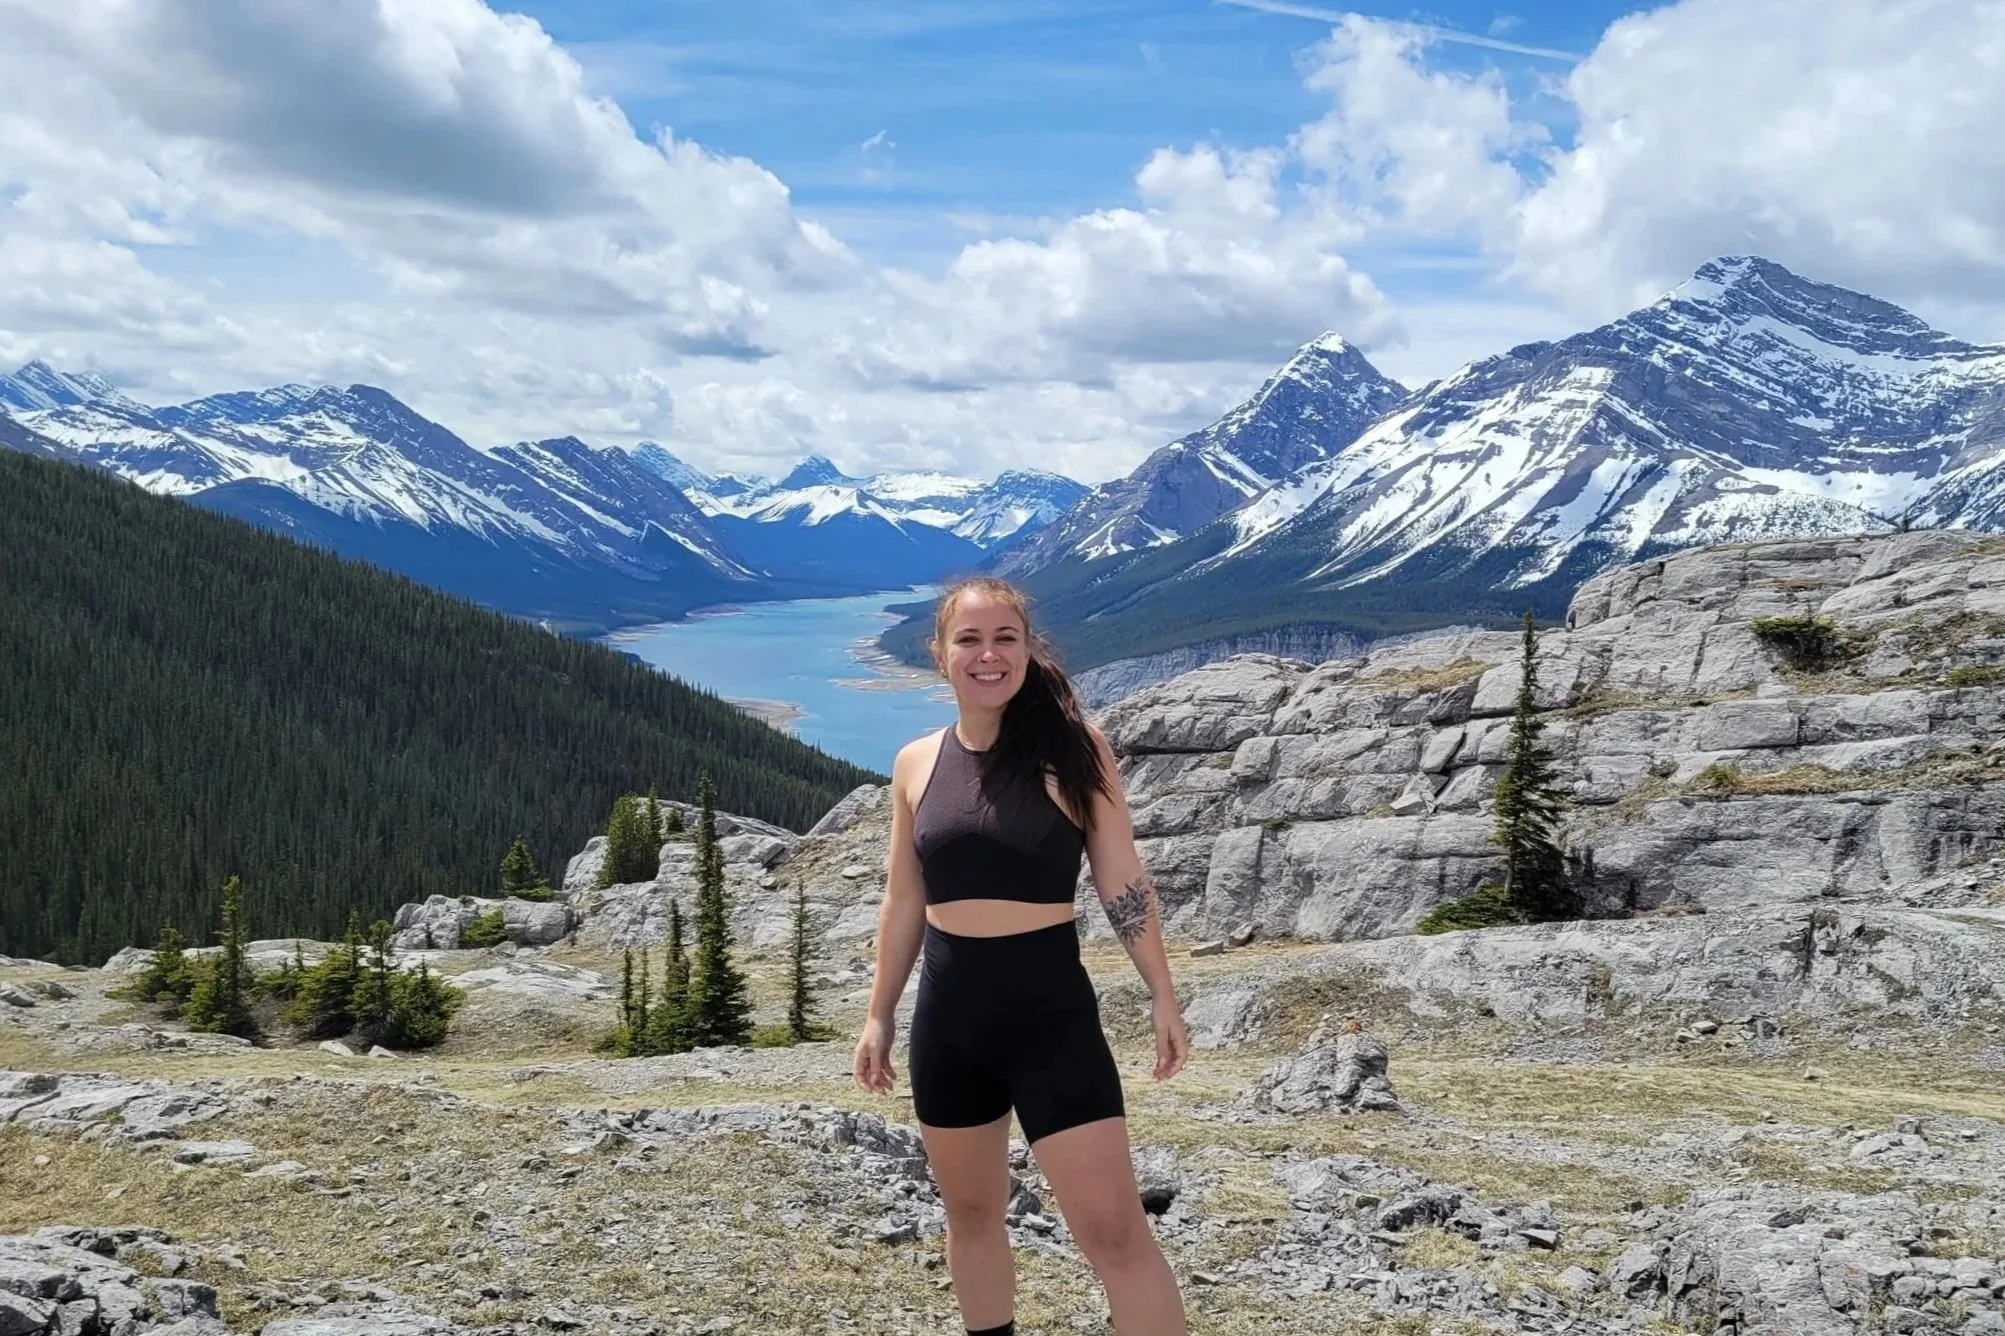
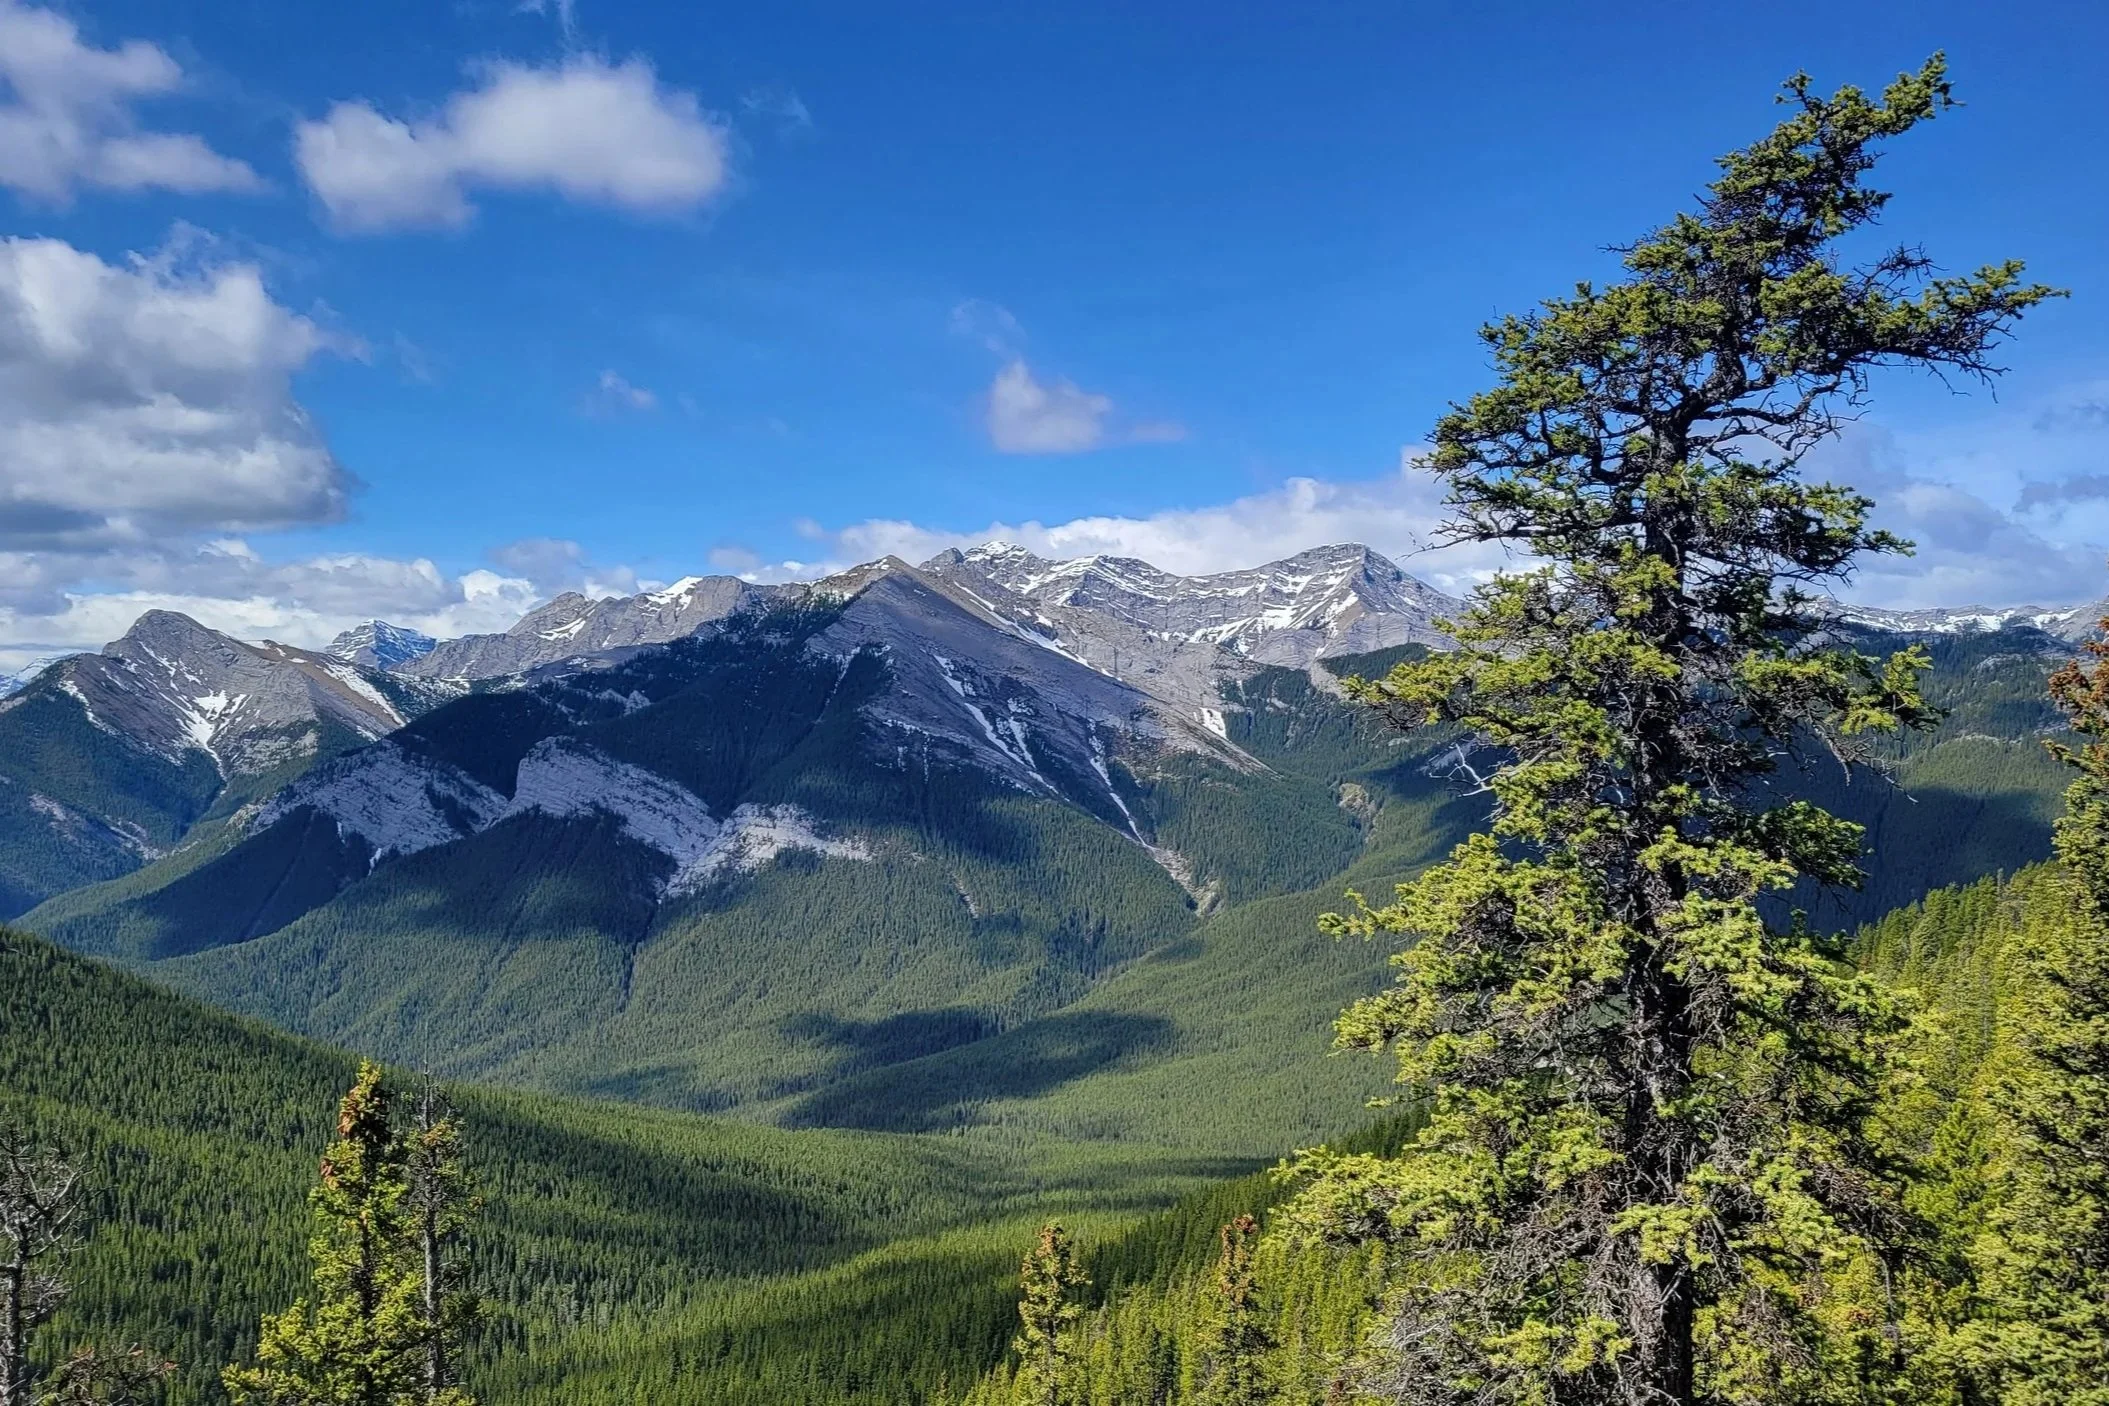
West Wind Pass
Time: 2-2.5 hour return
Difficulty: Moderate
Type: Out-and-back
Distance: 4.7 kilometres
Elevation Gain: 353 metres
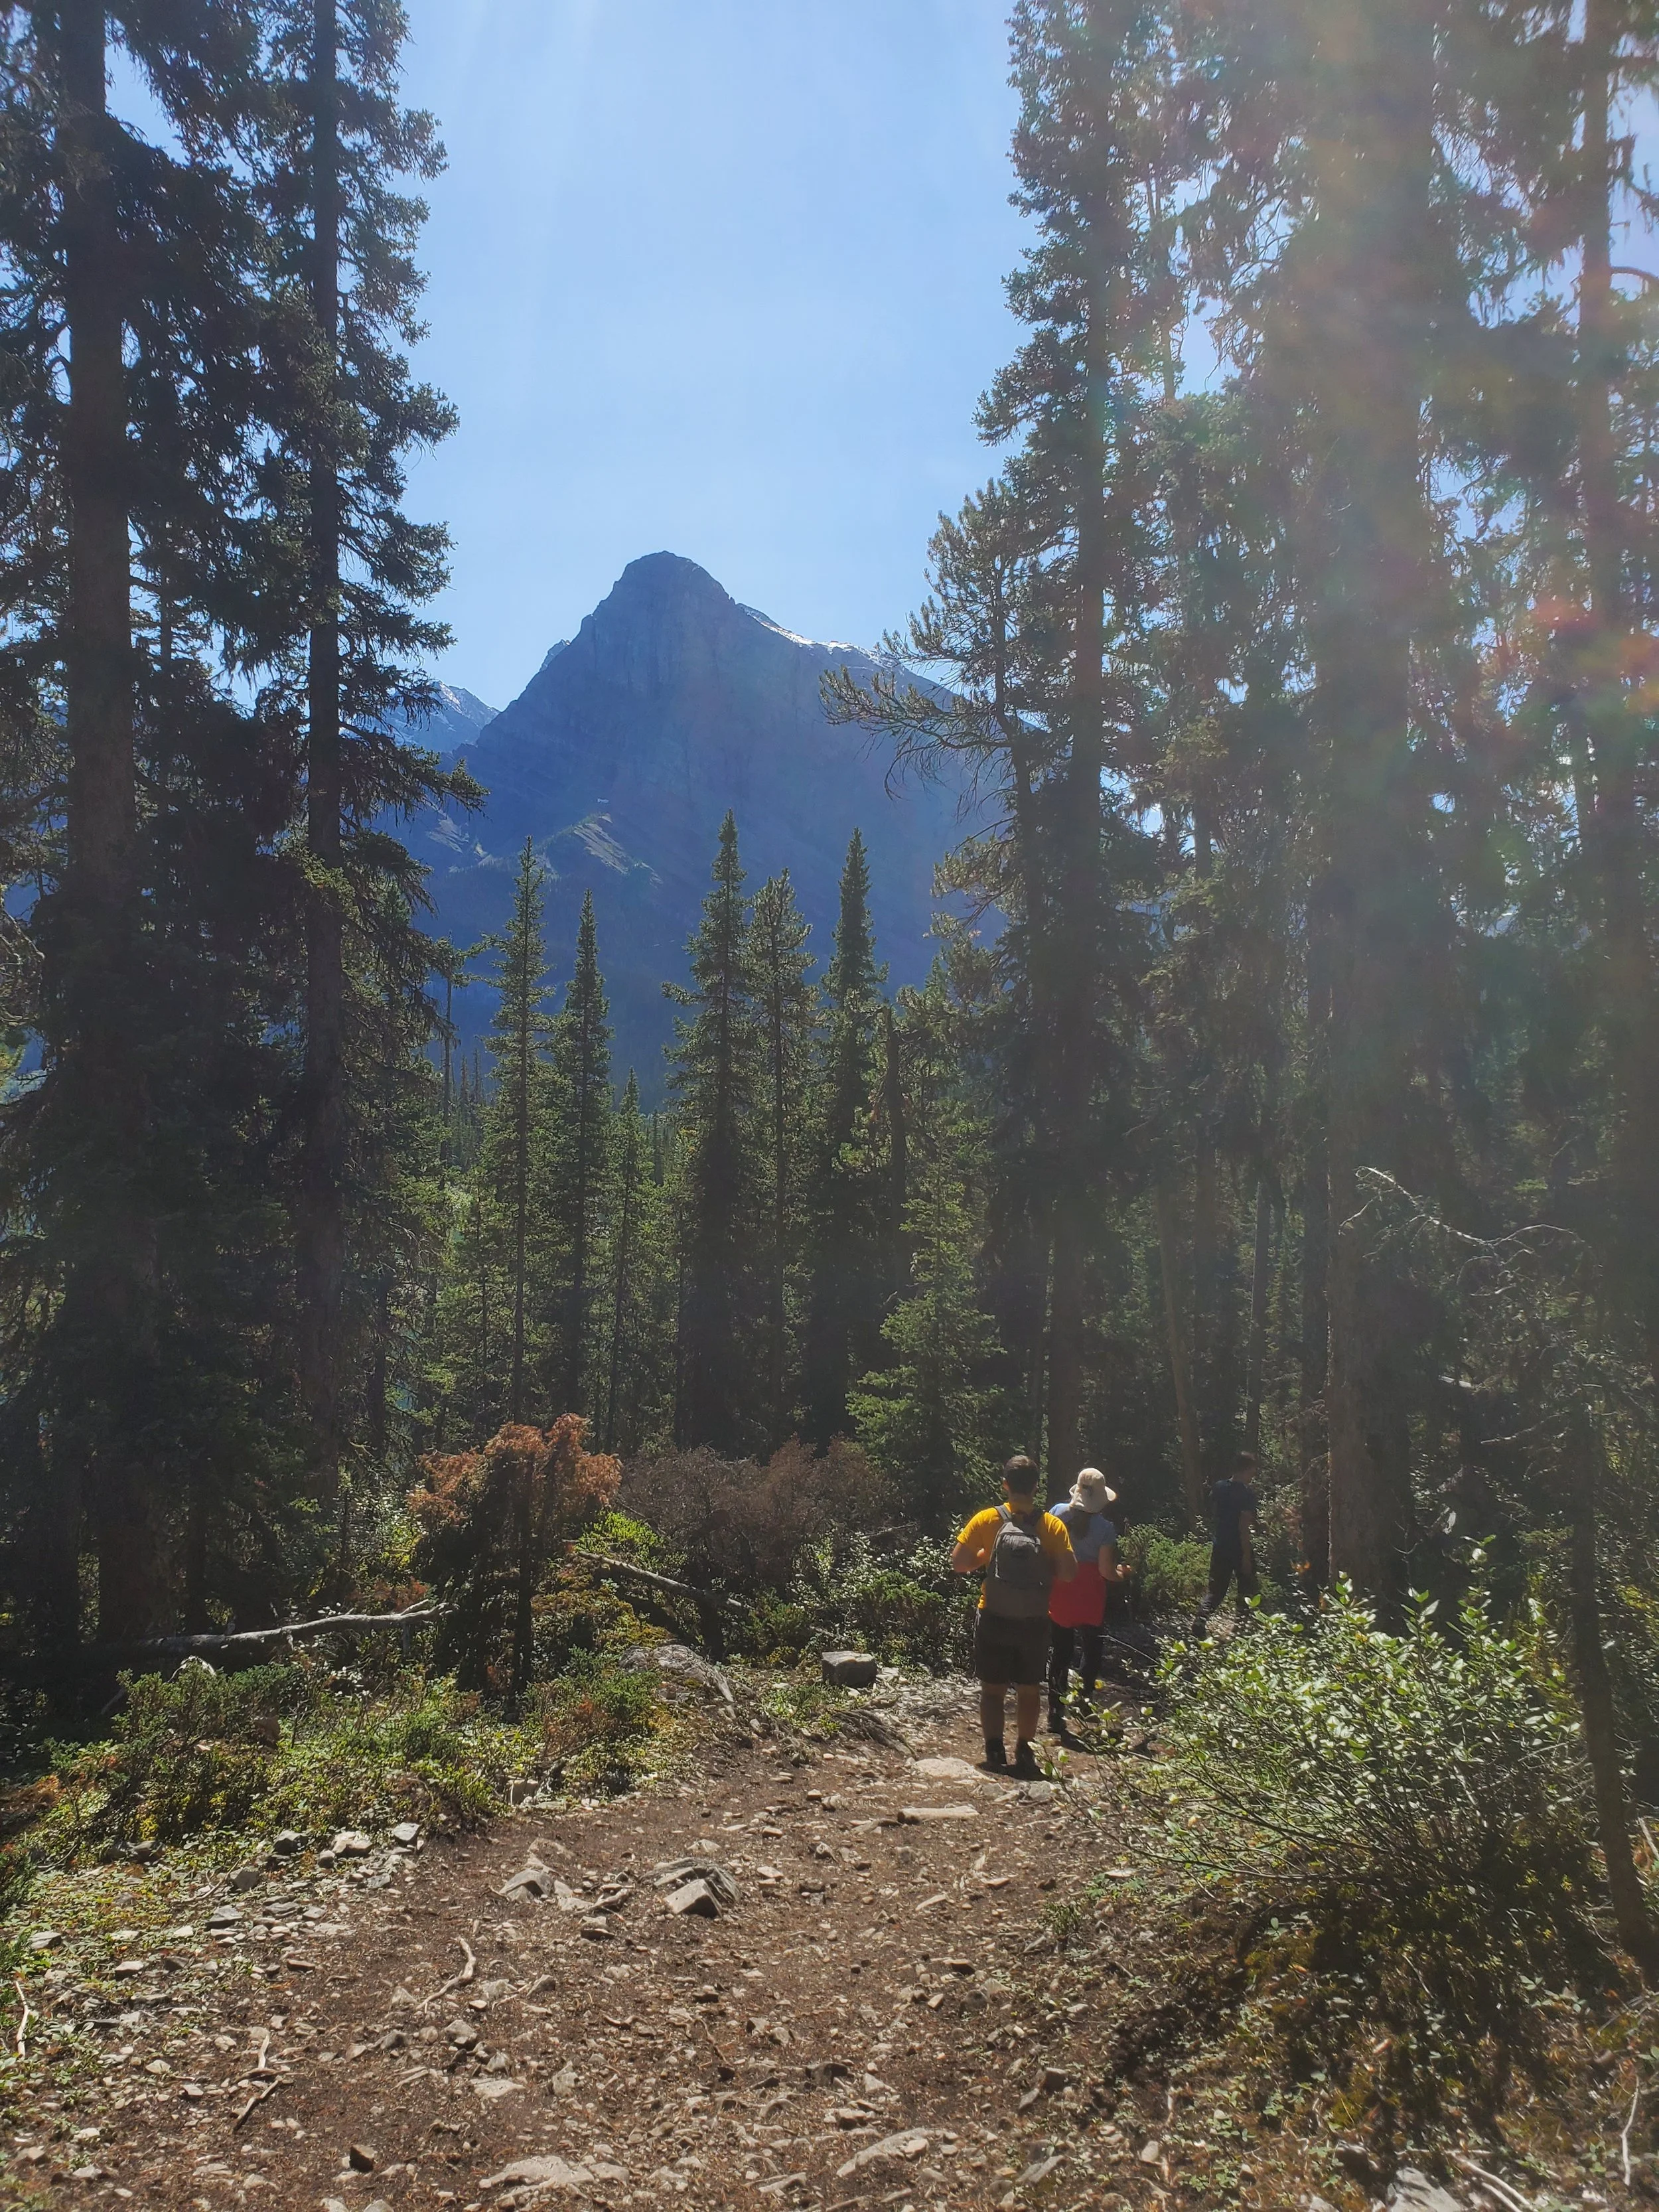
Most people agree that this is not the easiest trail to follow — not because of difficult technical aspects, but because it is so poorly marked. There are a lot of narrow, unofficial trails that branch off it, so look around often to keep an eye out for blazes (trail markers) on trees, fallen logs, and rocks.
To get started, park on the side of the road opposite the trailhead. Immediately after stepping onto the trail, you’ll reach two quick junctions. The first cuts off to your right and across a small creek… stay left, do not cross the creek. The second junction: to the left, a flatter, and well-maintained trail and to the right, a steep incline — choose the right and begin your ascent!
After about 20-30 minutes of ascending, you will come to another junction. This one is a little less obvious if you’re not looking for it, so keep your eyes peeled. Follow the more downhill route to the right — counterintuitive, I know, but the downhill only lasts for a moment, before the trail gradually rises again. The views should start opening up quickly, treating you to incredible landscapes visible over the treetops below.
Your fourth and final junction comes right before you reach the pass. If you follow the cutoff to the right, you will find a path that leads up to the Wind Tower summit (details below). By keeping to the left, you will arrive at the pass in a short moment.
True to its name, West Wind Pass is very windy, so remember to bring a jacket or sweater if you plan to spend any time taking in the views or breaking for a snack. My go-to fleece is from Columbia — quick-drying, lightweight, and so cozy — if you’re looking for something similar that will last, take a look at this one!
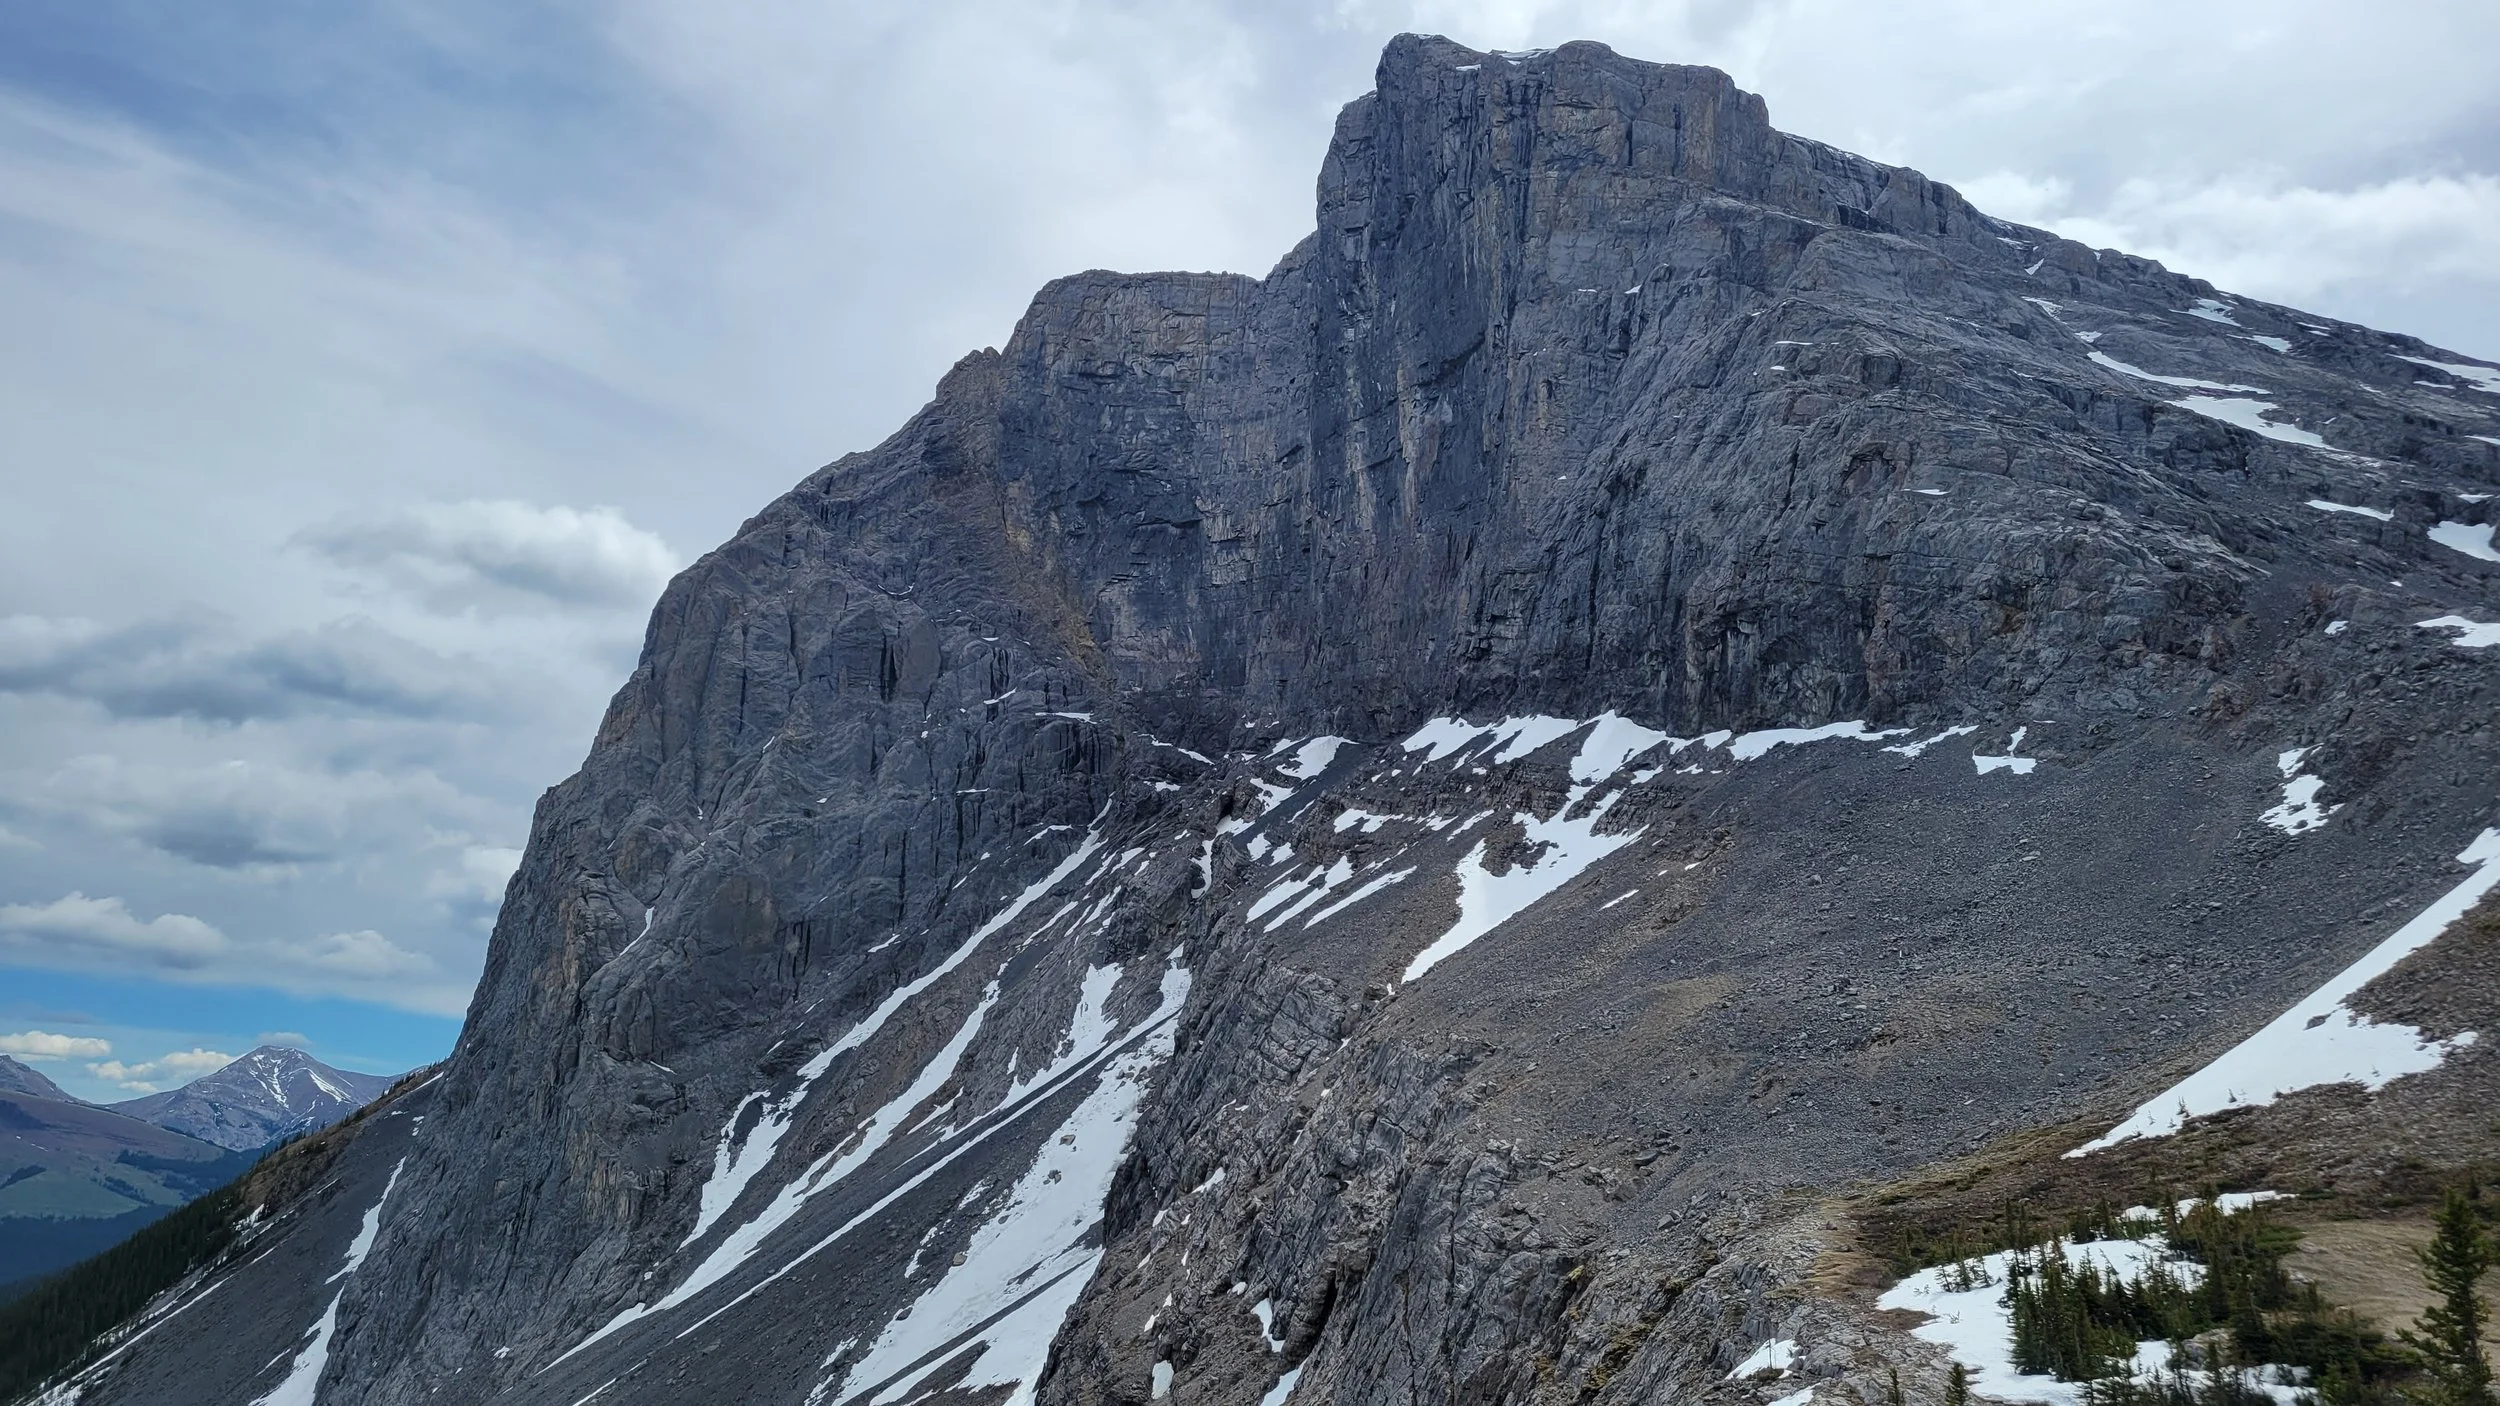
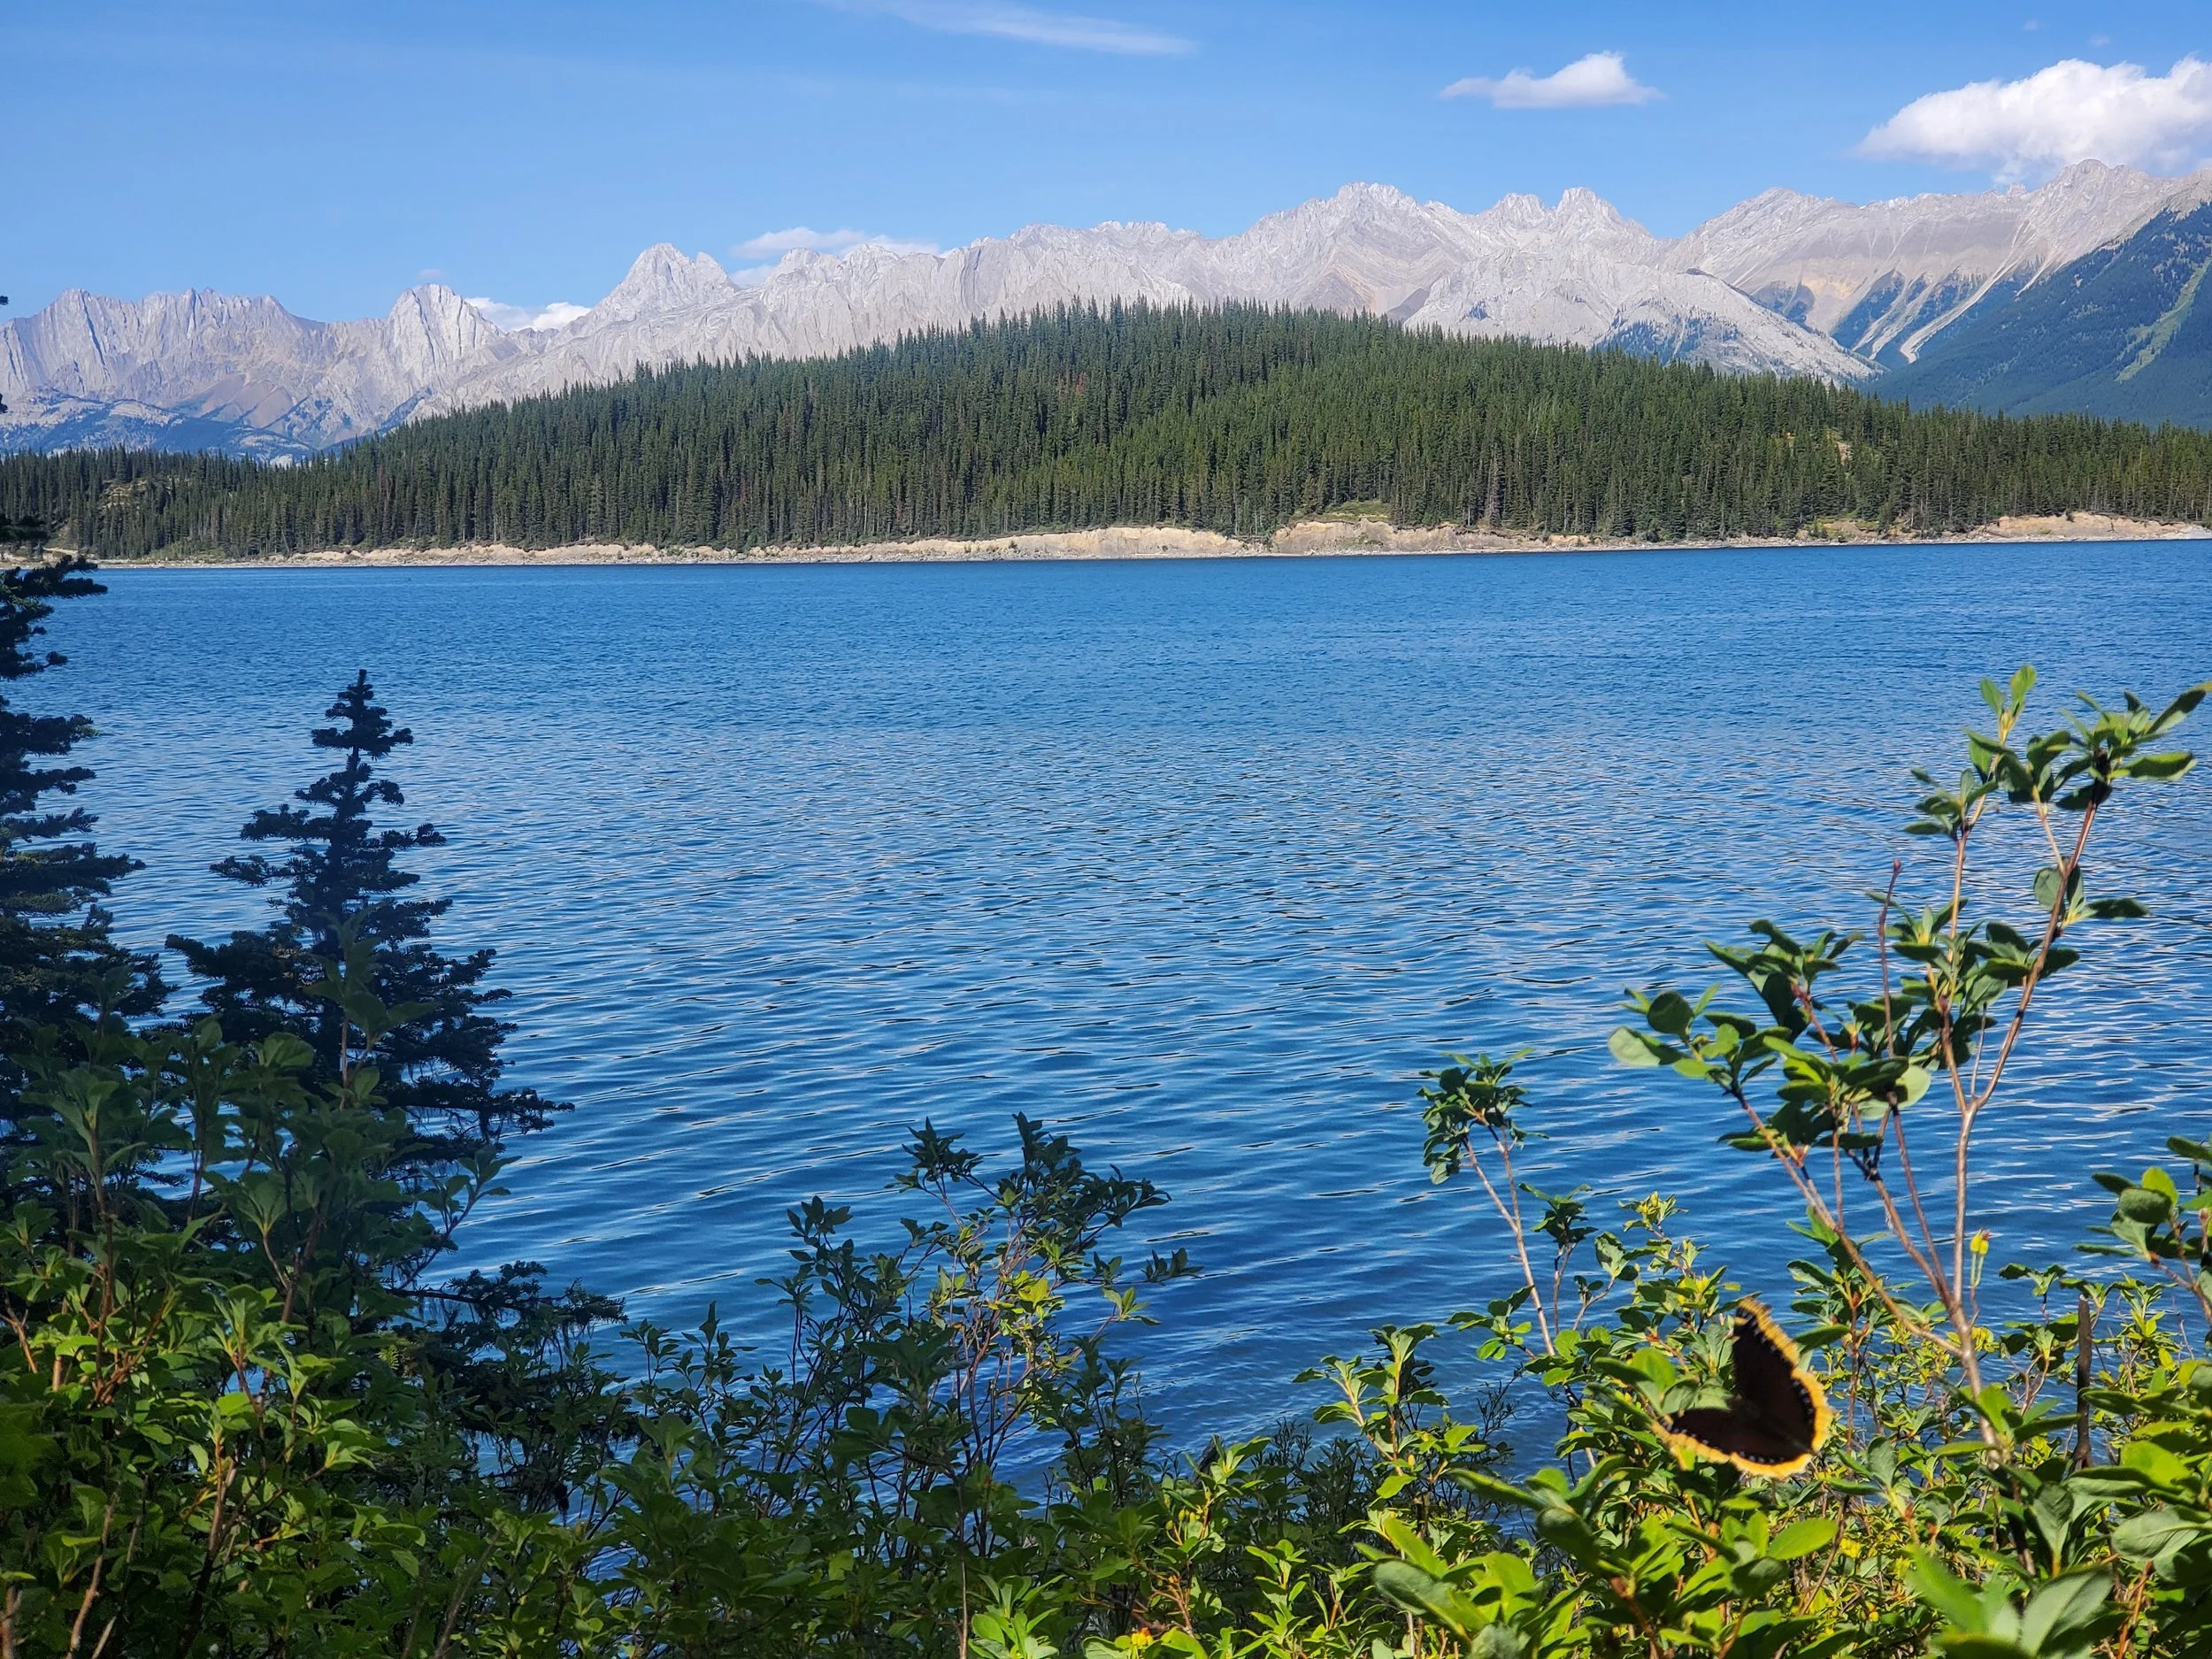
Wind Tower* via West Wind Pass
Time: 4.5 hour return
Difficulty: Difficult
Type: Out-and-back
Distance: 10 kilometres
Elevation Gain: 920 metres
If you’re looking for more of a challenge, consider adding this summit hike while you’re already enjoying the views at West Wind Pass. At the final junction on the way up to the pass, turn right, rather than left and you’ll find yourself on the 2 kilometre (1.25 mi.) trail leading up to Wind Tower.
This route requires a little more technical skill as the path not only gets much steeper, but also involves some scrambling and hiking across scree. I haven’t made it up to the summit yet myself, but I hope to on my next visit!
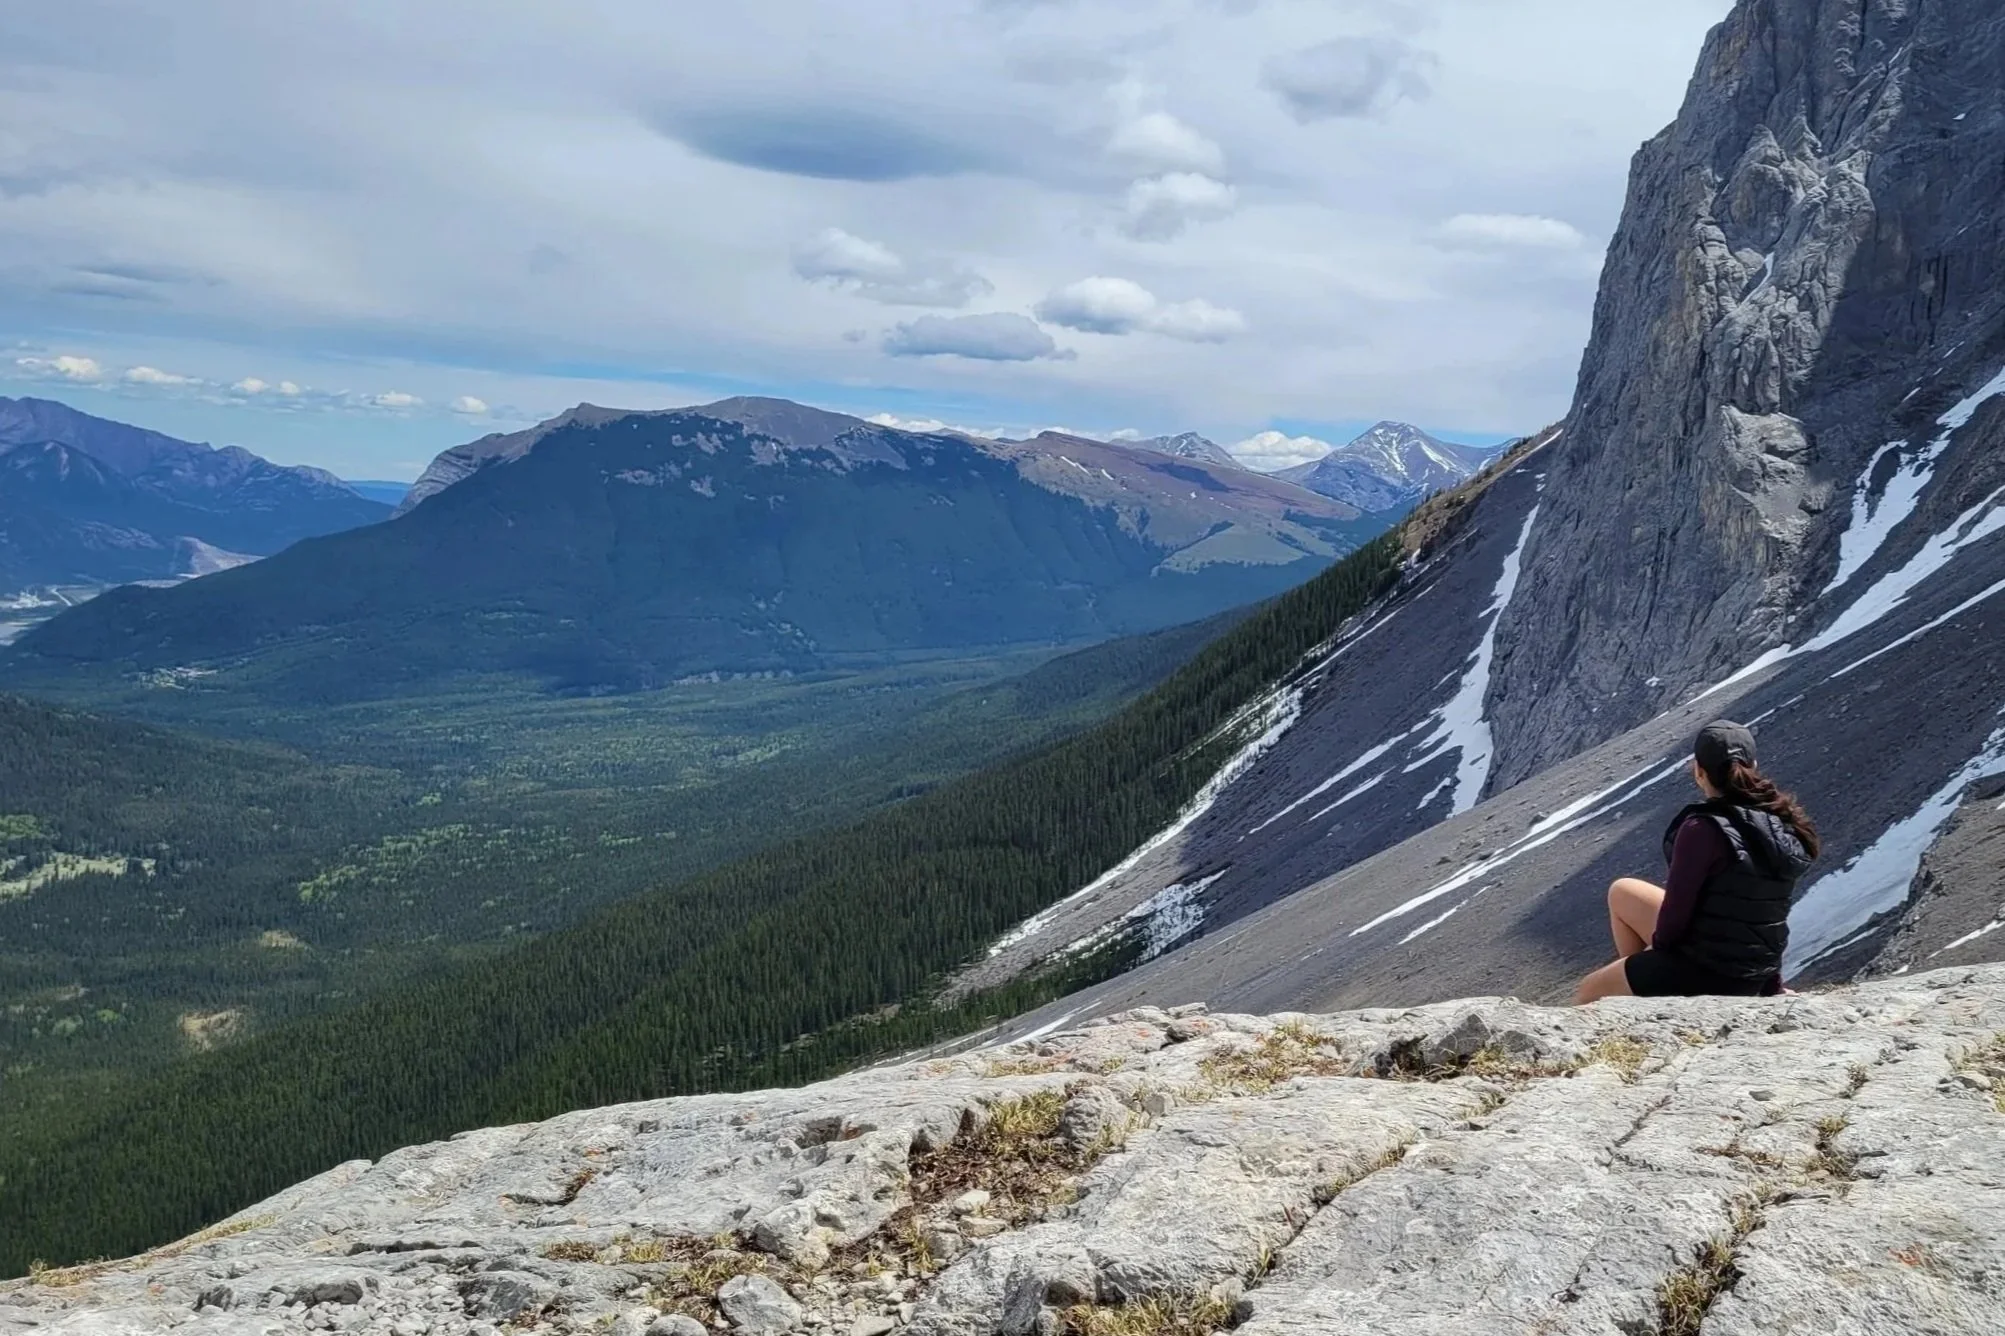
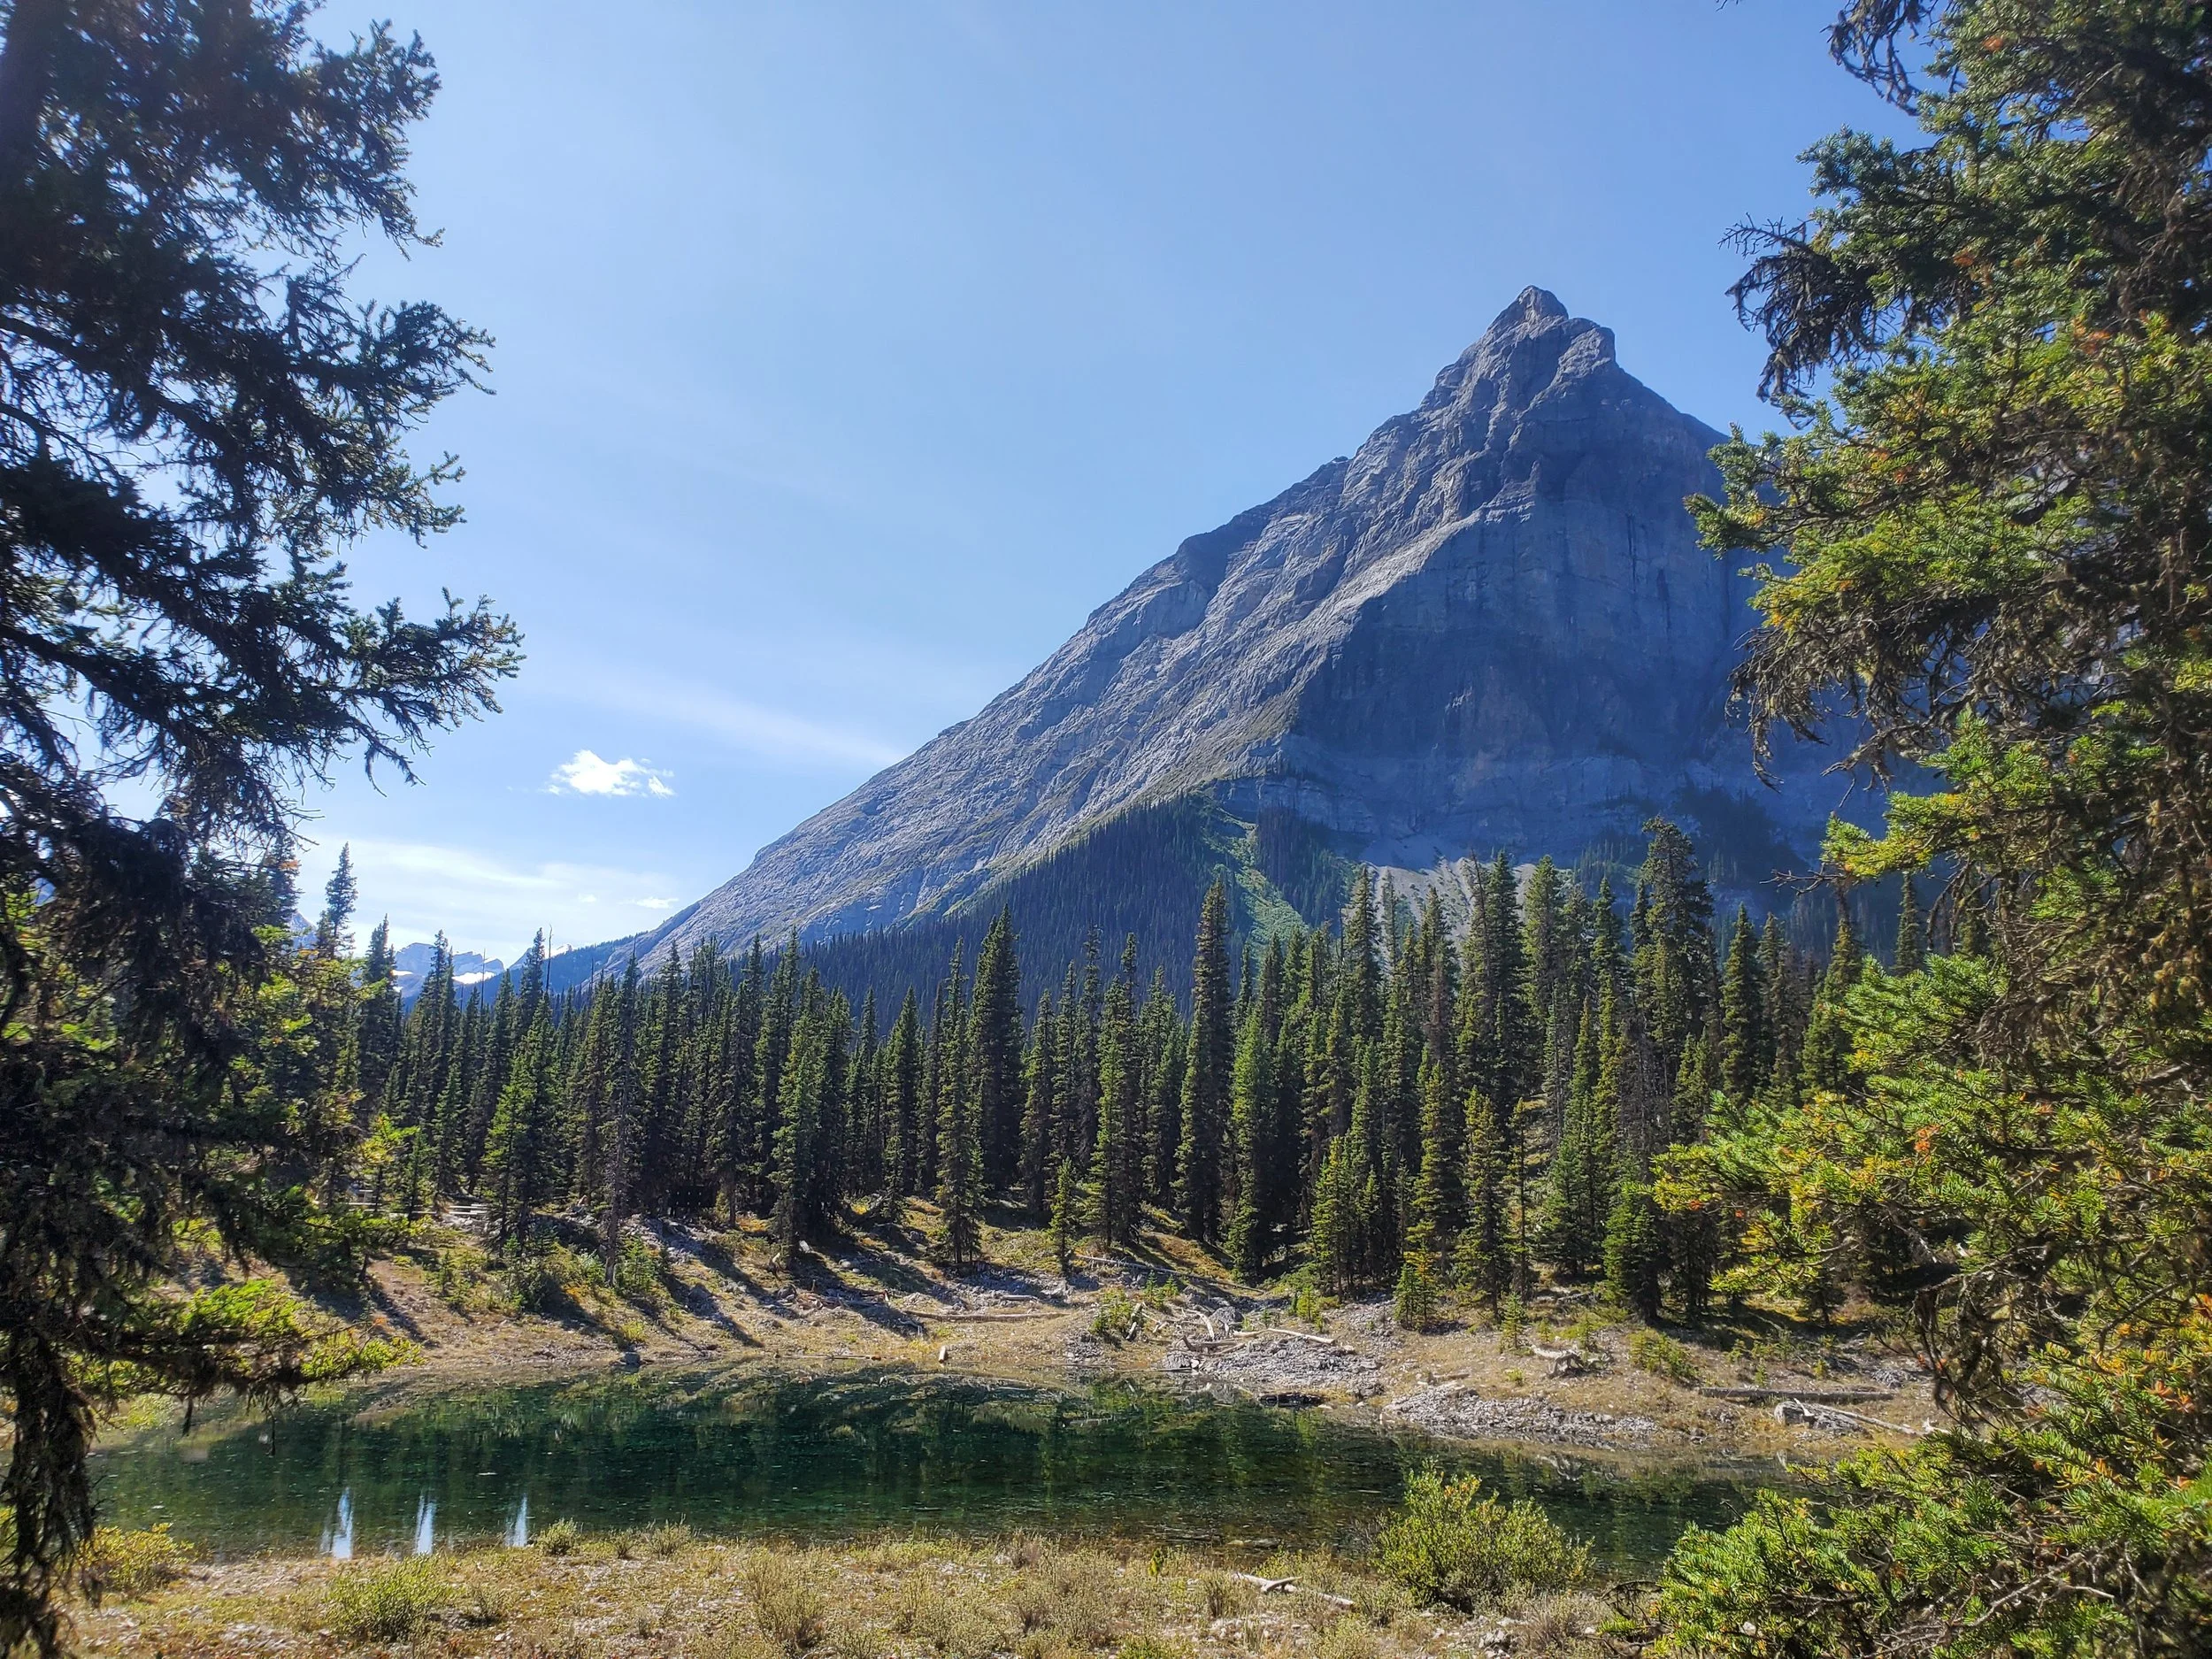
View of West Wind Tower from West Wind Pass
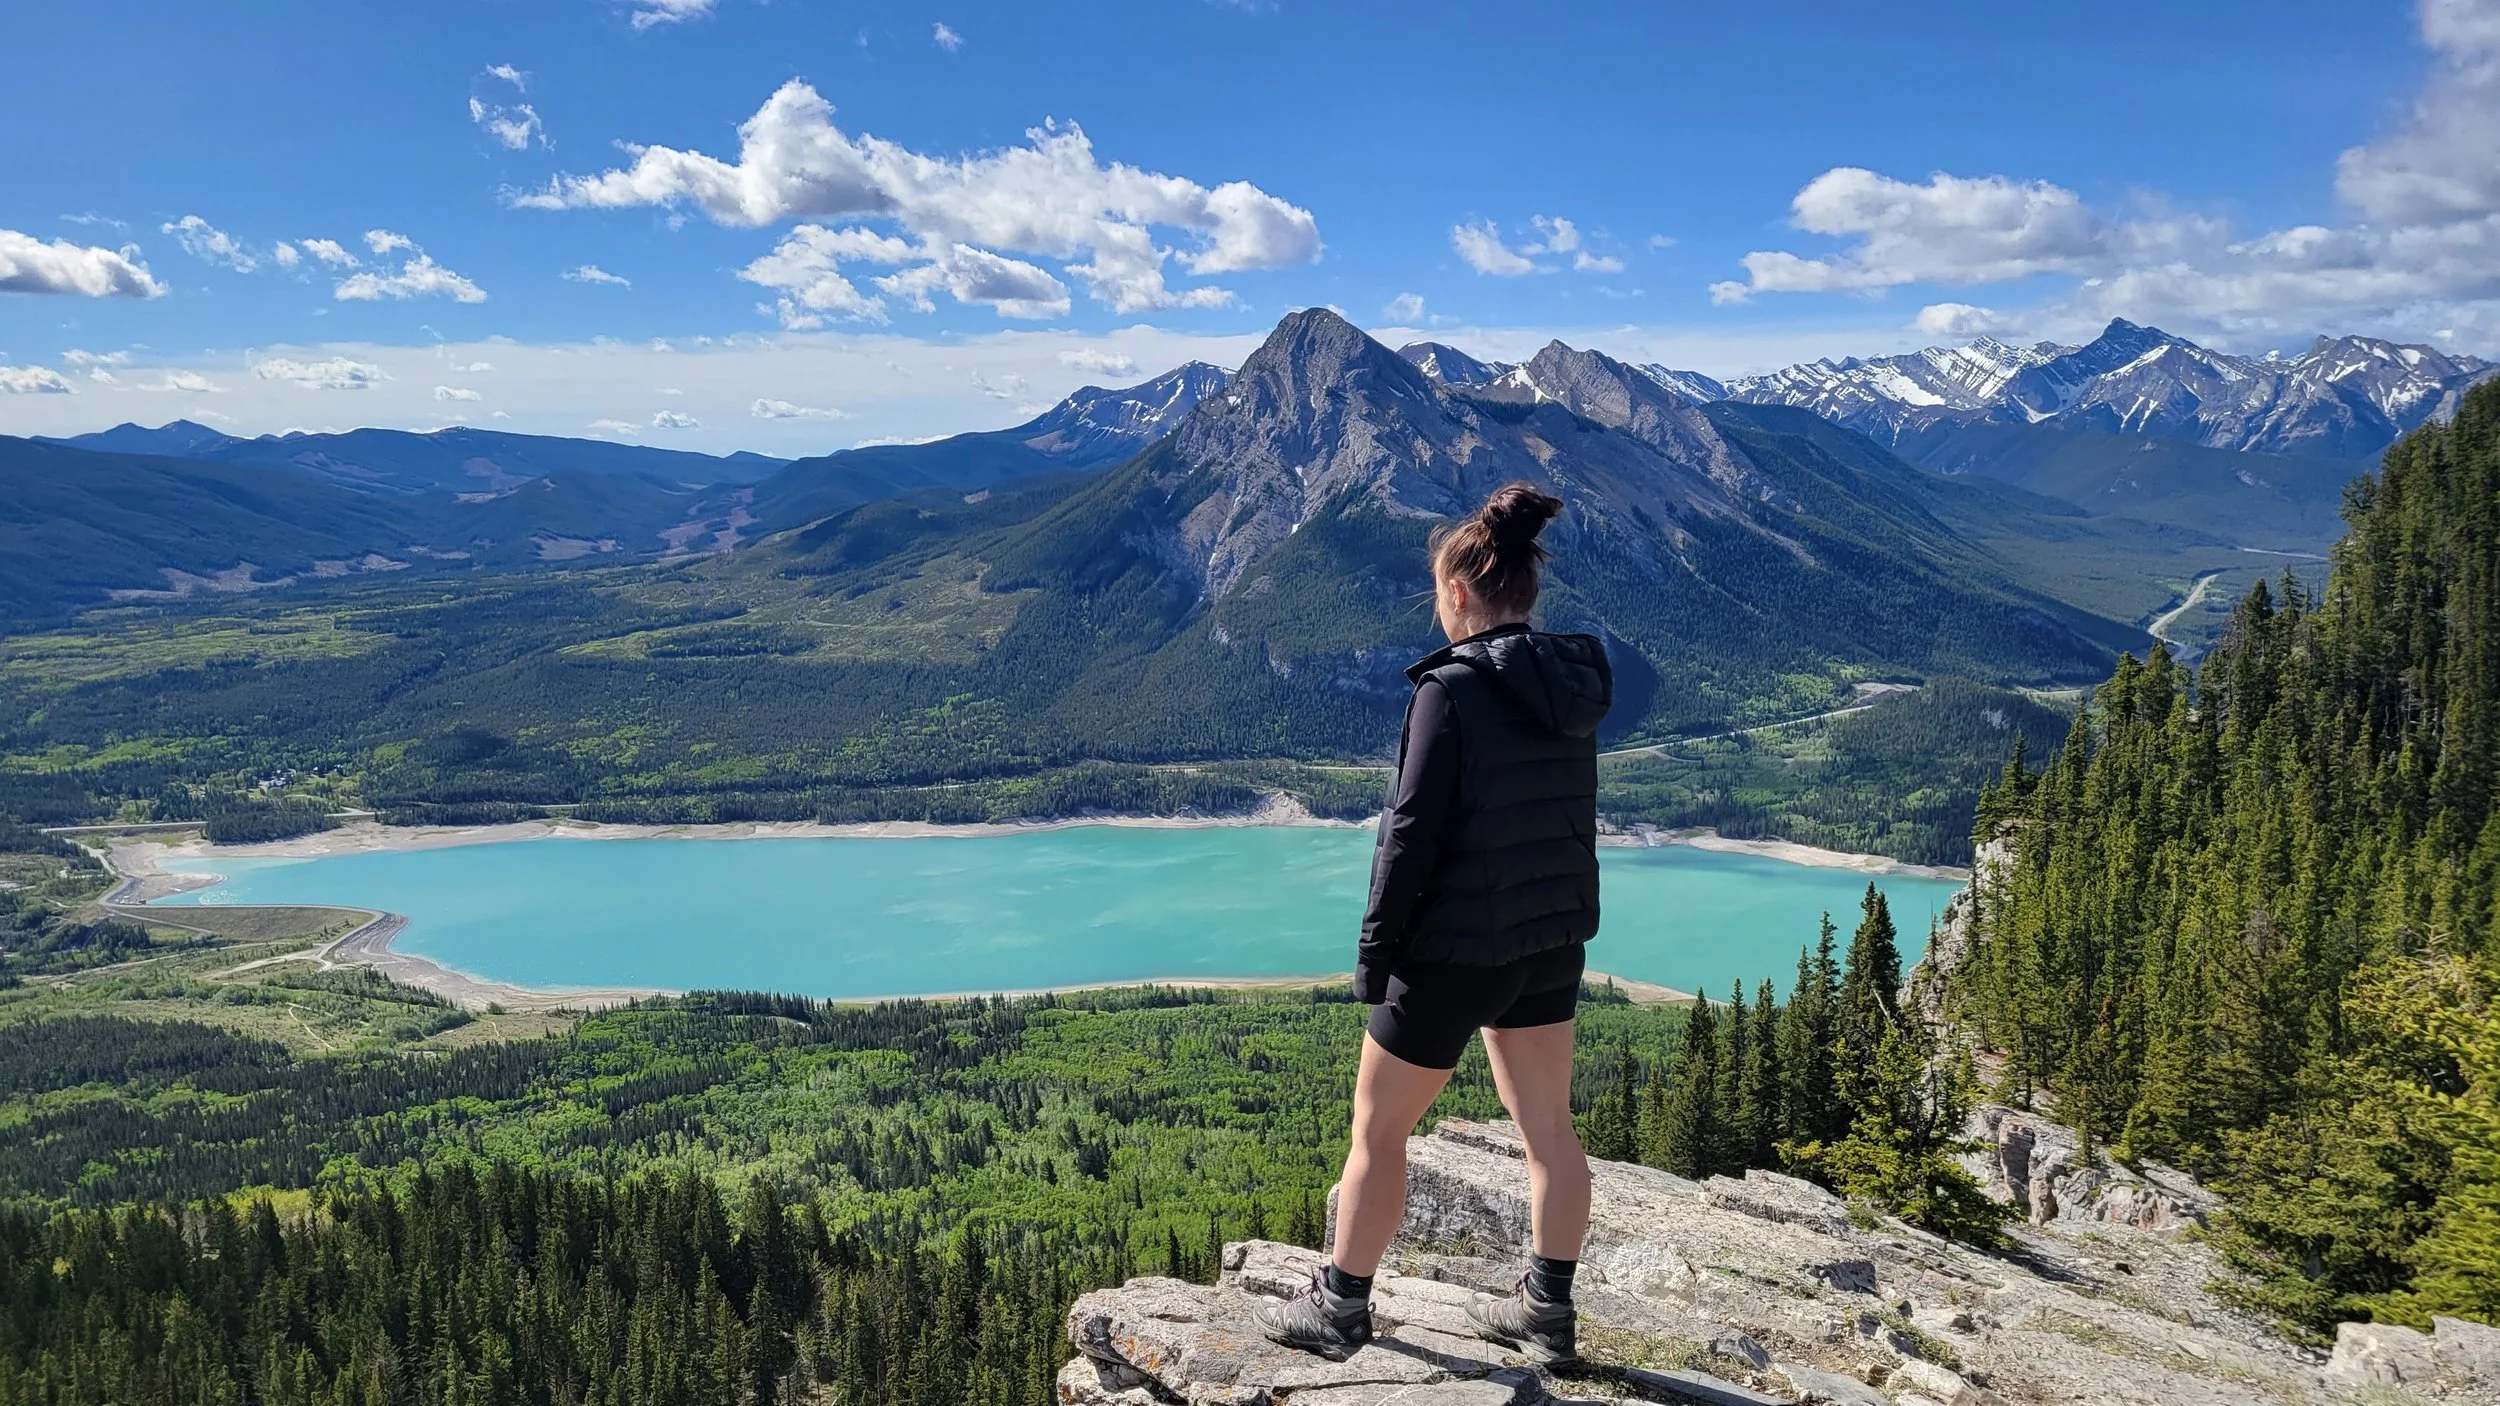
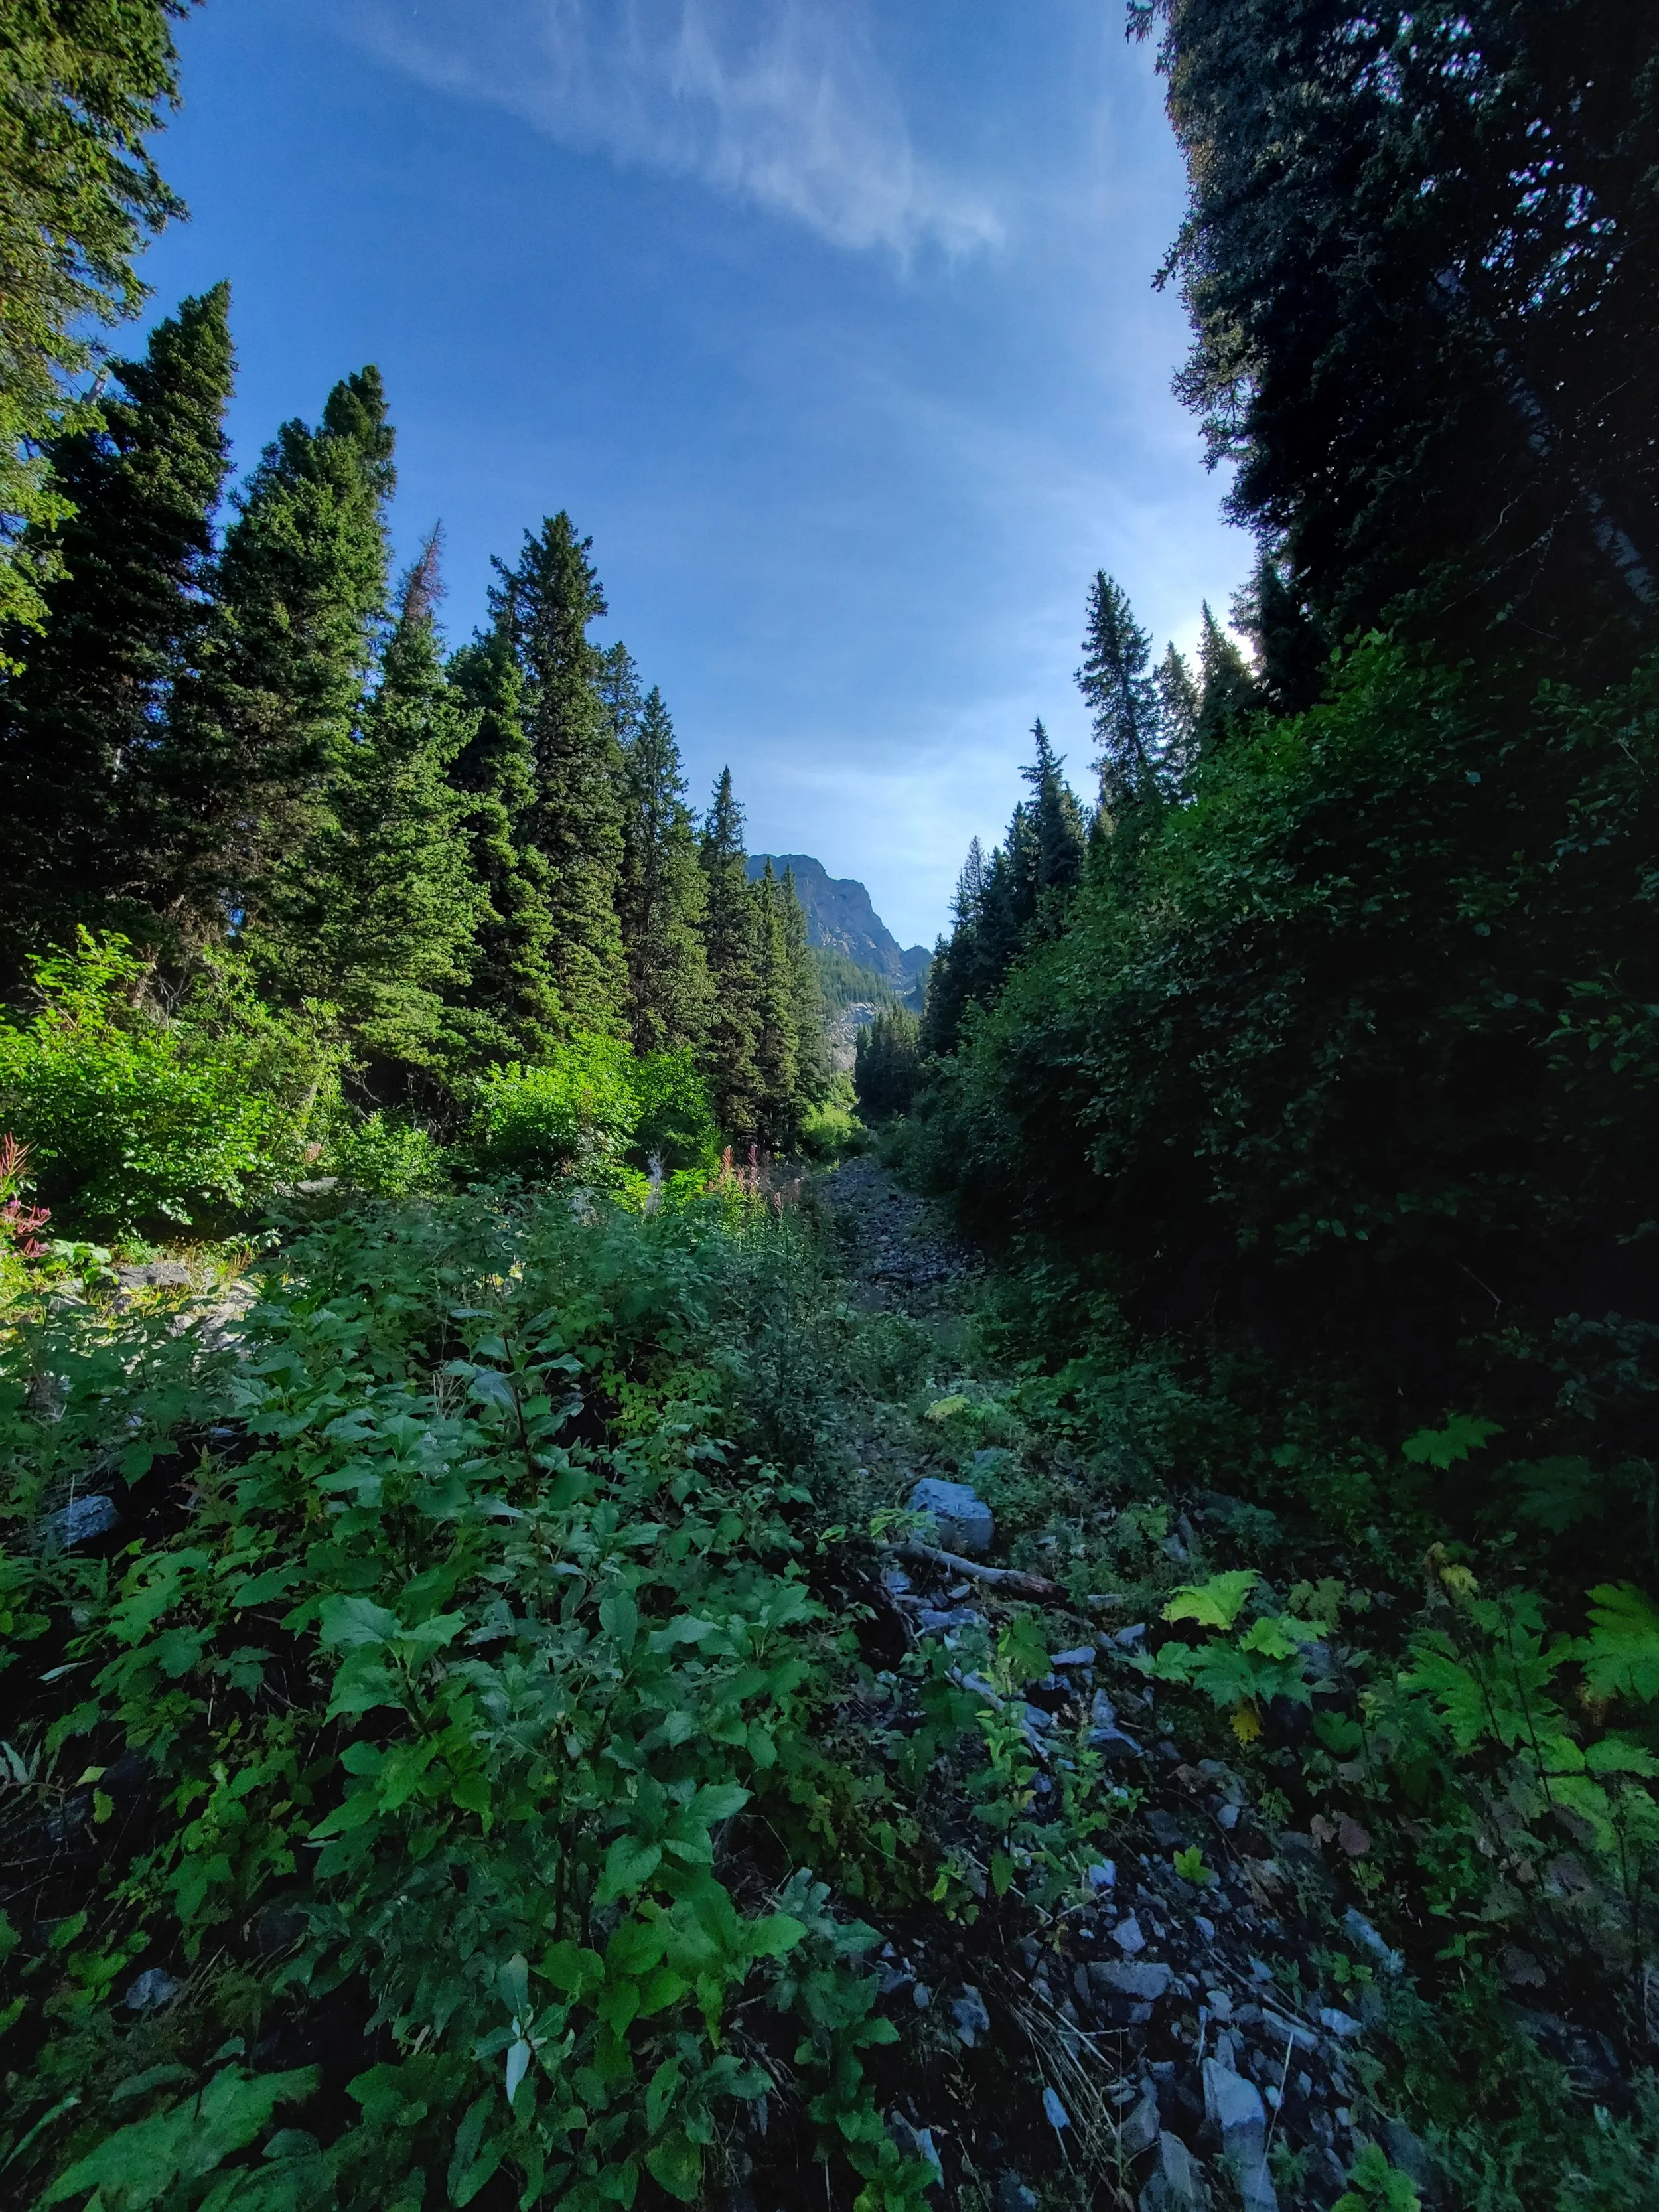
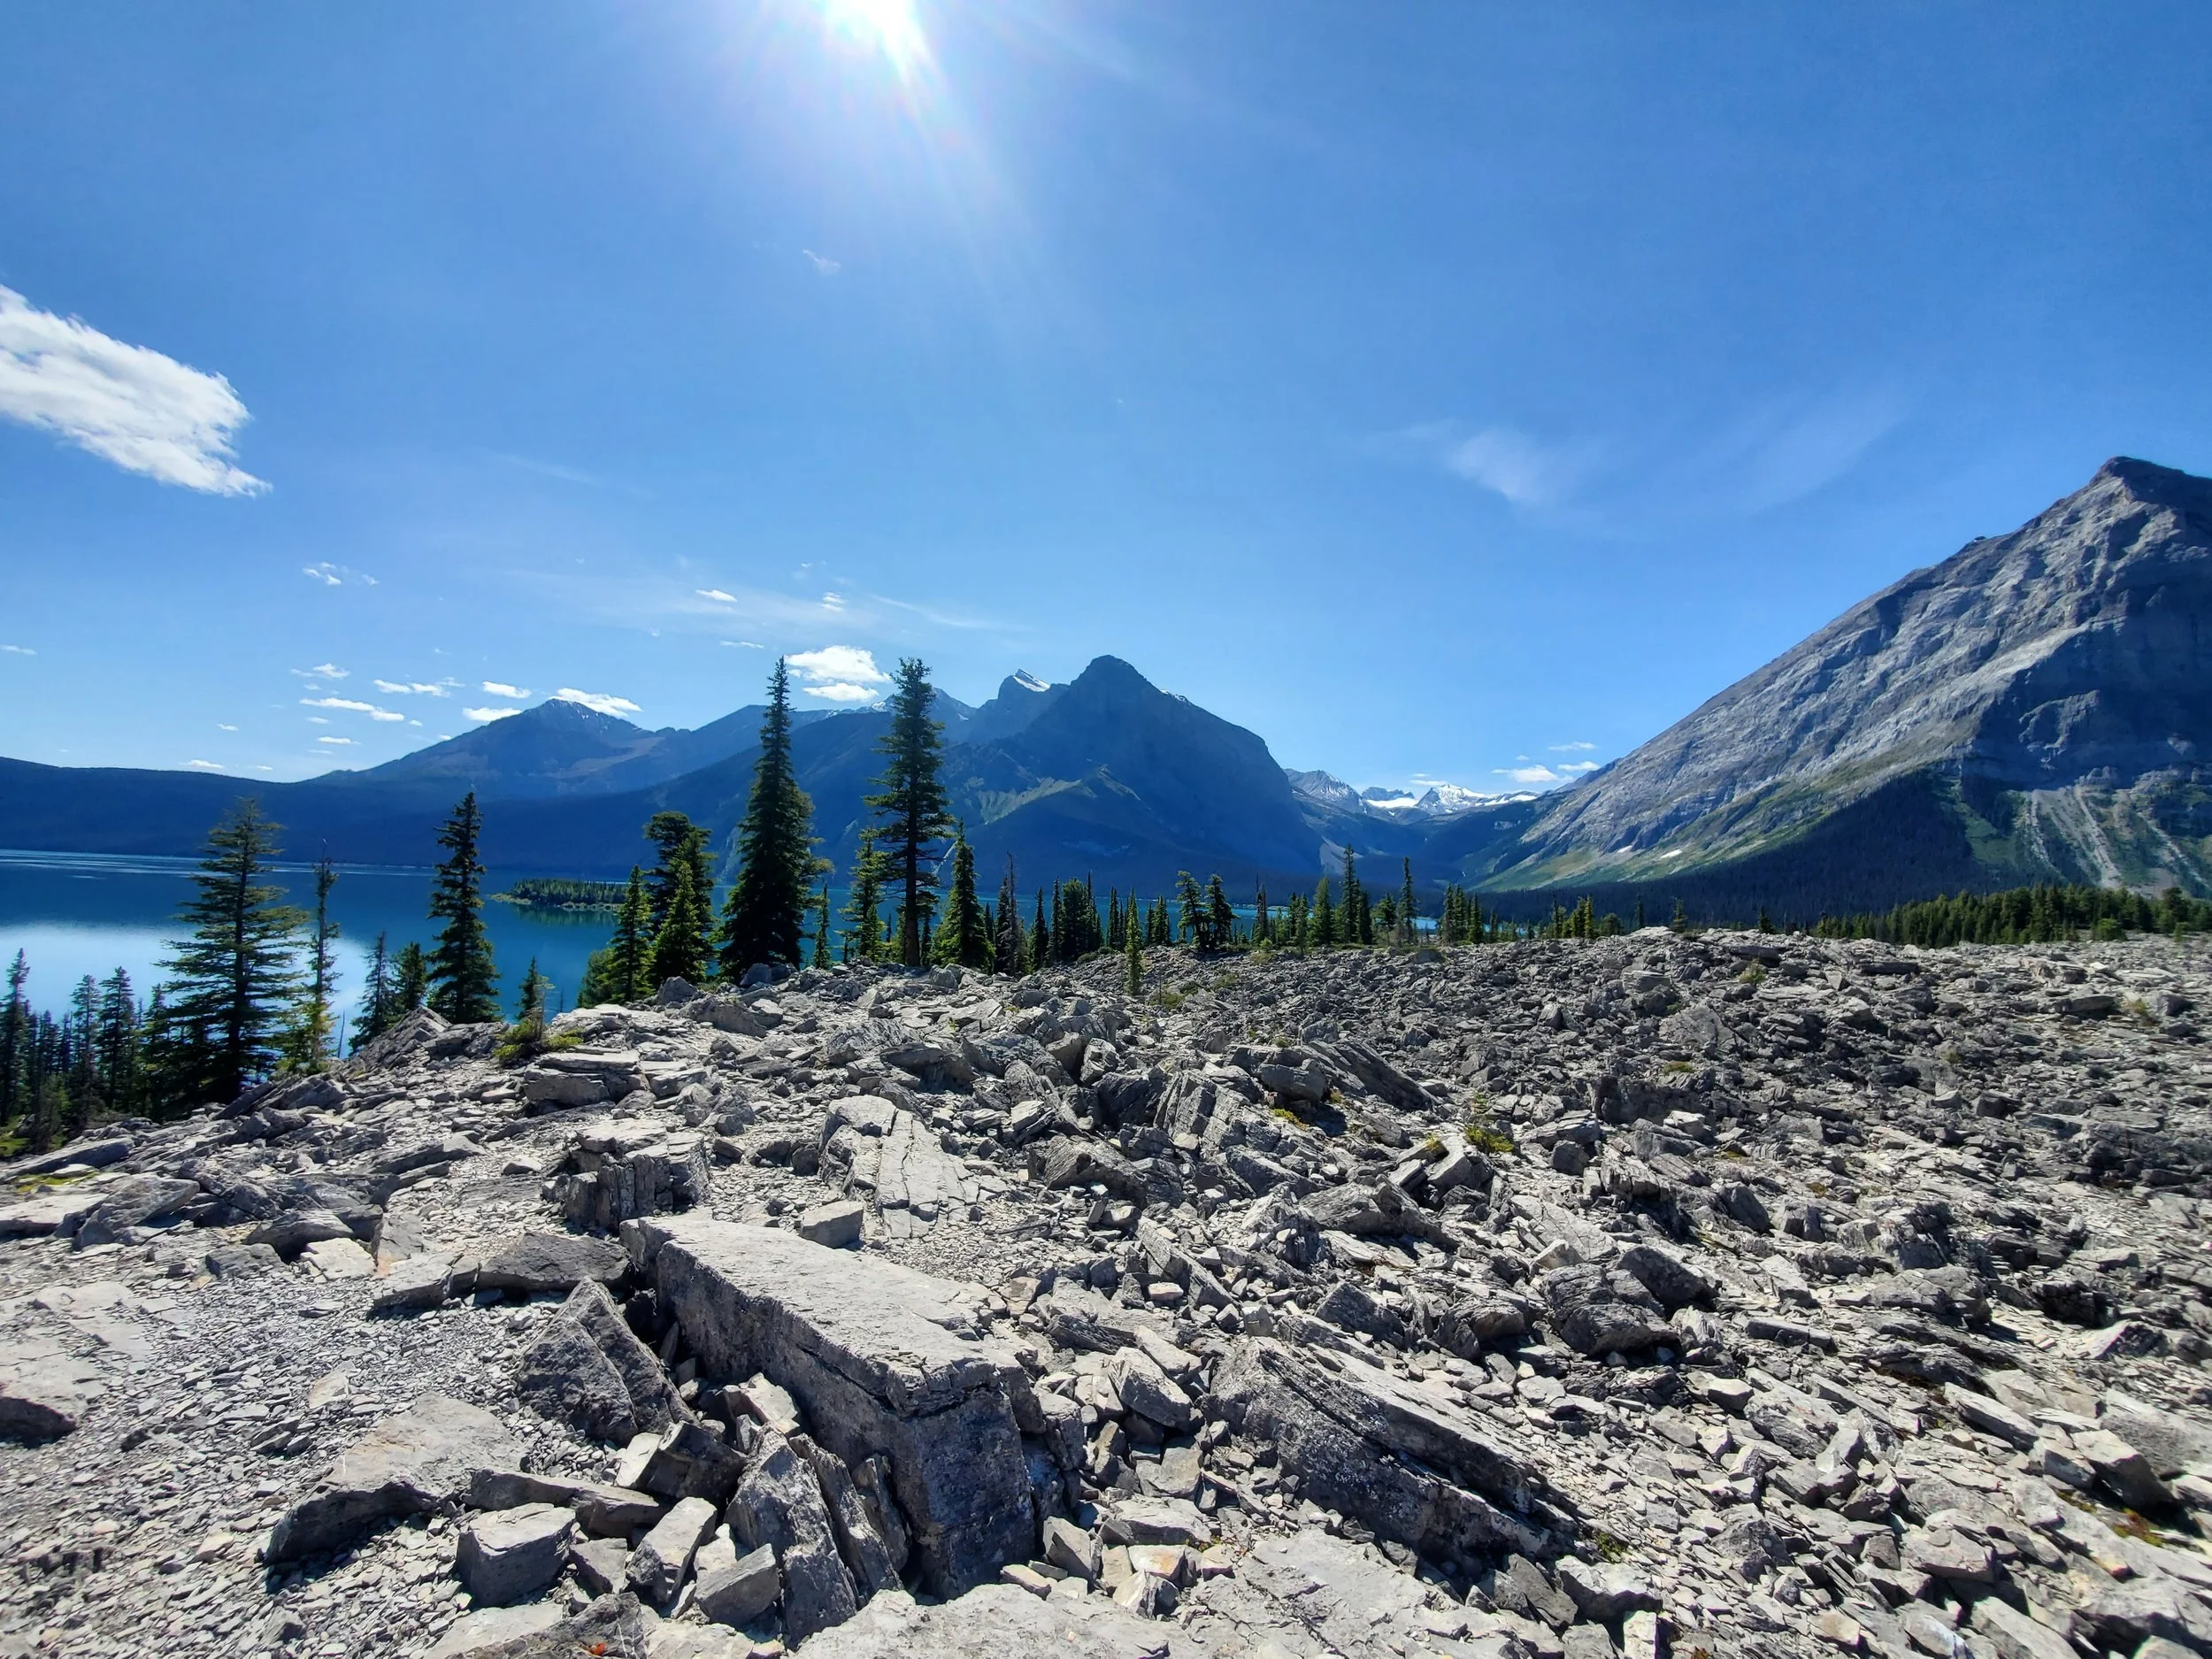
Jewell Pass via Prairie View Trail
Time: 6-7 hour return
Difficulty: Moderate/Difficult
Type: Loop
Distance: 15.8 kilometres
Elevation Gain: 915 metres
Hoping to tackle a little more distance? This is a great one to start with. Apart from a strenuous 4.5 kilometre (2.8 mi.) stretch, where almost all of the ascent happens, the remaining distance is much more manageable, especially if you follow it counter-clockwise.
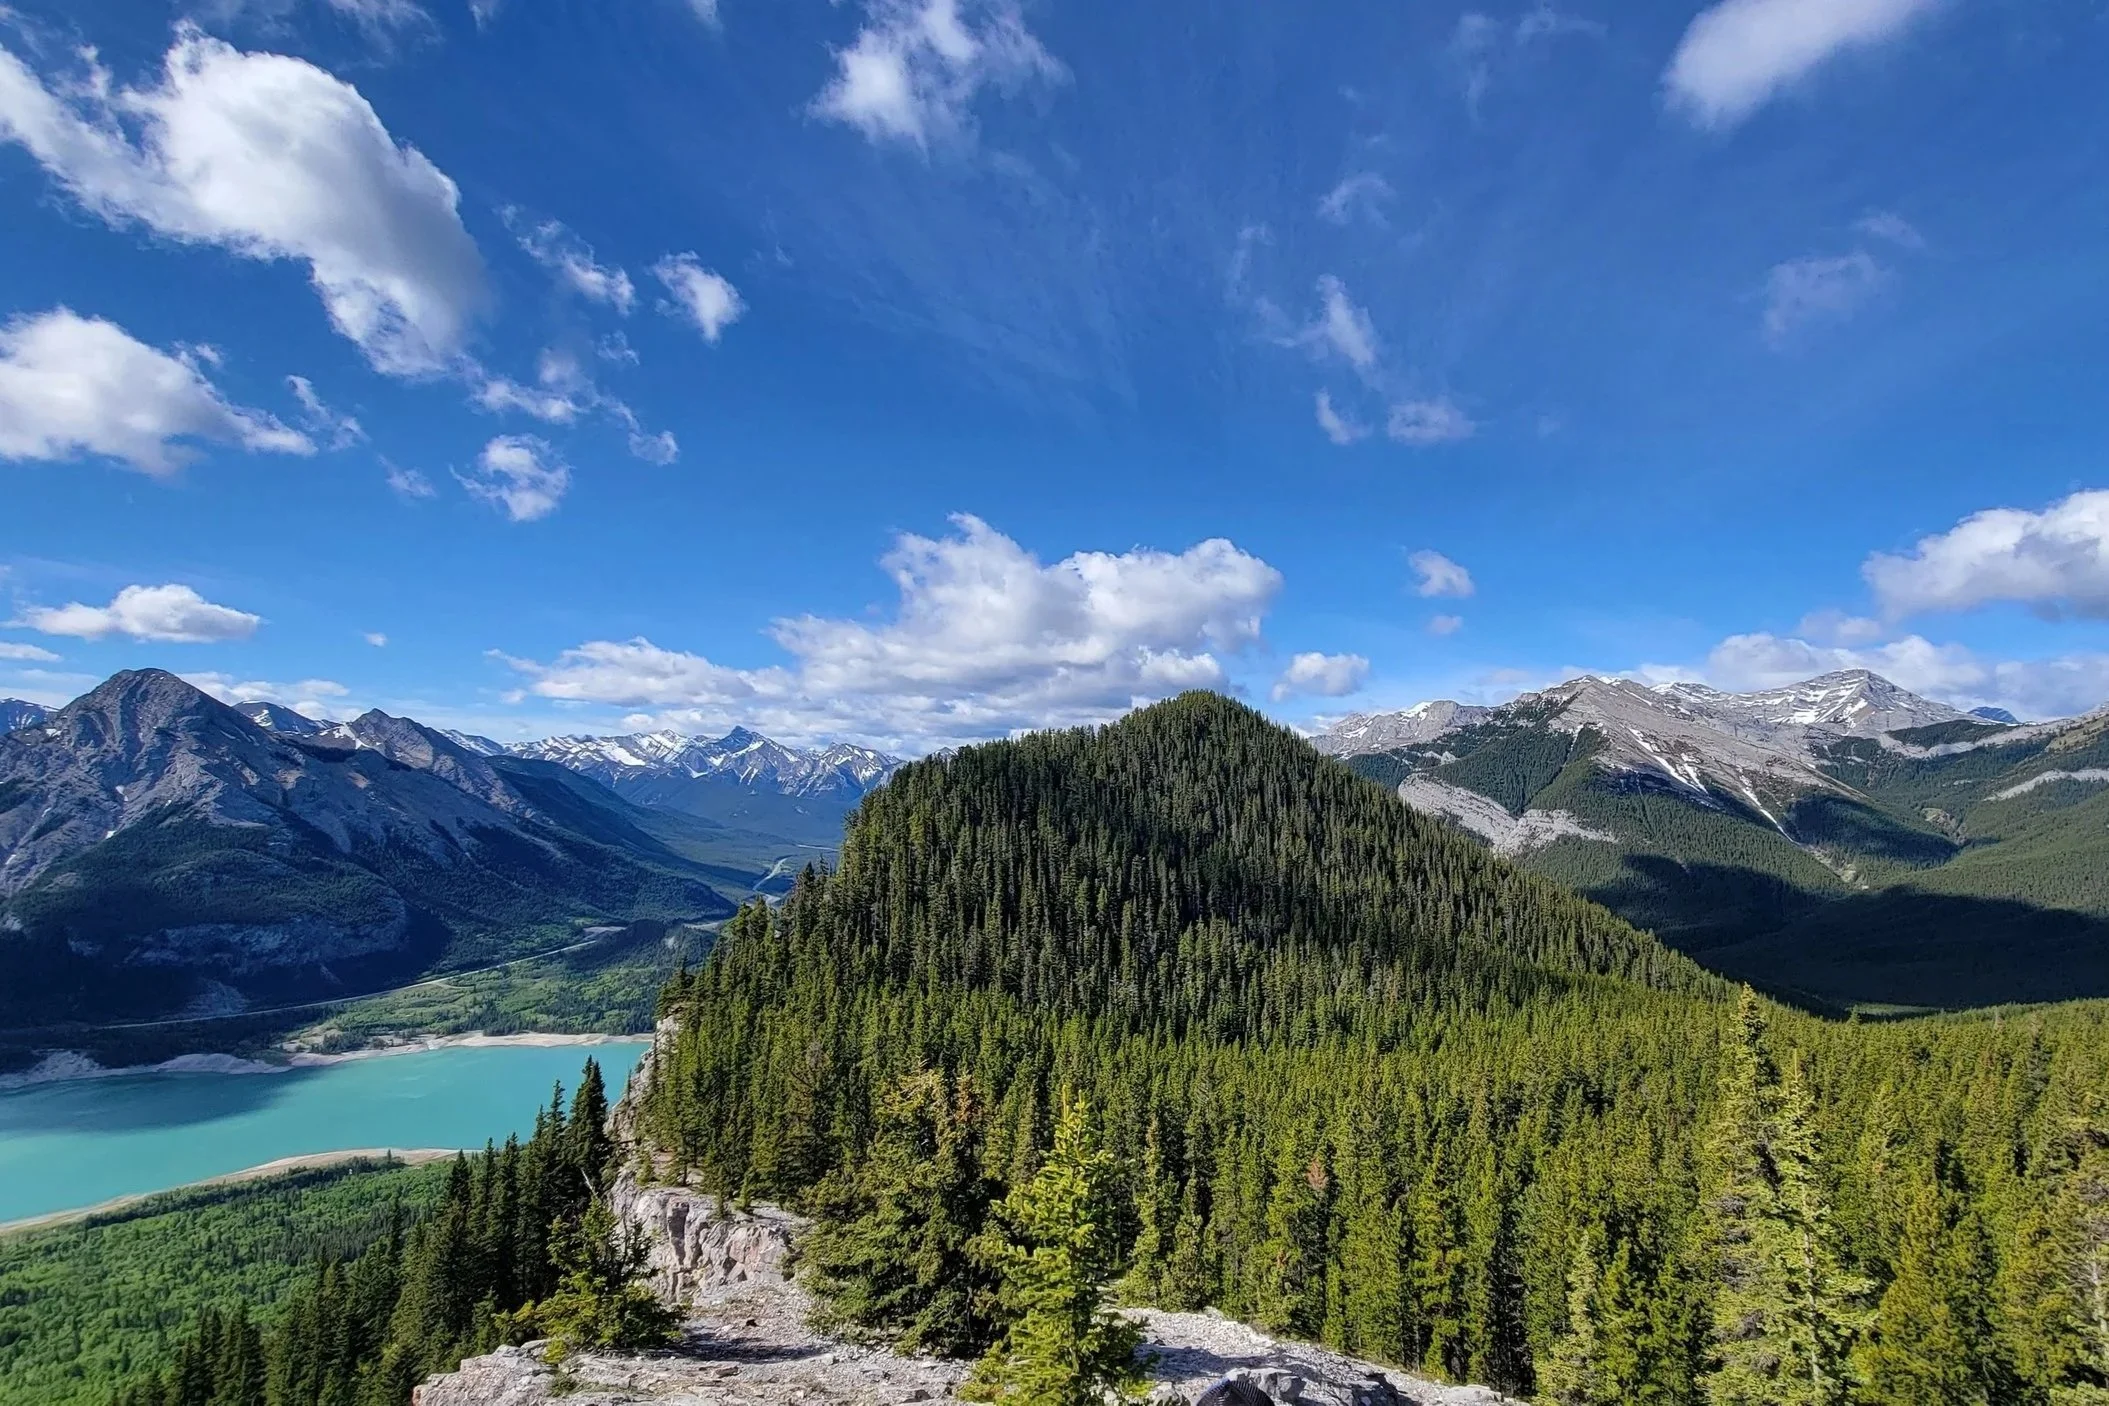
Walking through Jewell Pass
Park at the Barrier Dam Day Use Area, make your way to the trailhead, and begin your journey along the edge of the lake. Shortly after the first kilometre (0.62 mi.), continue straight through the two four-way intersections. Now the real elevation gain begins. It starts light and ends in a series of switchbacks that cover the steepest stretch of the hike. When the path splits at the top, keep left, and leave the worst of the inclines behind!
Before long, the views to your left will open up, making all the effort so far worth it. If you want to reach the true summit, follow the Barrier Lookout Trail that leads off to the right. The short and steep final jaunt up to the top where the fire lookout personnel reside rewards you with some pretty incredible, sprawling views.
When you come back down to the main path, carry on to the rocky plateau for the perfect place to stop for lunch. Exercise caution when near the edge, the drop is steep and high. If you’re afraid of heights, consider this your warning!
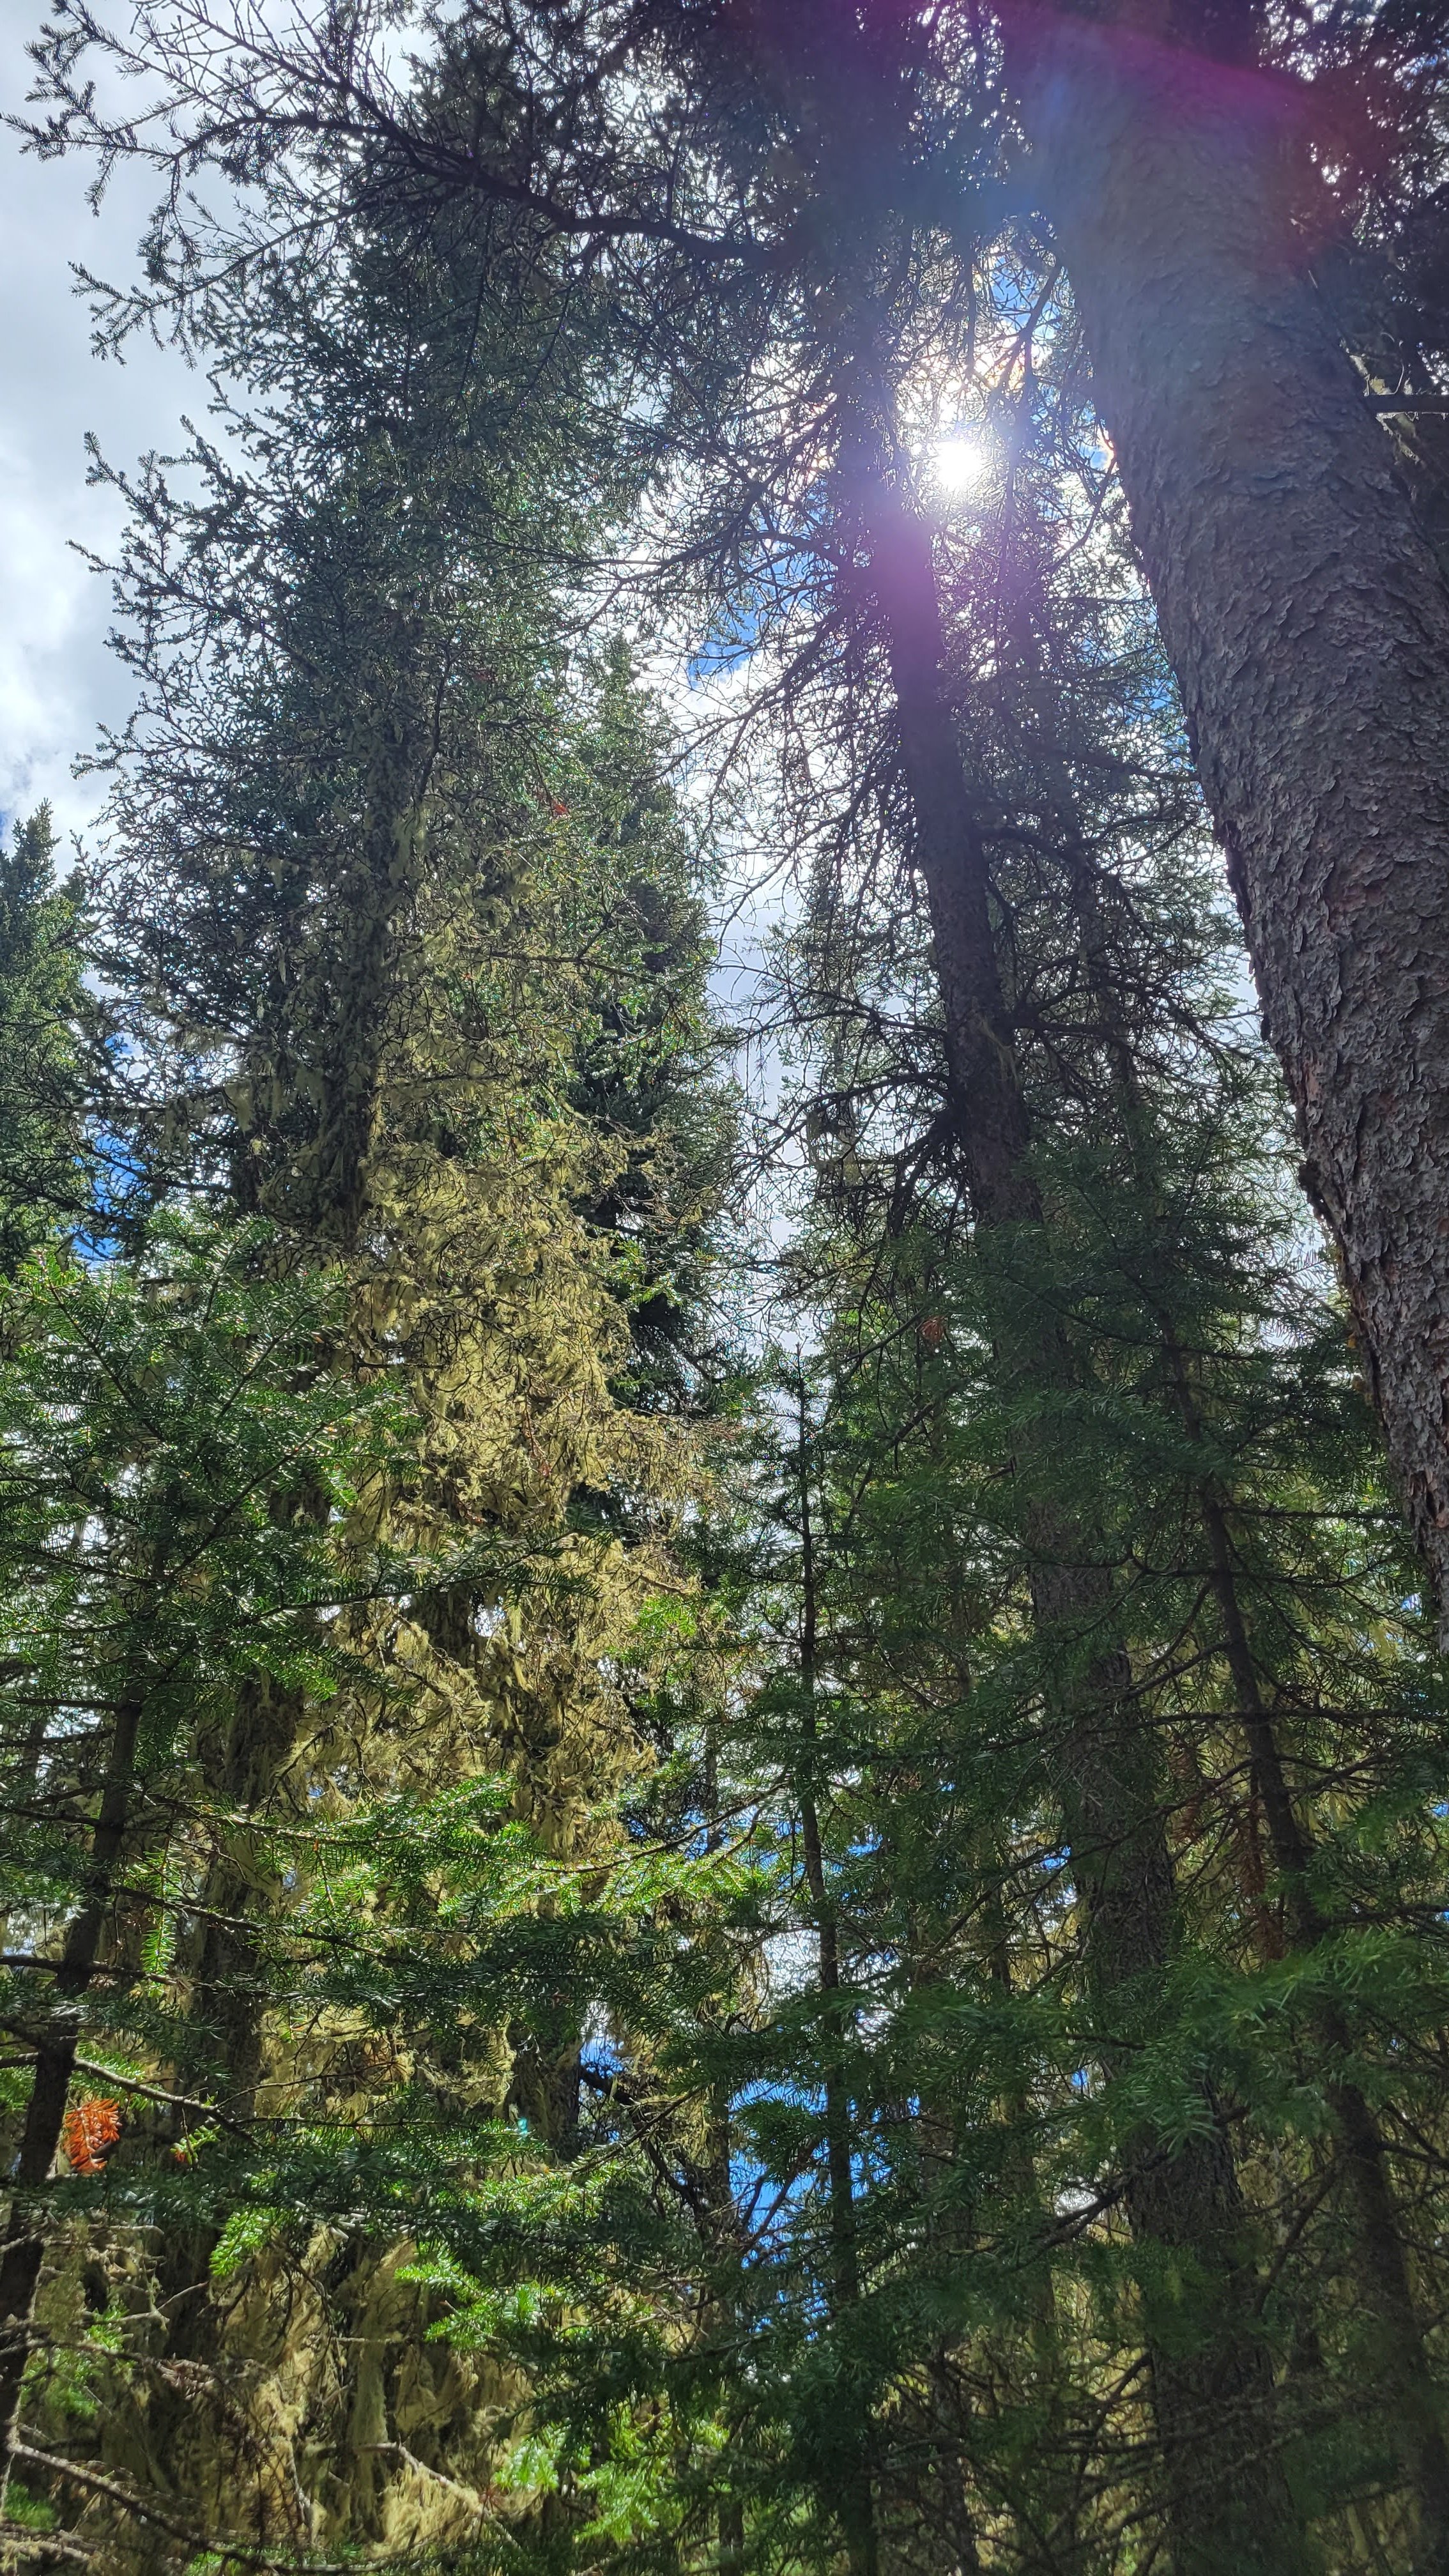
After enjoying the endless pine trees covering the landscape for a while, follow the signs for Jewell Pass which lead down to the right. Or, if you’re like me, accidentally led my family down a wrong turn to a scrambling route… oops! We found our way in the end; no scrambling required.
The trail is all downhill to the forest floor from here. The rest of the hike winds through the towering pine trees and is rather peaceful. Keep left at all forks in the trail until you find yourself back at the lake’s edge. Don’t fool yourself into thinking you’re almost done though, there’s another 3.5 kilometres (2.17 mi.) of — relatively — flat ground to cover before you’re back at the carpark.
Upper Kananaskis Lake Trail
Time: 4.5-5 hour return
Difficulty: Moderate
Type: Loop
Distance: 15.9 kilometres
Elevation Gain: 478 metres
Another loop that covers a significant distance, but only half the elevation, and is much more evenly distributed across the route. Once again, I recommend travelling counter-clockwise on this path so you start with the most difficult section, instead of tackling it after over 10 kilometres (6.21 mi.) on the trail.
Start from the trailhead at the North Interlakes Day Use Area located at the end of the Kananaskis Lakes Trail access road and take the Three Isle Lakes Trail, following the edge of the lake.
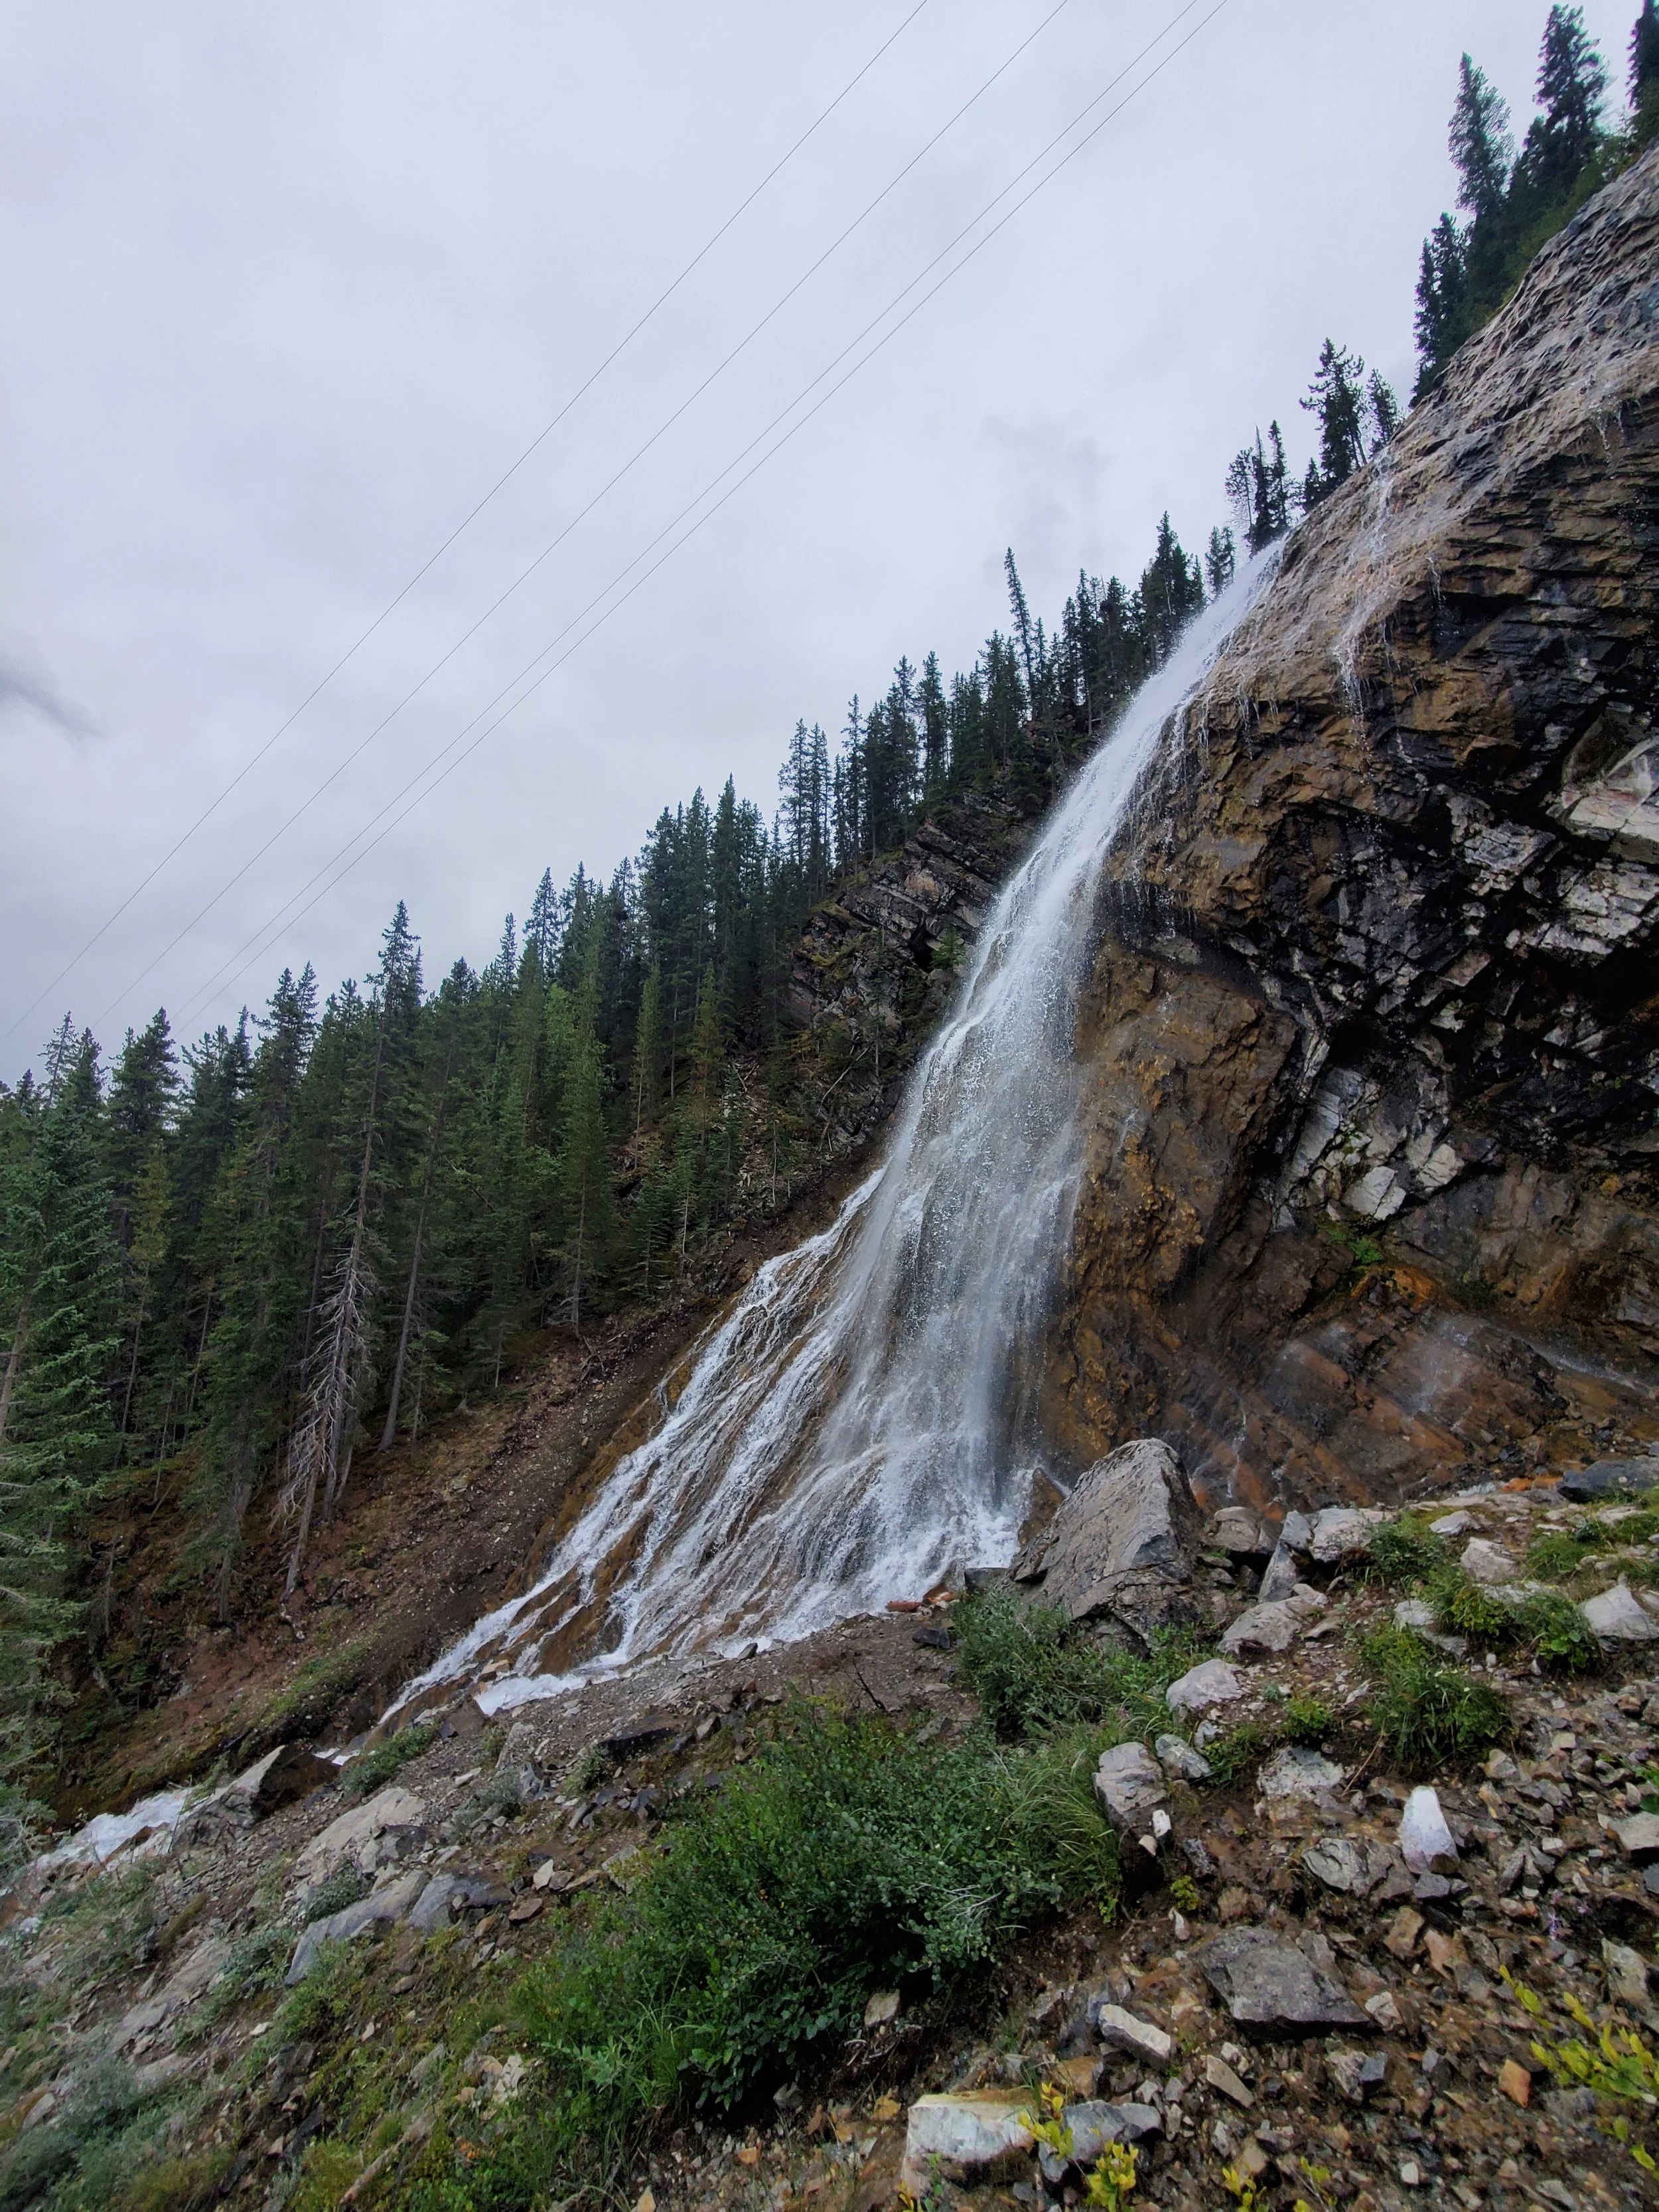
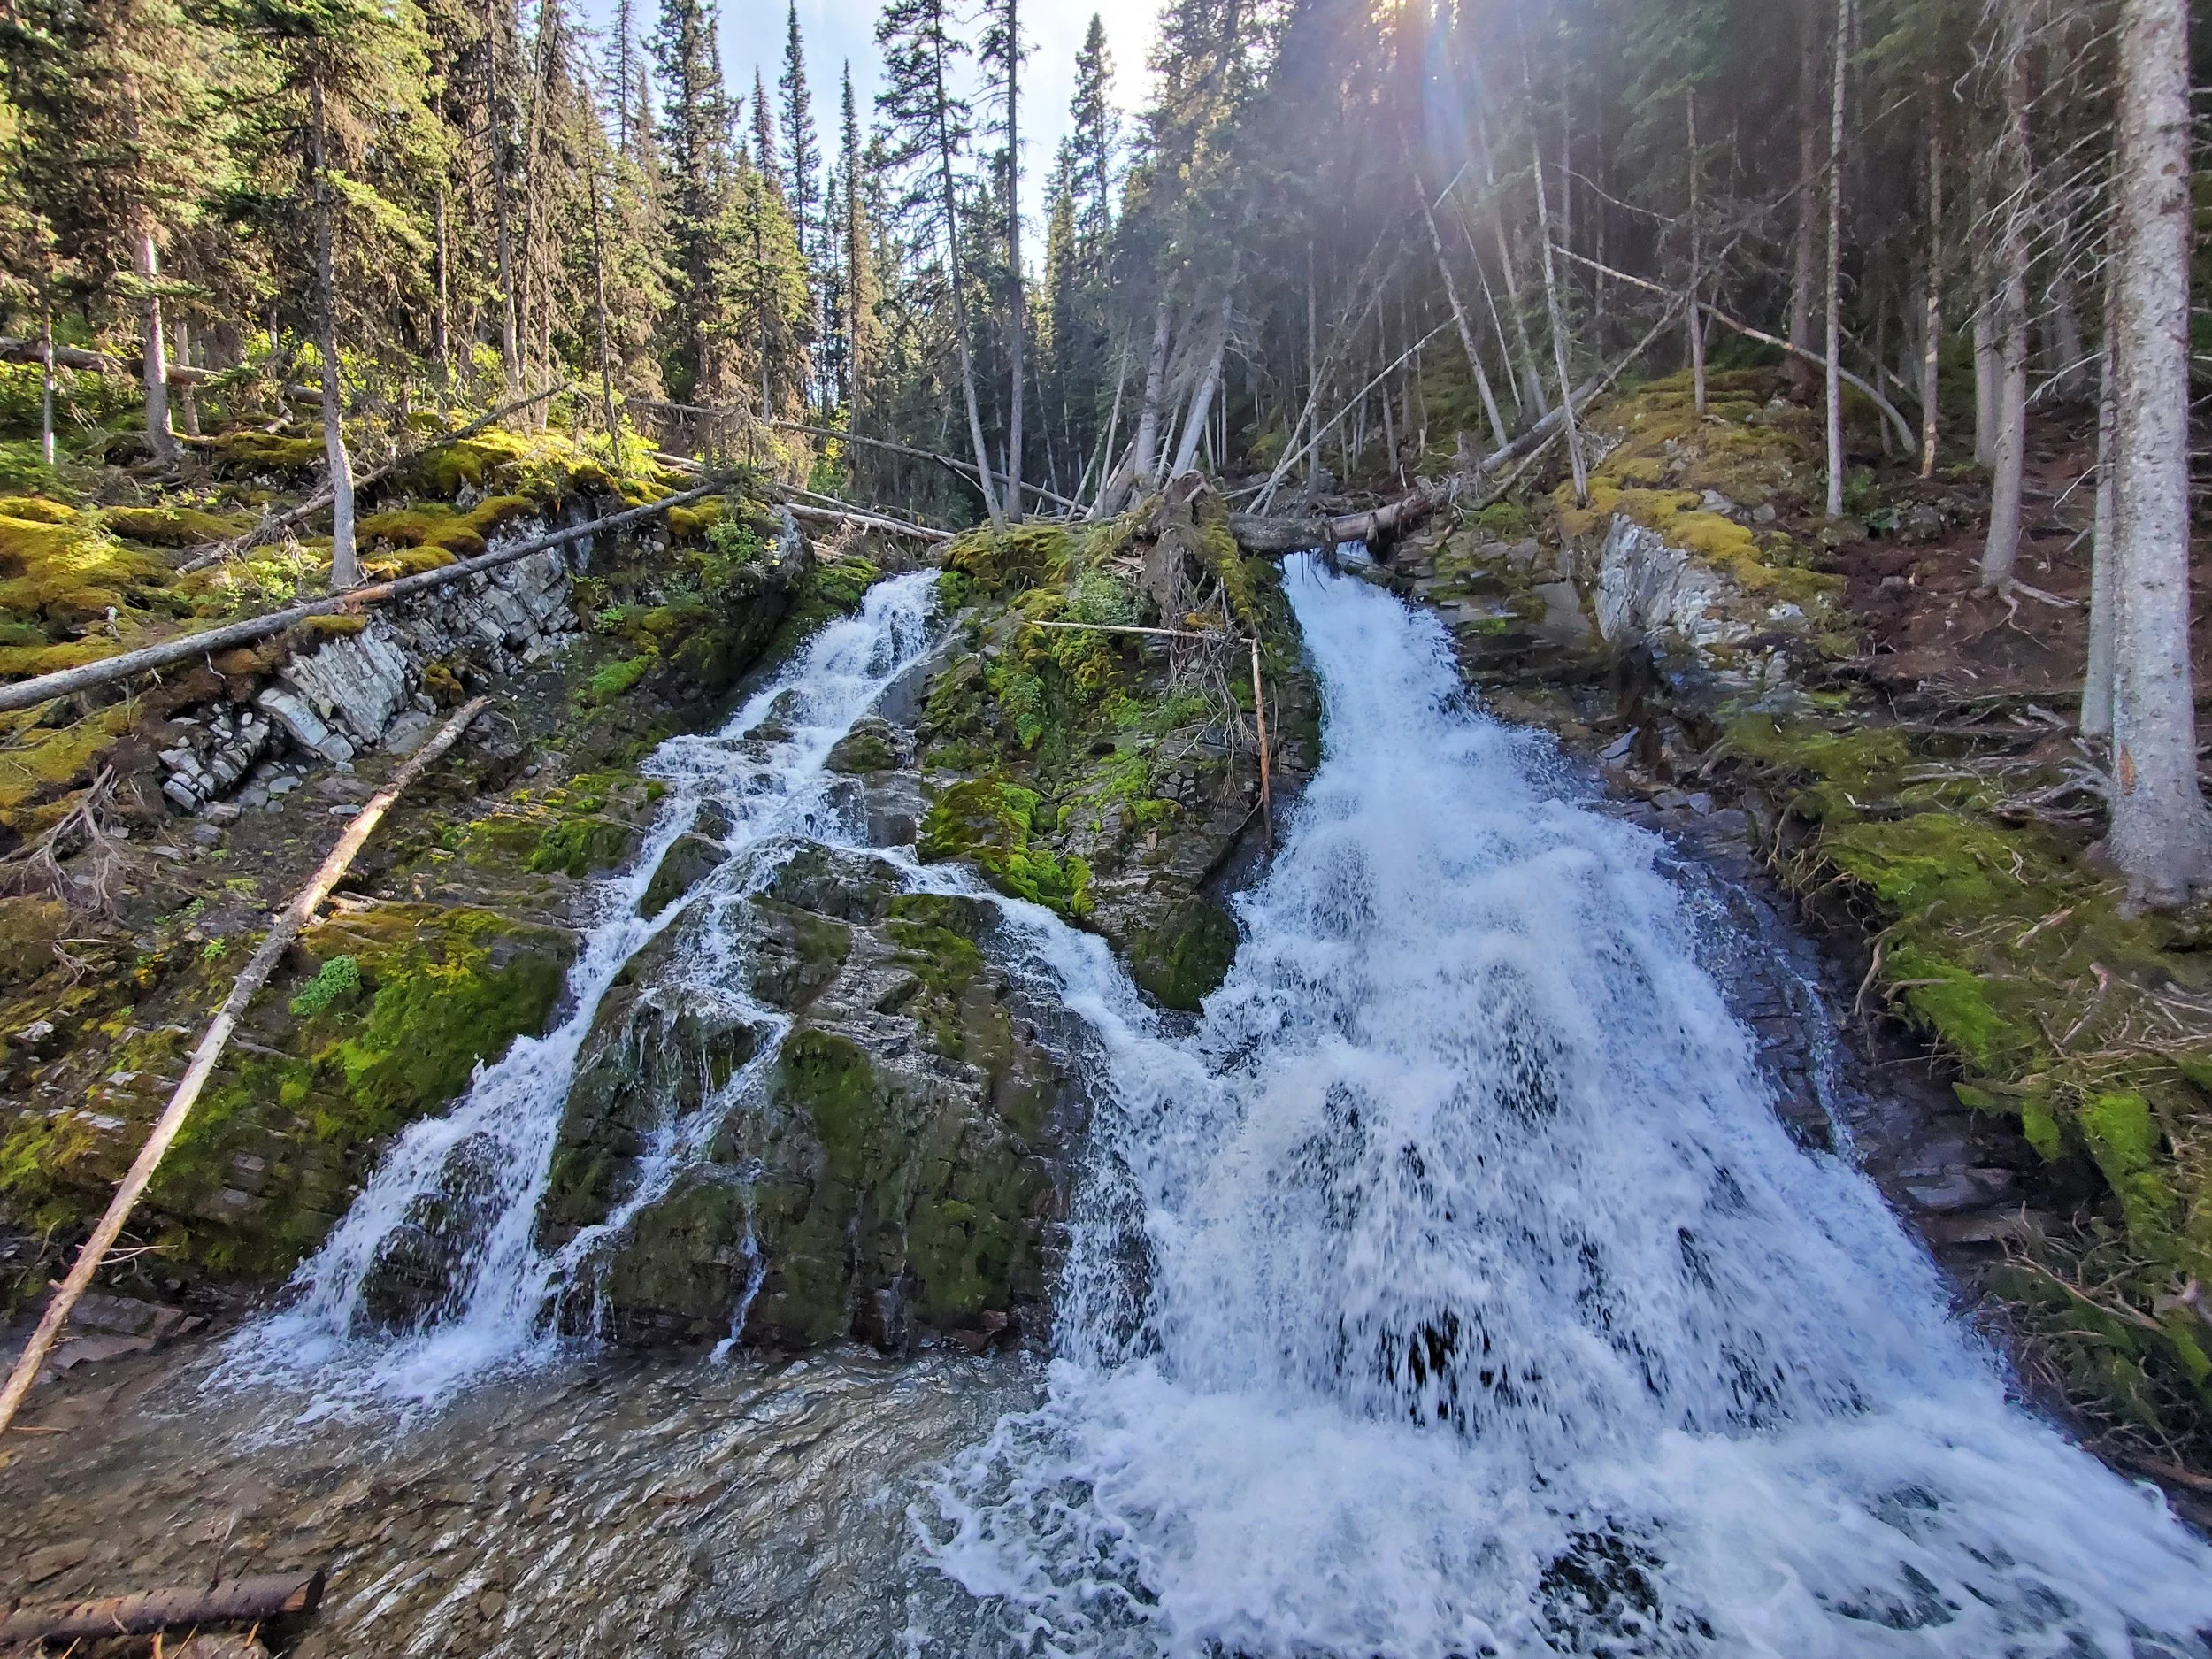
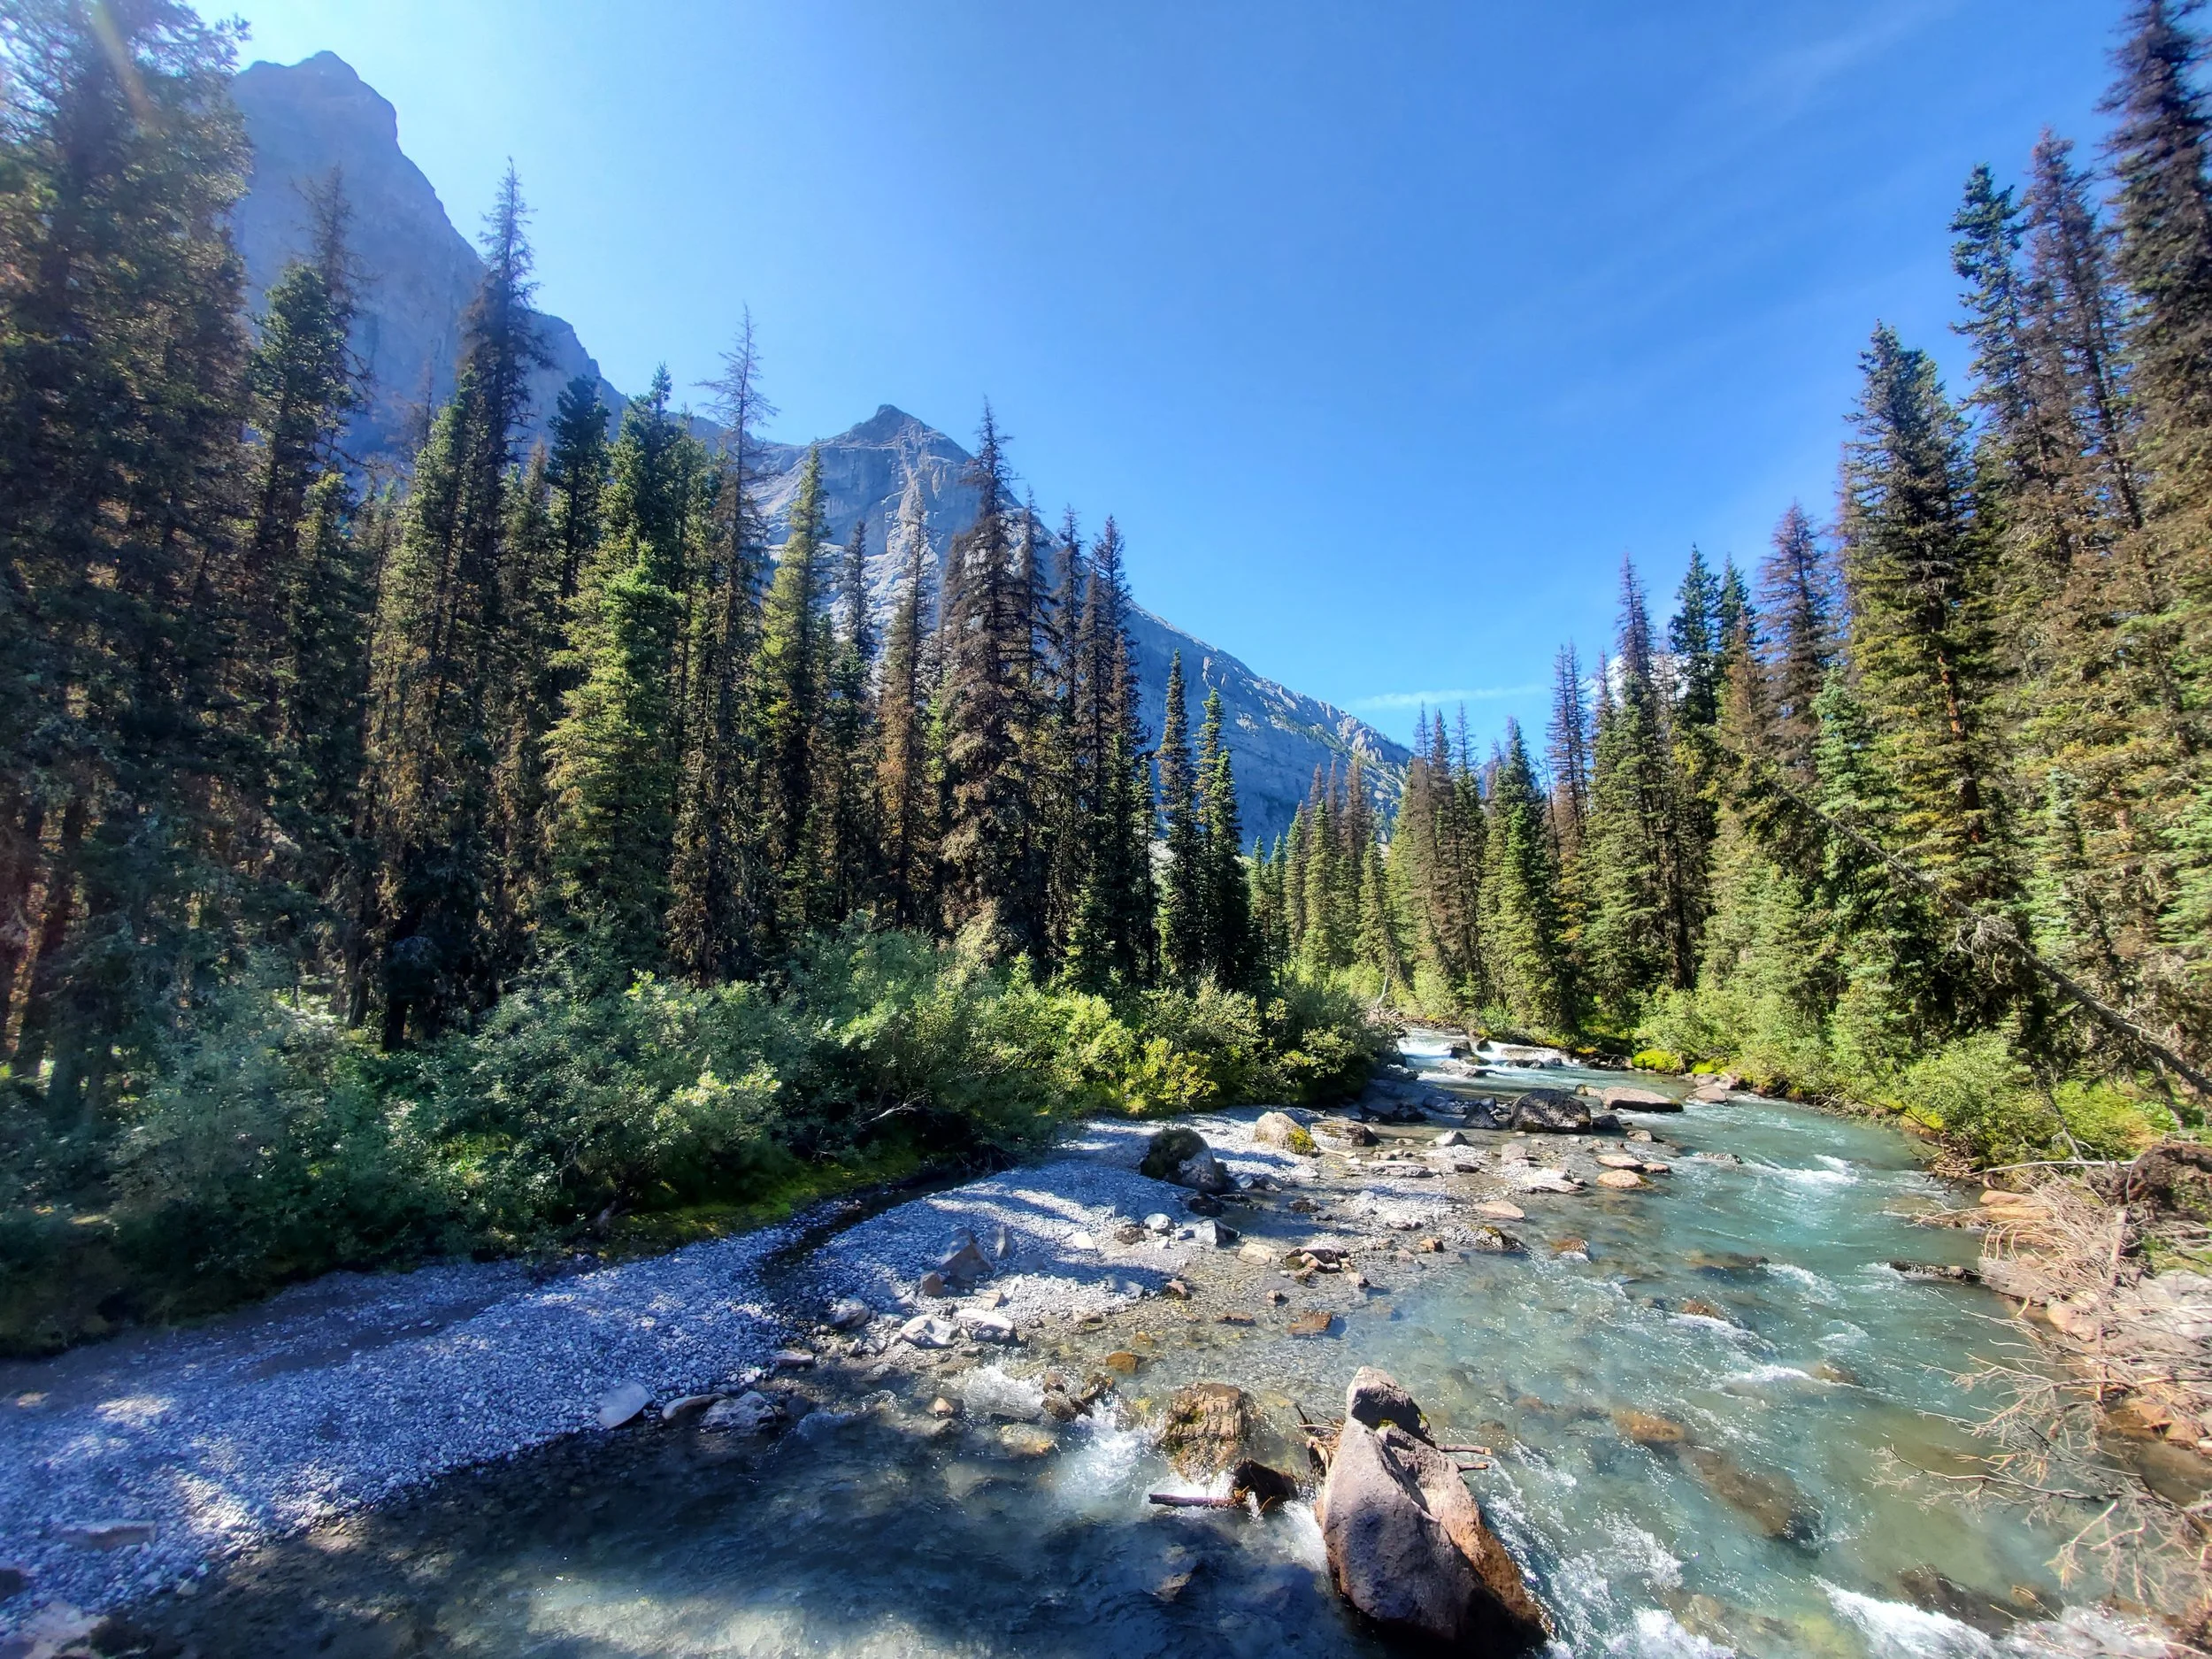
The nice part about the Upper Kananaskis Lake Trail is its varying terrain, which keeps things interesting as you carry along. You’ll trek over rocky, exposed areas, past a waterfall, through winding forest paths, over bridges, and more. The 15.9 kilometres (9.88 mi.) are over before you know it!
If in doubt, stick to the path that keeps you following the edge of the lake!
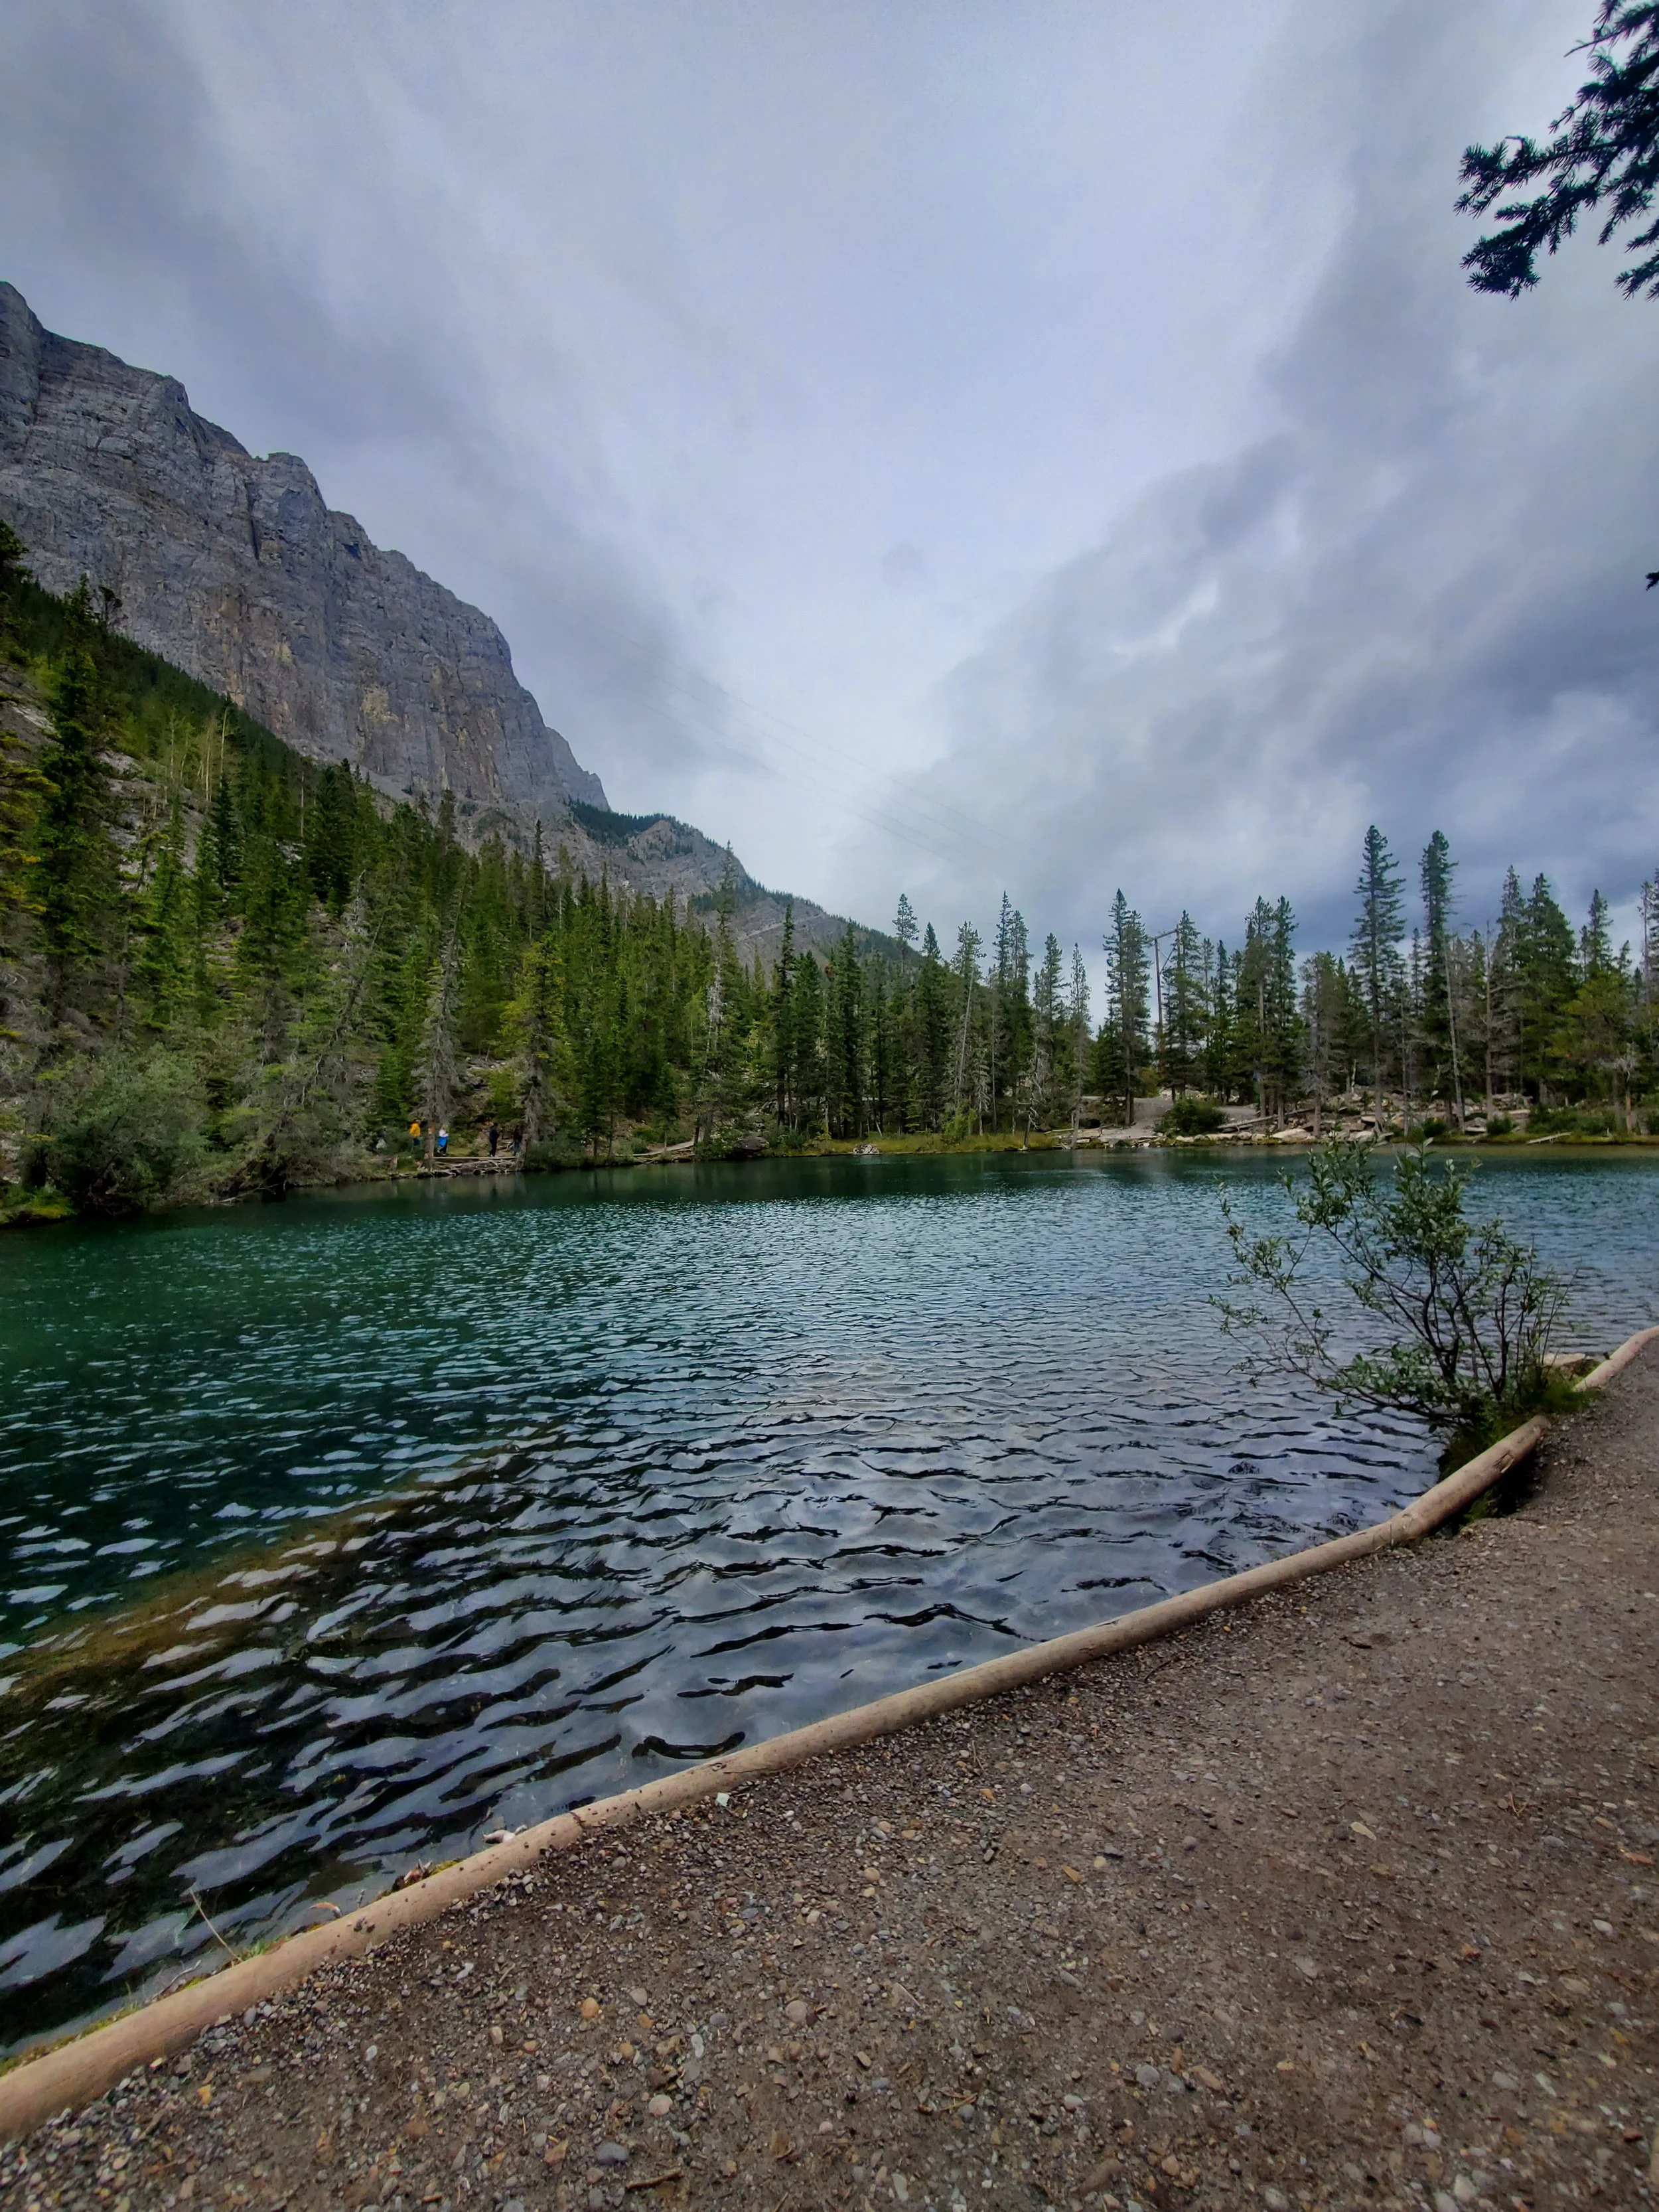
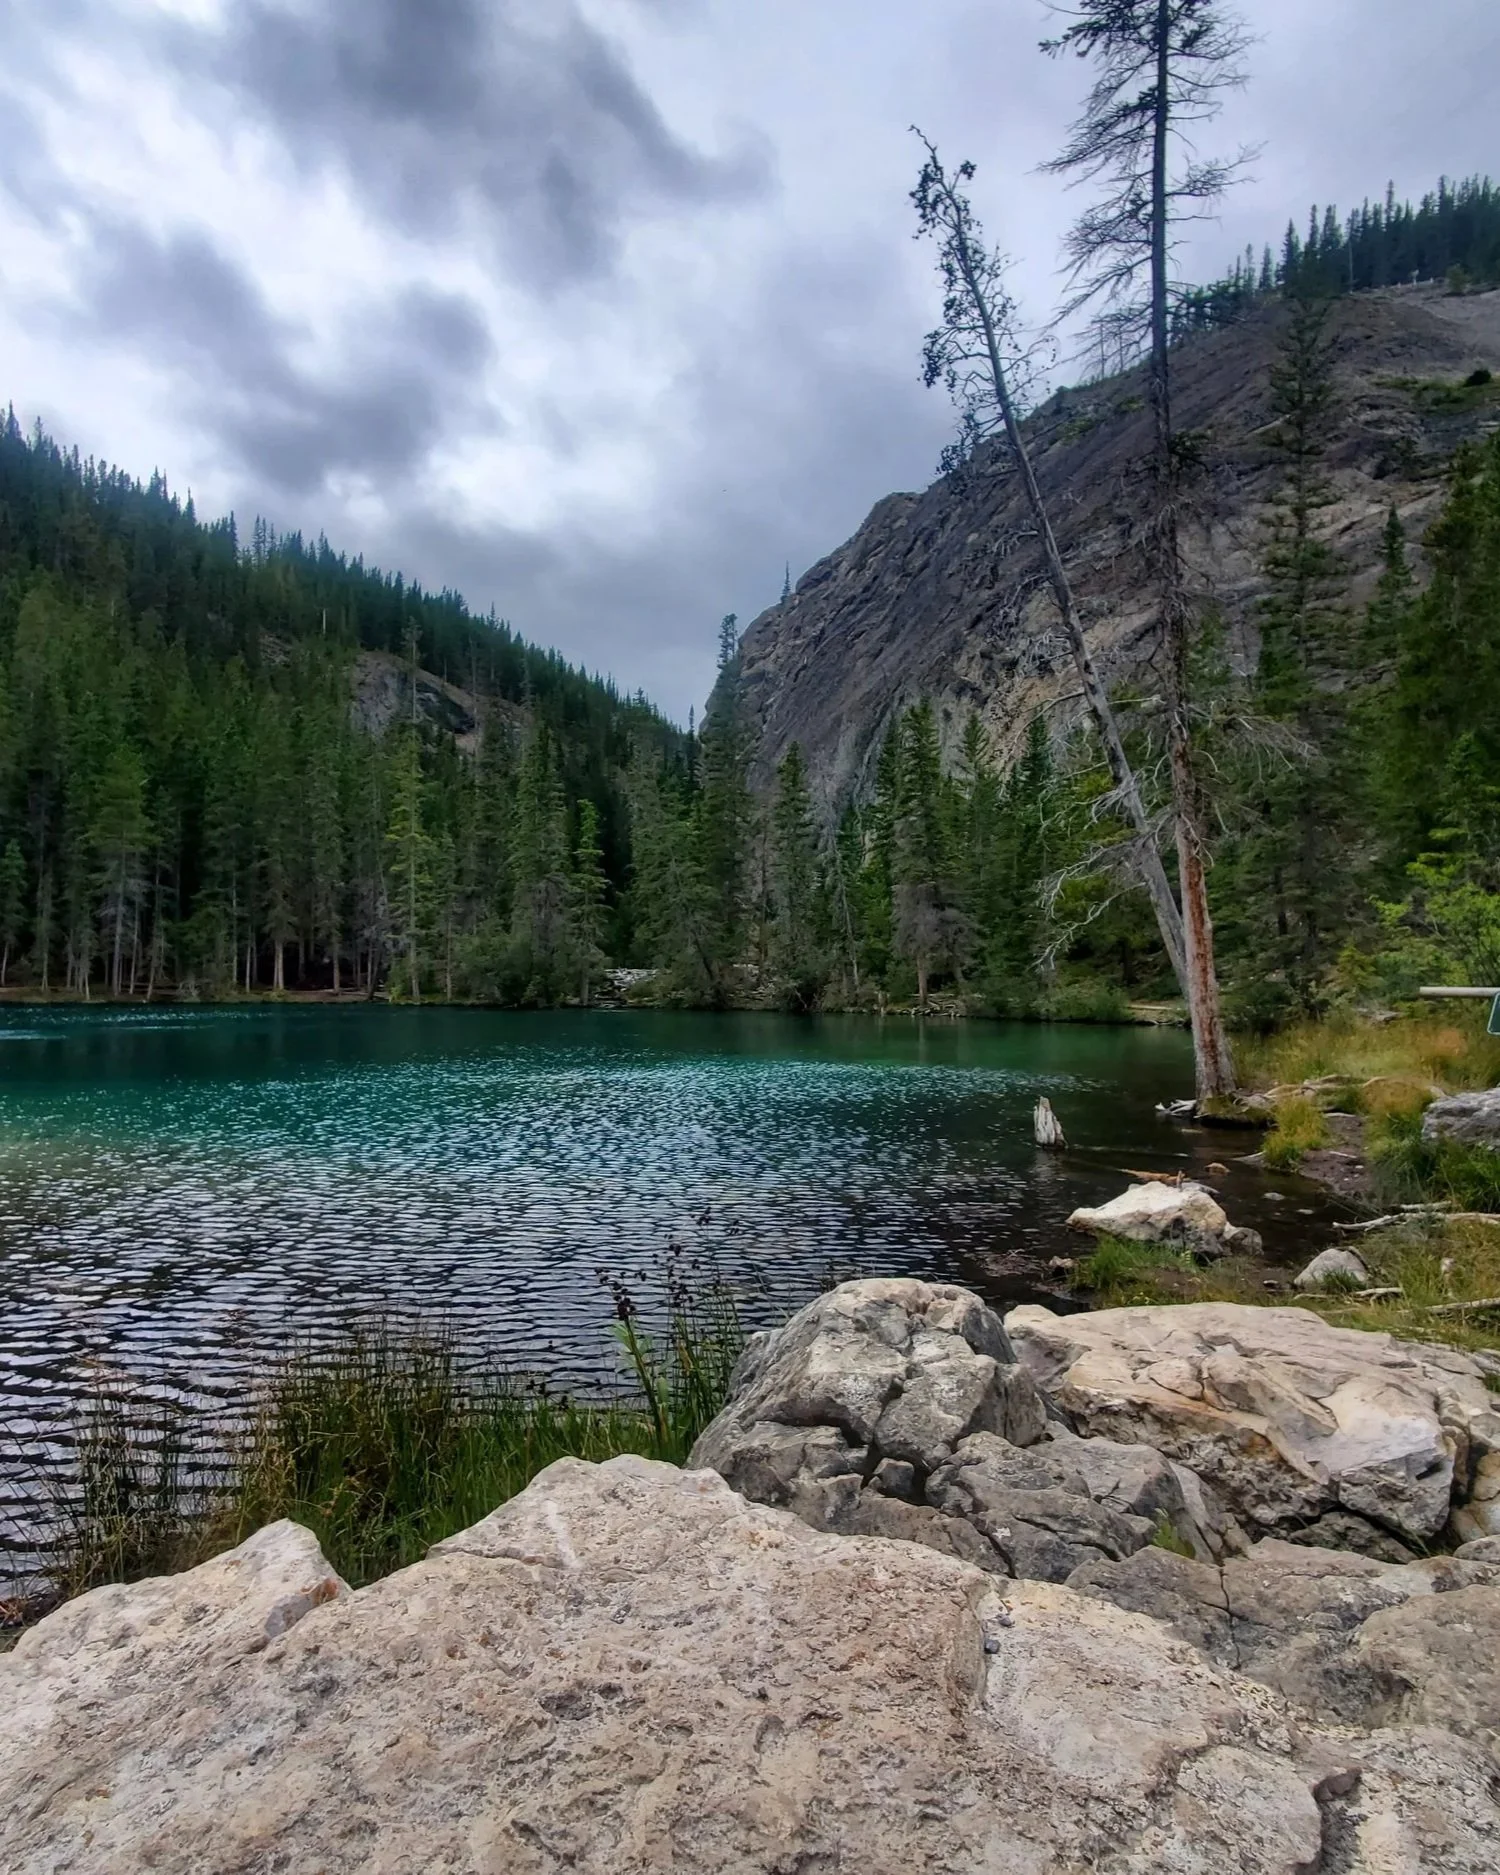
Grassi Lakes
Time: 1-1.5 hour return
Difficulty: Easy/Moderate
Type: Out-and-back
Distance: 3.4 kilometres
Elevation Gain: 144 metres
Definitely the easiest and most accessible trail on this list. The way up to the Grassi Lakes is well-maintained, well-marked, and the perfect trail to add as a short second hike of the day!
You can follow either the Upper or Interpretive trail on the way up. If you want to avoid steep climbs, I would suggest the Upper trail on the way up, and the Interpretive trail for the way down for a slightly more adventurous route.
At the top you’ll find a couple of beautiful, clear blue lakes. Grab a seat on a bench and enjoy the scenery before heading back down to the carpark.