How We Moved to Italy pt 1. | Youth Mobility Visa Application (for Canadians)
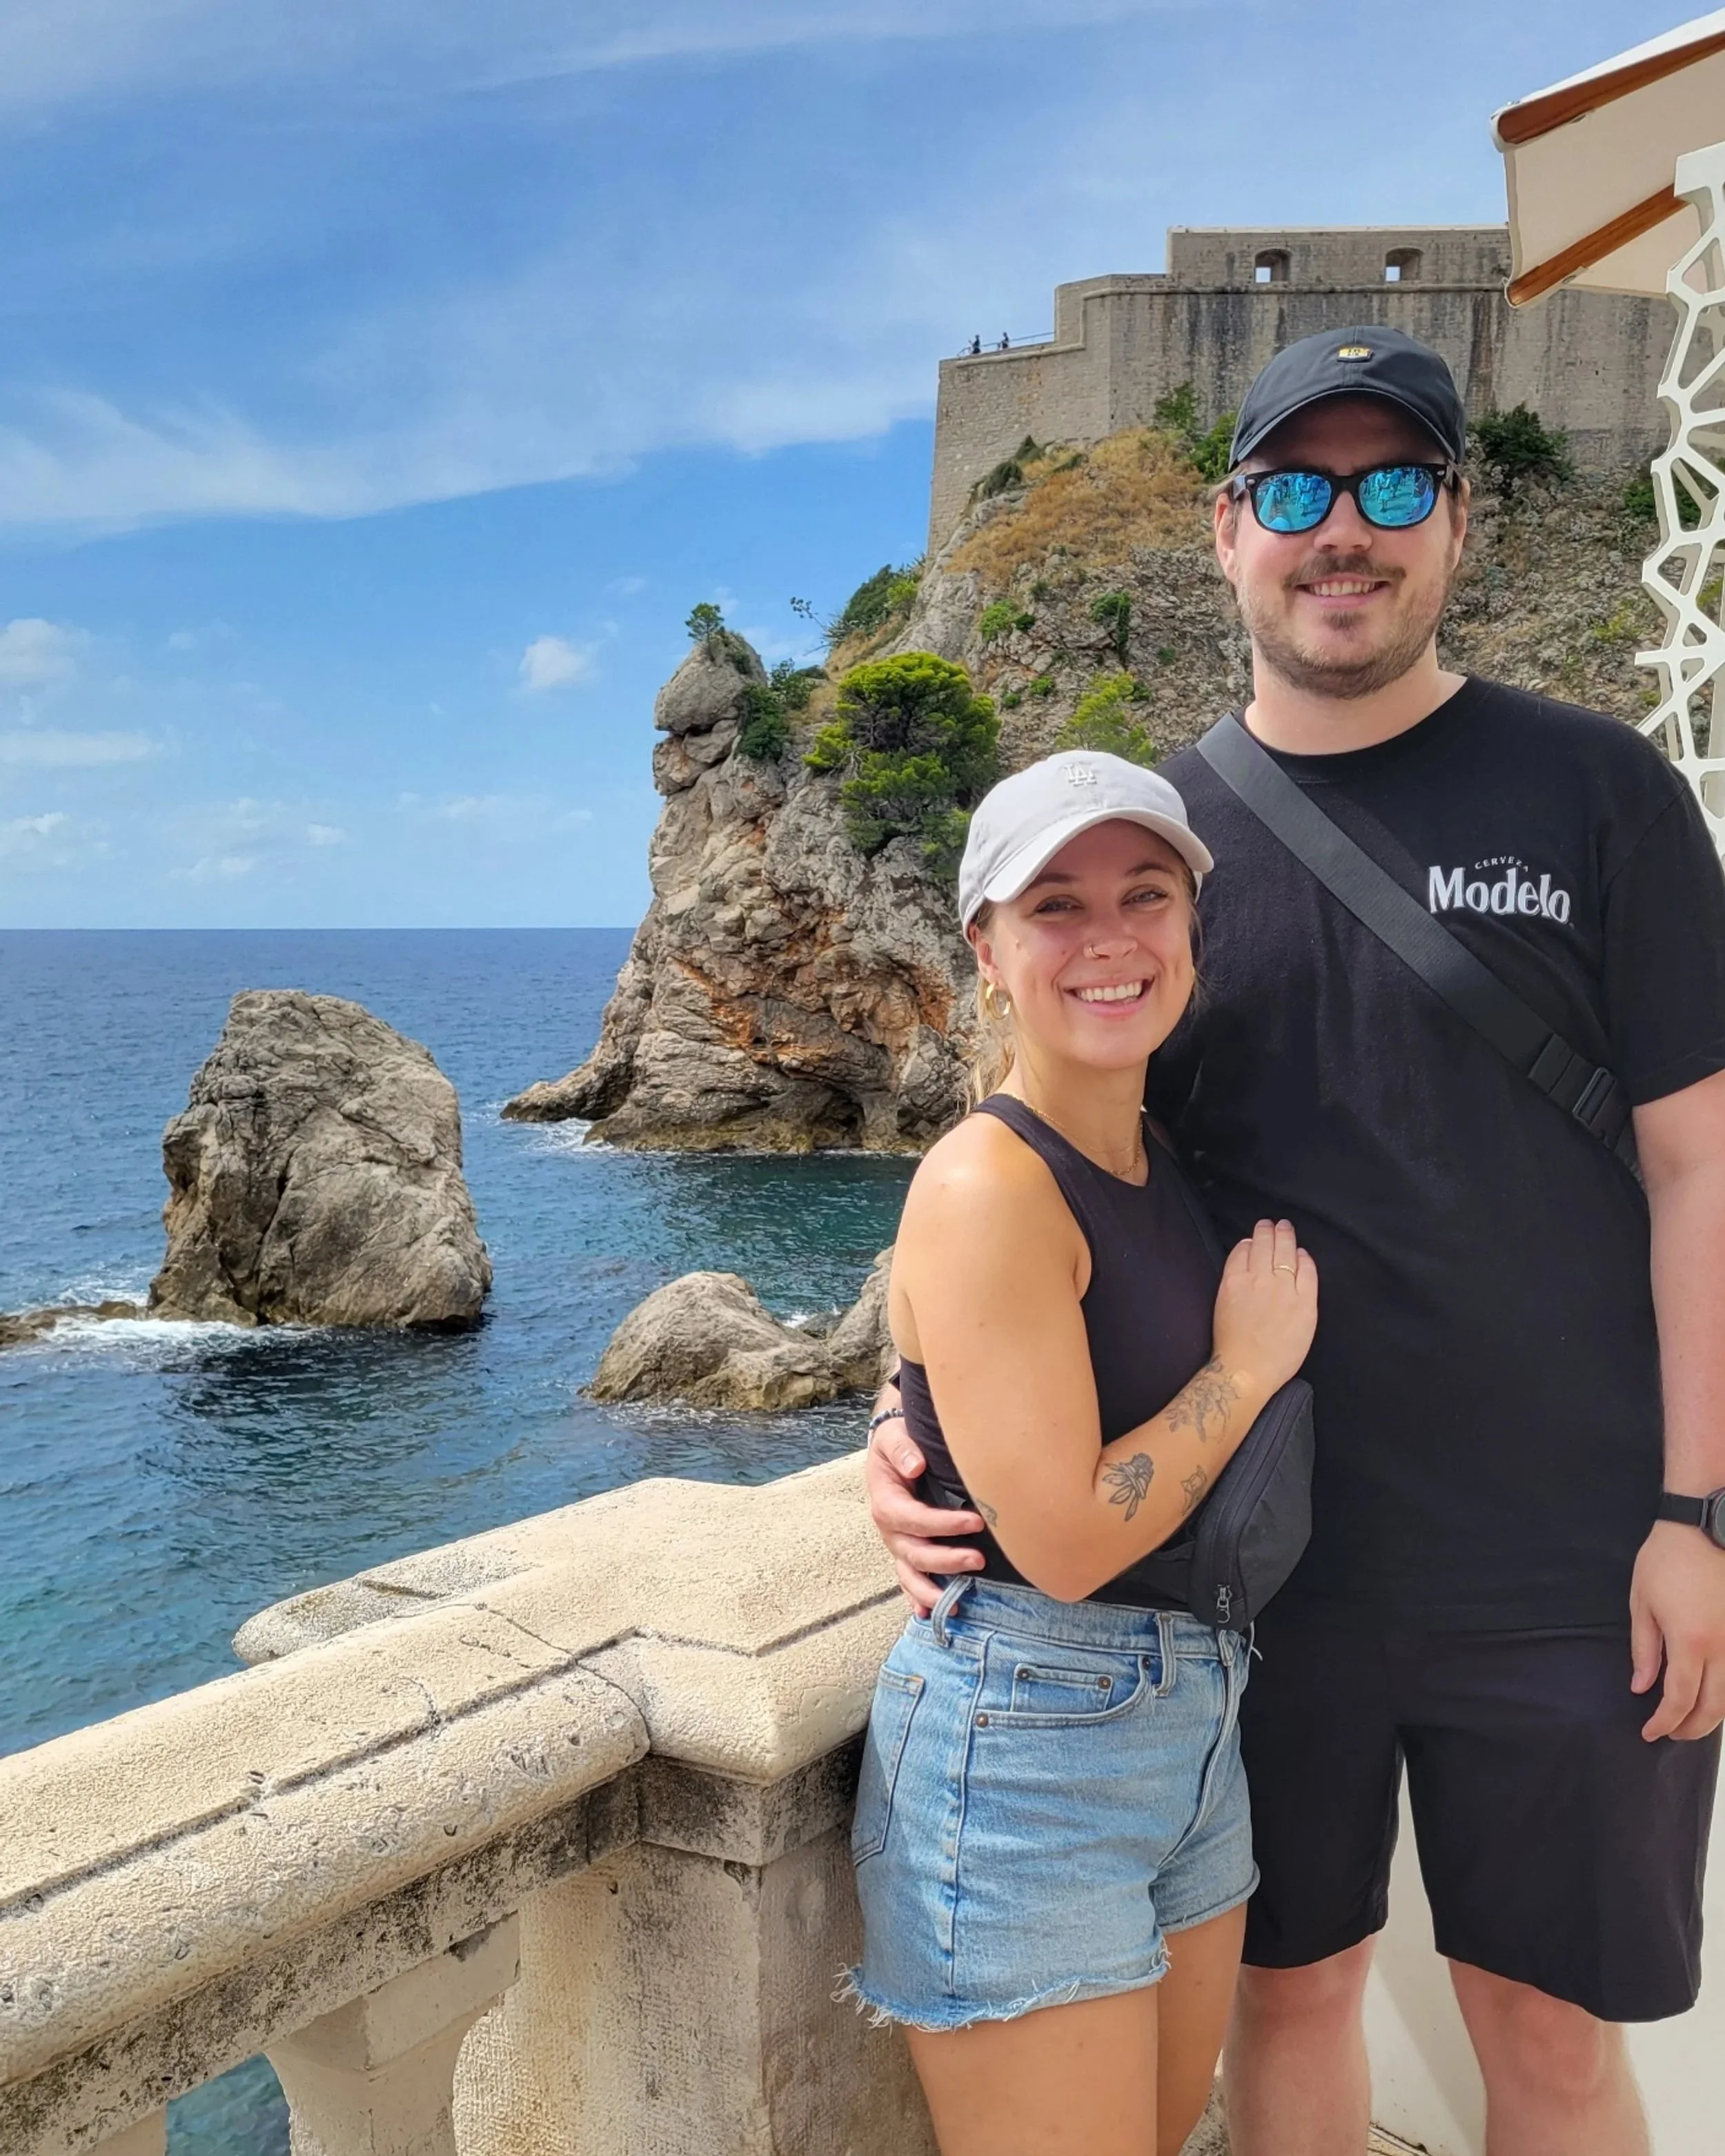
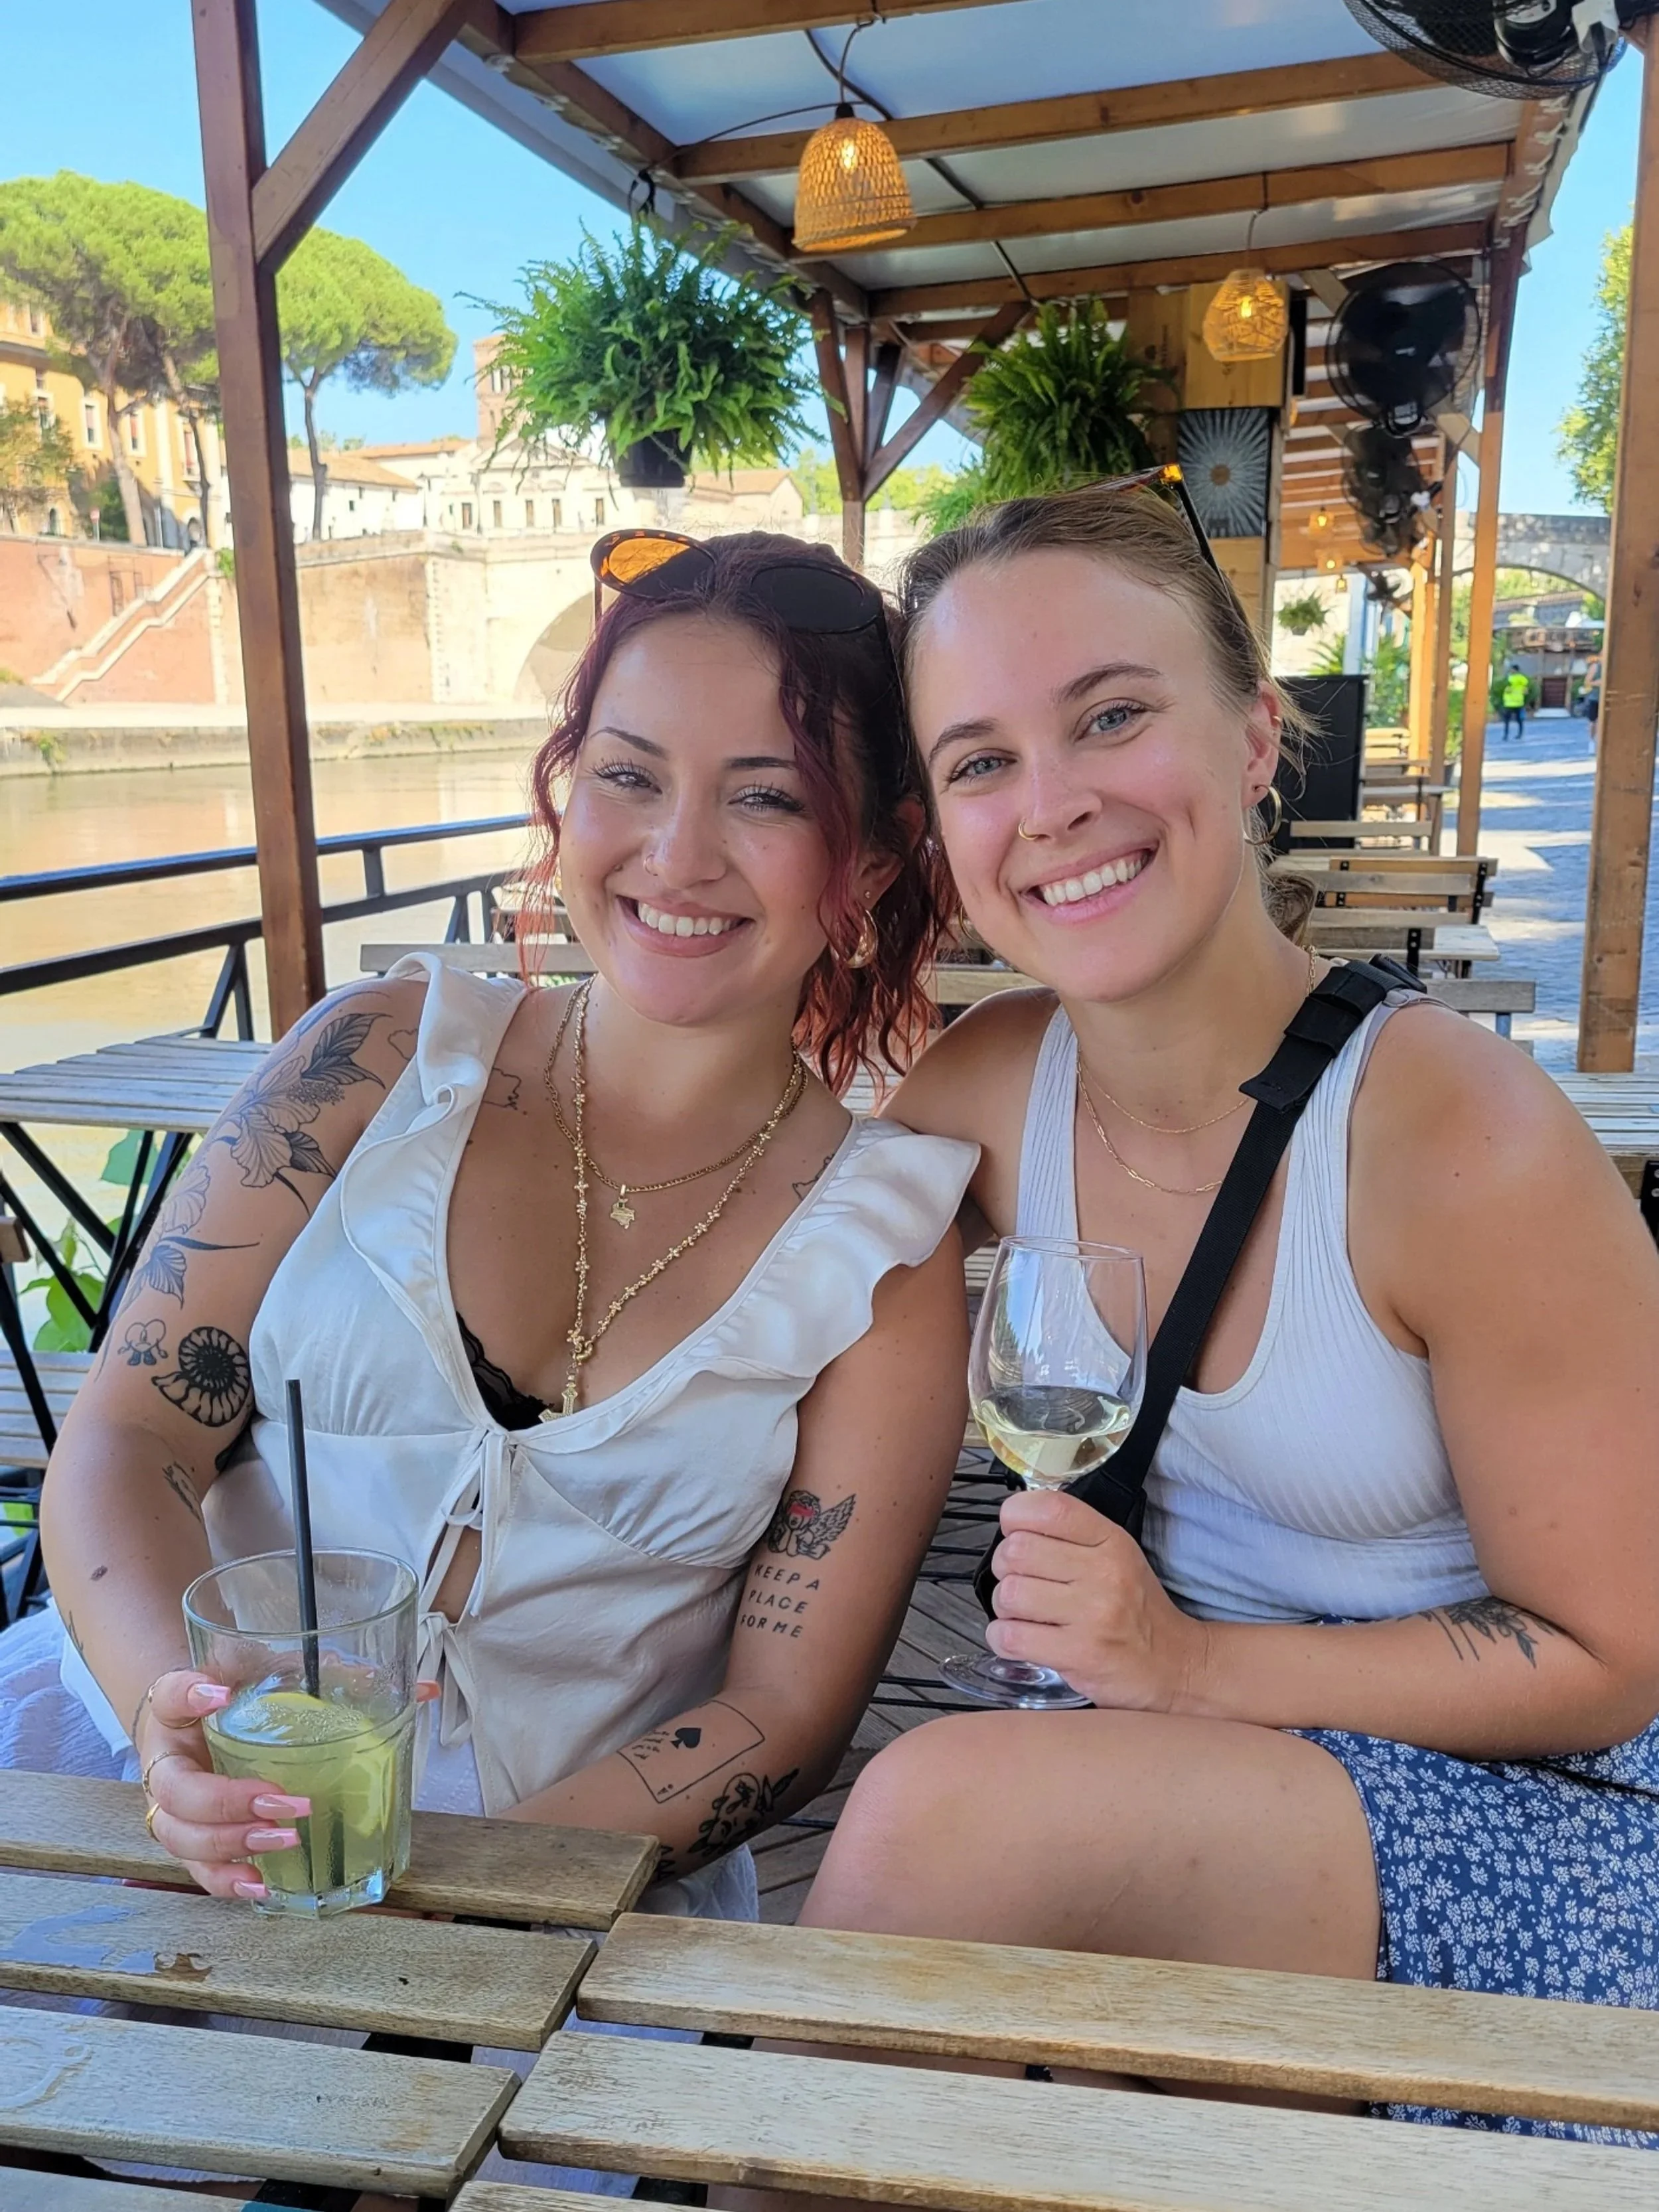
Dreaming of trying life abroad? So were we. The Youth Mobility (Working Holiday) Visa is how Tyson and I made it happen a couple of months before my 30th birthday!
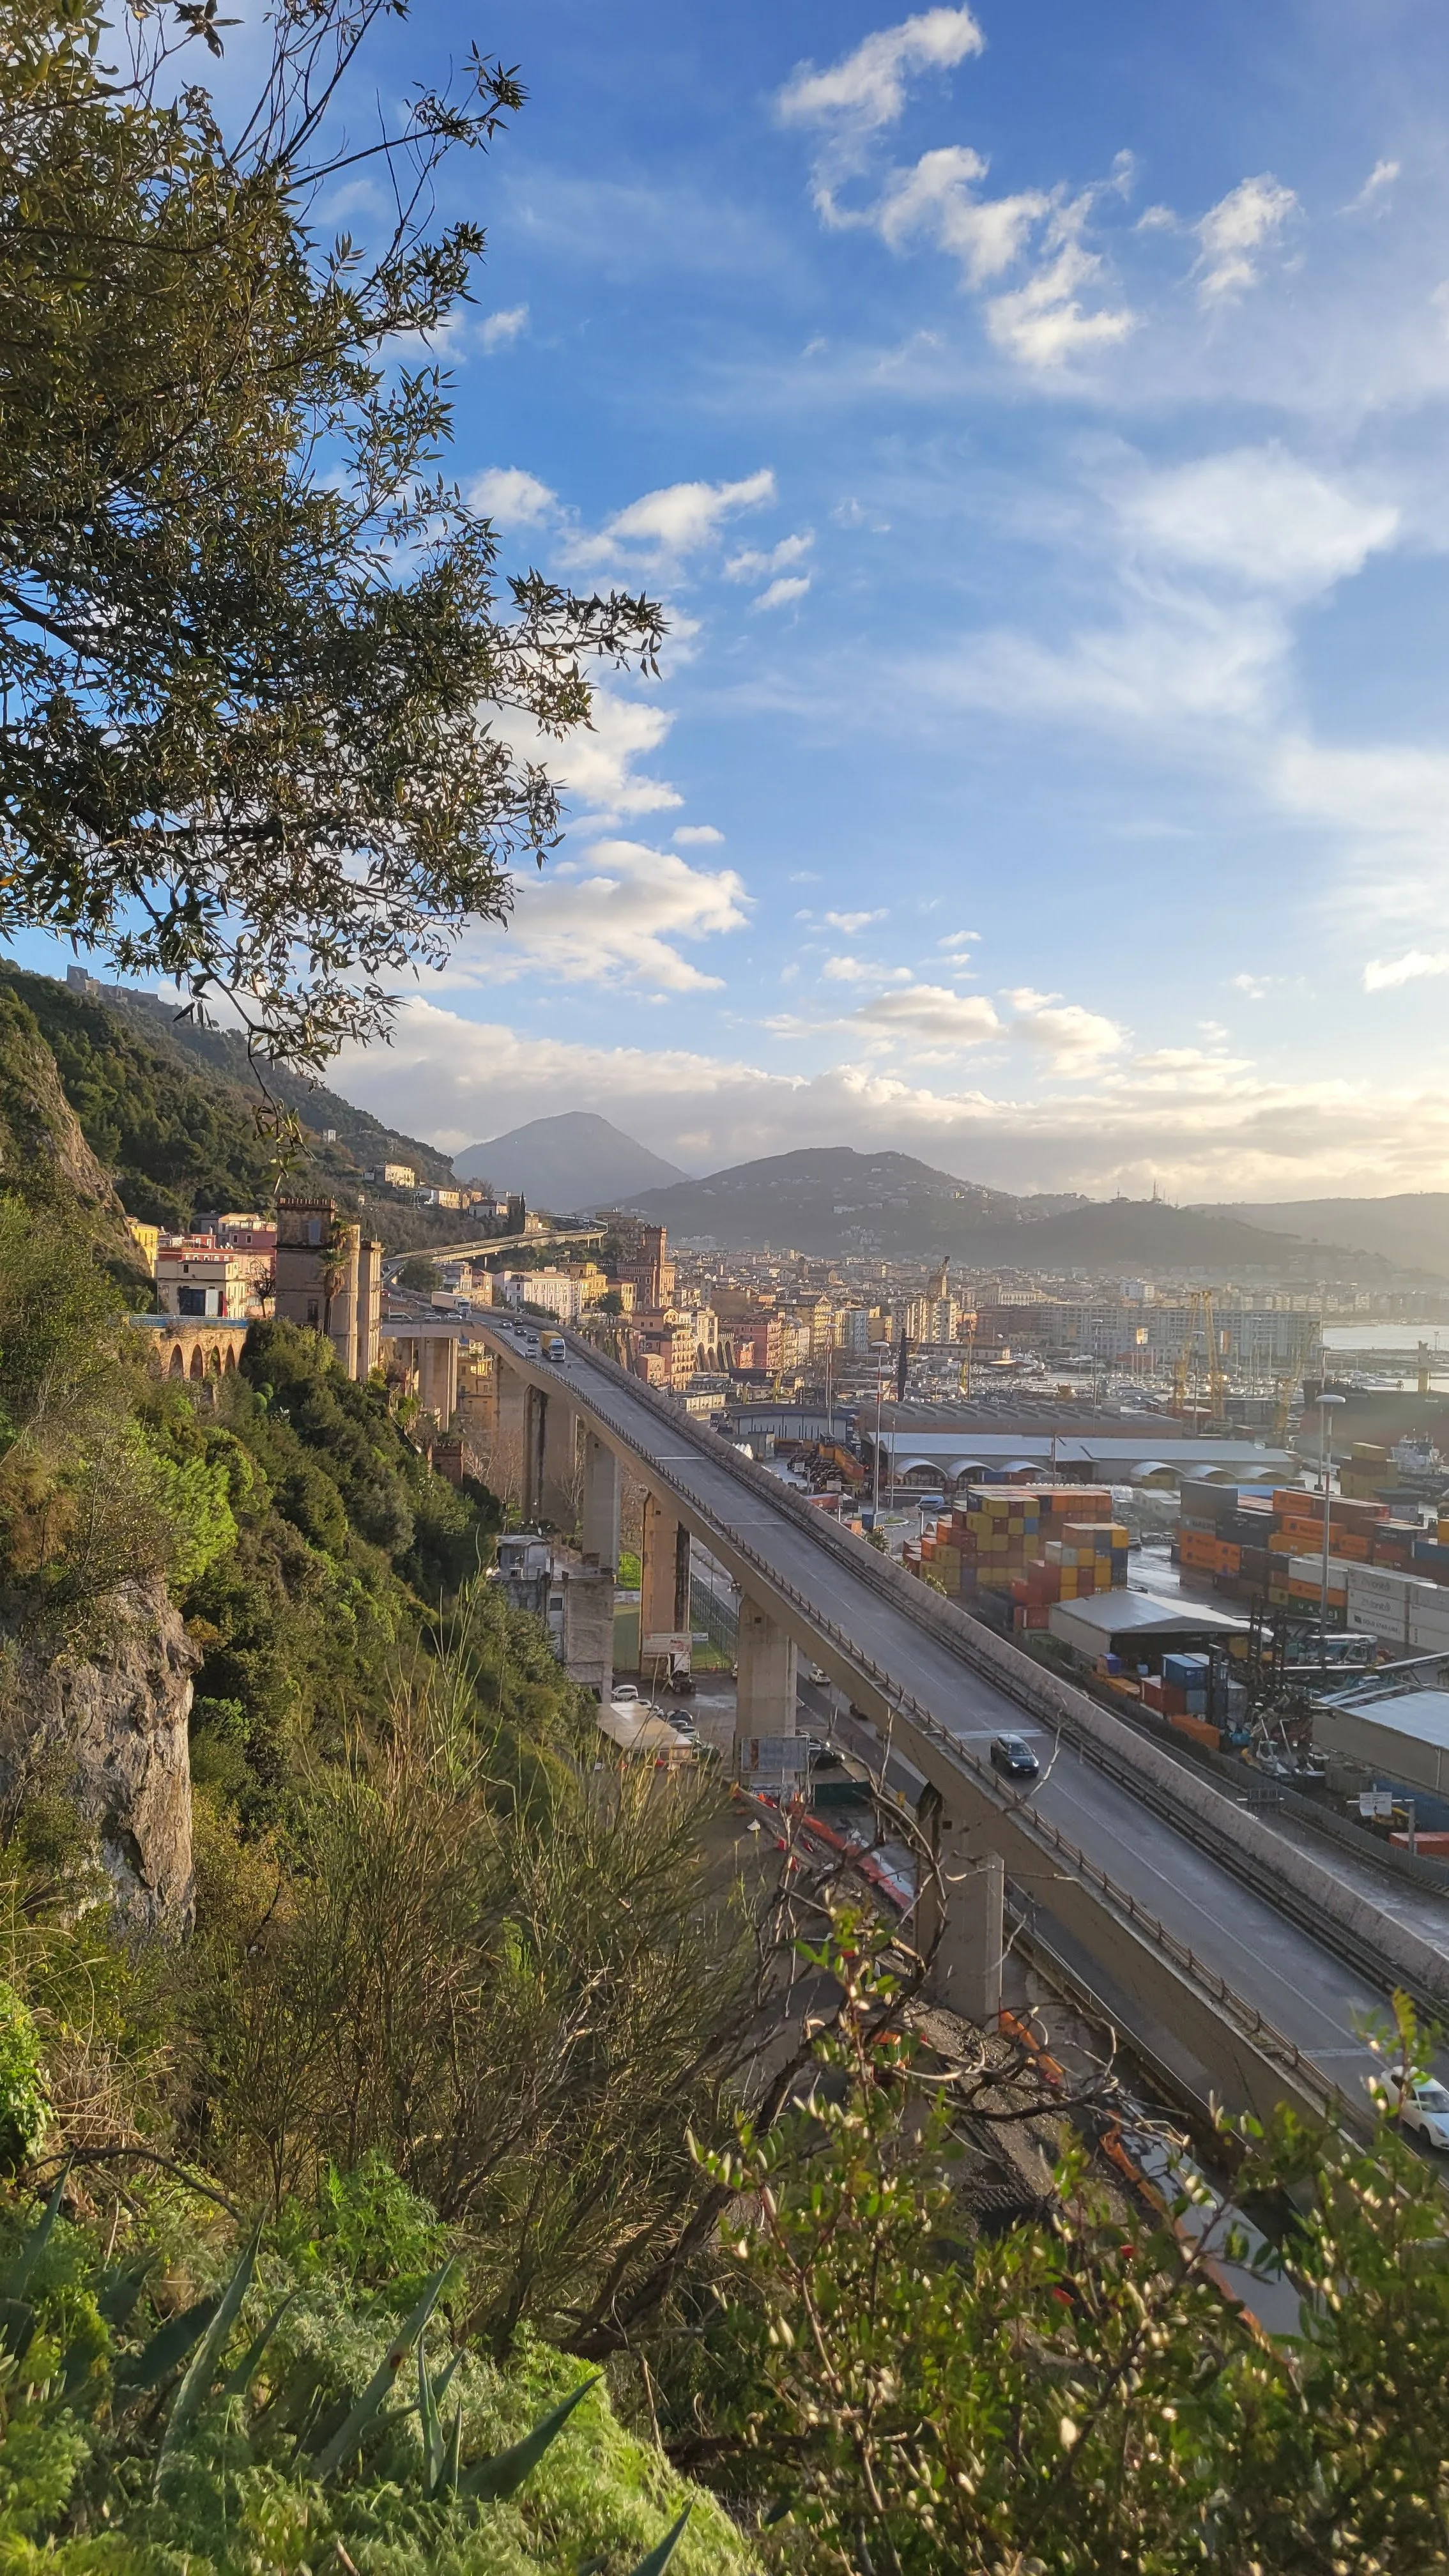
Canadians between 18 and 35 have a lot of Youth Mobility options, but we chose to move to a small town on Italy’s Amalfi Coast. Though the move has brought its fair share of stress and uncertainty — as any good out-of-your-comfort-zone experience should — but I would do it again in a heartbeat!
In this post, I break down the application process: wait times, what to expect, and our first taste of Italian bureaucracy!
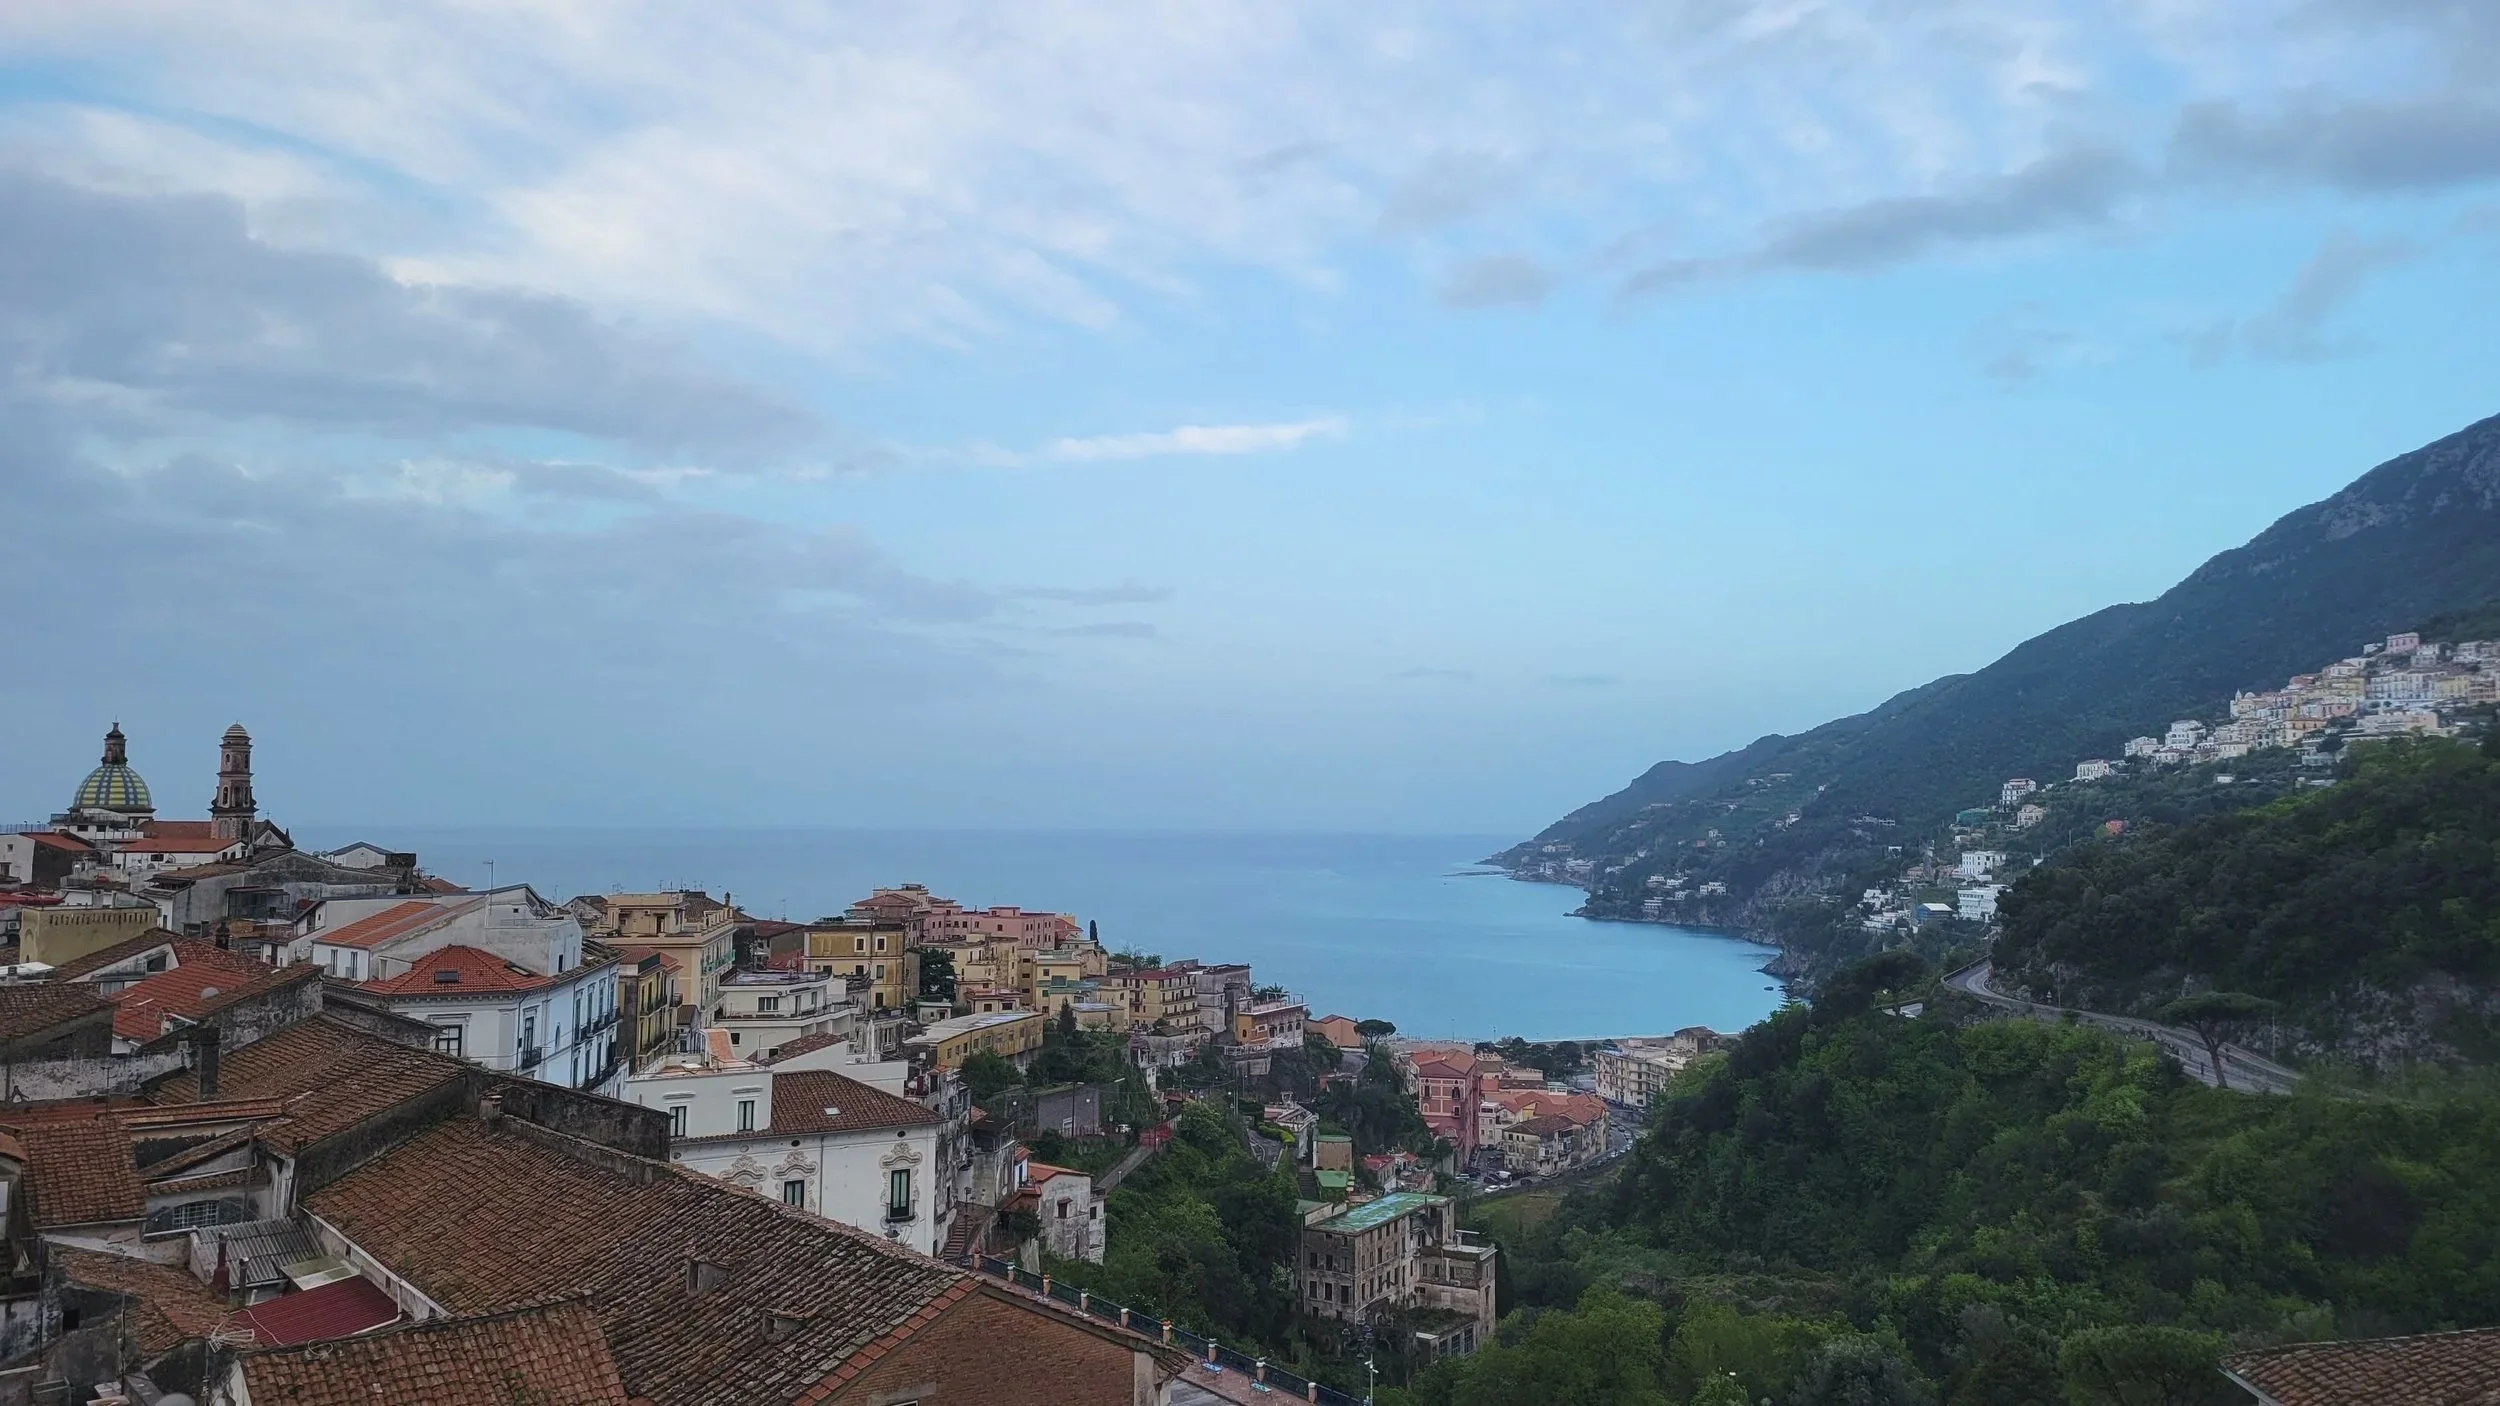
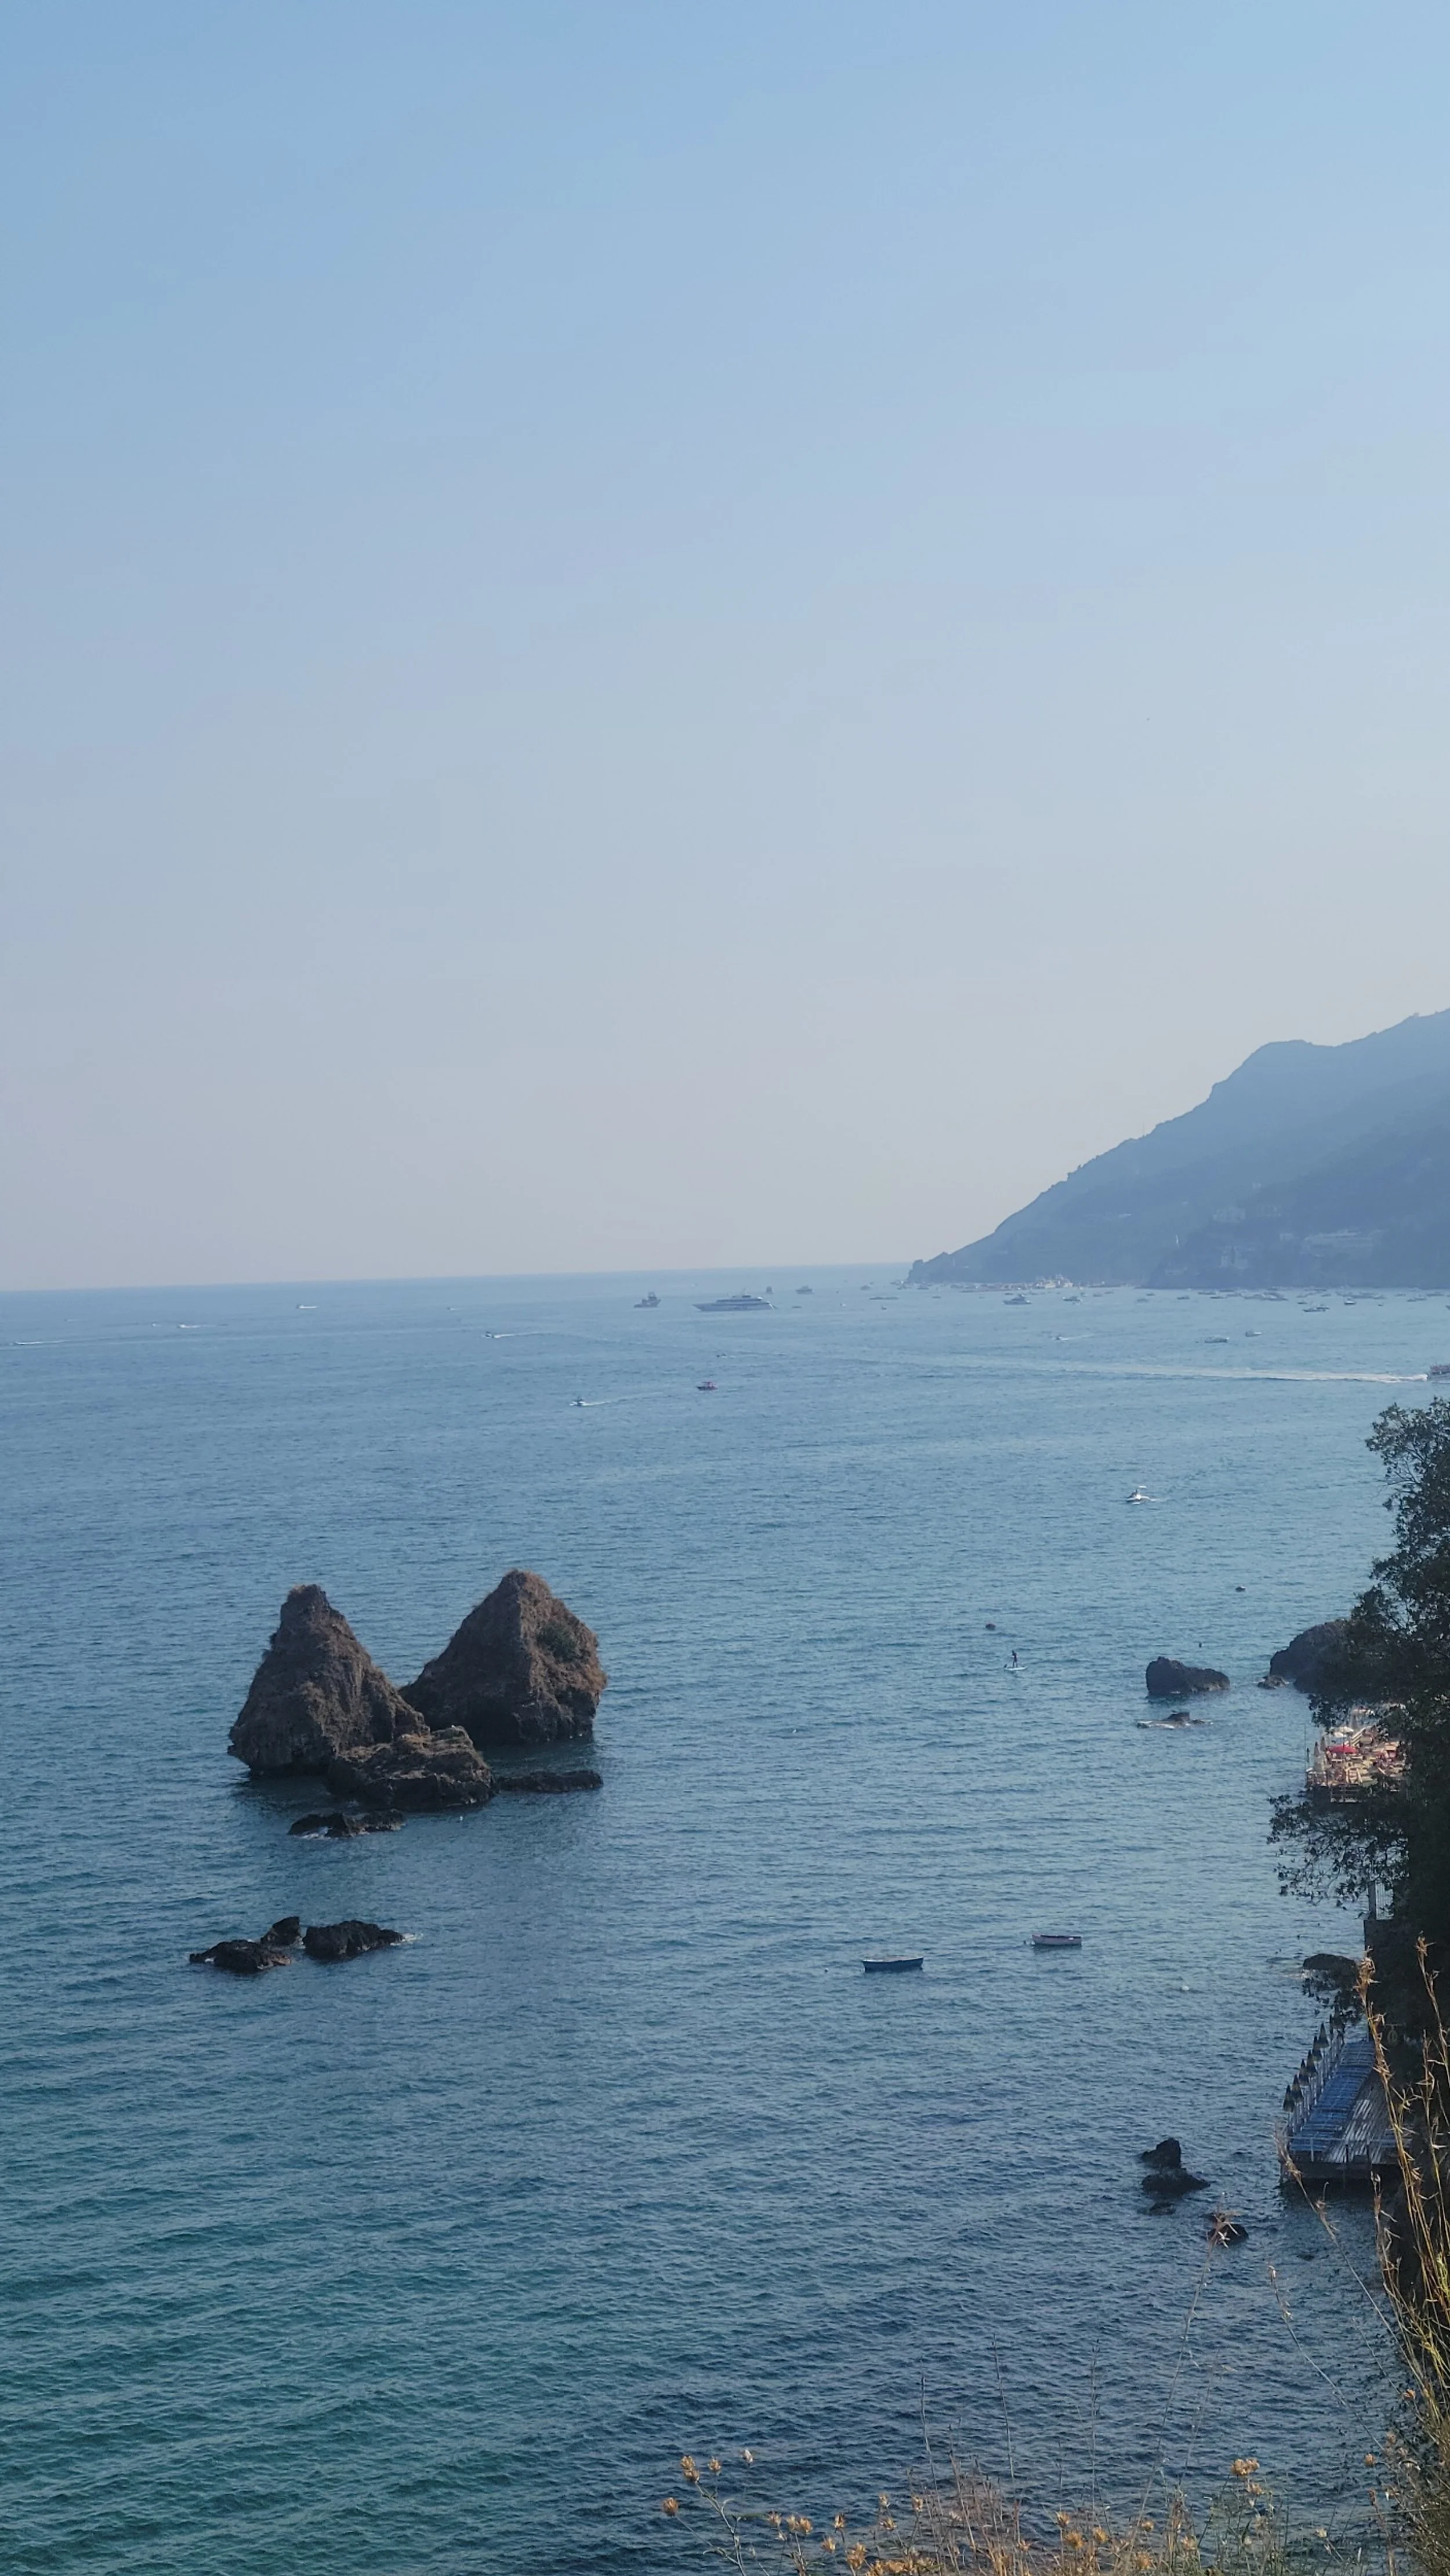
View from Vietri sul Mare from the Train Station
Step One: deciding where you want to go & confirming you qualify
We wanted to take advantage of the Youth Mobility program — for Canadian citizens with a valid passport between the ages of 18 and 35 — and after narrowing our destination down to either Spain, Portugal, or Italy, we decided the Italian coastline was calling our names.
Canada has a partnership with a wide selection of countries for this type of visa, allowing you the opportunity to live and find work abroad, without jumping through all the hoops required for most visas out there.
Even if you are not from Canada, there are a lot of countries included in this program and I suggest seeing if you meet the requirements!
Step Two: get your documents ready
After deciding on Italy, we started gathering all the documents that Italy required of applicants coming from Canada.
Here is everything we submitted for our applications to the Consulate General of Italy in Toronto:
Visa Application form which can be found on the consulate website.
A recent passport sized photo.
Passport which is valid for 3 months past the end of the visa and a photocopy of it.
Proof of a round trip flight and itinerary or proof of sufficient fund to purchase your return flight.
Bank of credit card statements for the previous three months to prove you are financially able to support yourself (a minimum of 1900 EUR for your 12 month stay).
Health insurance policy for entire length of stay.
A statement of intention — linked on the consulate website.
A prepaid and prefilled out Xpresspost envelope to be used to return your passport to you.
If you’re applying through the Toronto Consulate, you may need to provide proof of residency as they only handle applications from people in certain regions.
Additional requirements for the Youth Mobility Visa:
- the listed additional requirements for this visa is just your permesso di soggiorno application which you will complete upon arriving in Italy… though I do suggest looking at the requirements and what you need ahead of arrival.Money order or bank draft for your consular fees.
Step Three: submit your application
Living in Toronto we completed this step by mailing our applications into the Consulate General of Italy in Toronto. This varies by your region of residency, so be sure to check the specifics of your situation on the consulate website.
After mailing in the application, we signed up for the portal (instructions are on the website) and waited until we were contacted by email to schedule our biometrics appointment. Be patient and do not try to schedule an appointment before they reach out. It took 2-3 weeks before we heard anything.
Step Four: biometrics appointment
After receiving the email, signup for the date and time that works best for you. On the day of your appointment, bring only what is necessary. You cannot bring in large bags or phones to the consulate. Be sure to read the information provided about your appointment ahead of time.
Step Five: prepare for the move
This waiting period was full of anticipation, hopeful thoughts, and excitement. The wait was under a week for us, but it can take longer. Deep breaths, you’re almost there!
When we received our passports back by mail with the visas inside, we got down to the nitty-gritty of the move! We put in our notice at work, started packing up and selling our belongings (facebook marketplace is evil — a necessary evil, but evil nonetheless), confirmed our AirBnB as a temporary home while hunting for an apartment, suspended our Canadian phone plans, and began saying our goodbyes to our people and home.
FAQs:
Q: How long did the process take from mailing in the application to receiving the visa in the mail?
A: We submitted our application by mail in the first week of March 2025, had our biometric appointment on the 25th and received our passports back in the mail with our visas inside on April 1st. I would leave yourself at least two to three months for the application process incase of delays.
Q: How much did you have saved before moving?
A: We each had over $20,000 CAD saved, but that is entirely unnecessary if you are planning to work
Q: Anything you wish you had known or done differently?
A: If we were making the move again, I think we both would have invested more time and money into learning the language. We came with a small base, and definitely learned a lot while we were here, but a stronger foundation would have helped in making connections, finding jobs, and navigating the permesso process here.
If you want to read about our year living in Italy, check out my monthly updates:


Moving back to Canada after a year spent living in Italy on the Amalfi Coast. This month has been full of reverse culture shocks, reunions with loved ones, and moments of readjusting to life back in Toronto. We’re back for about six months while we replenish our savings and begin the process for our next visa application.